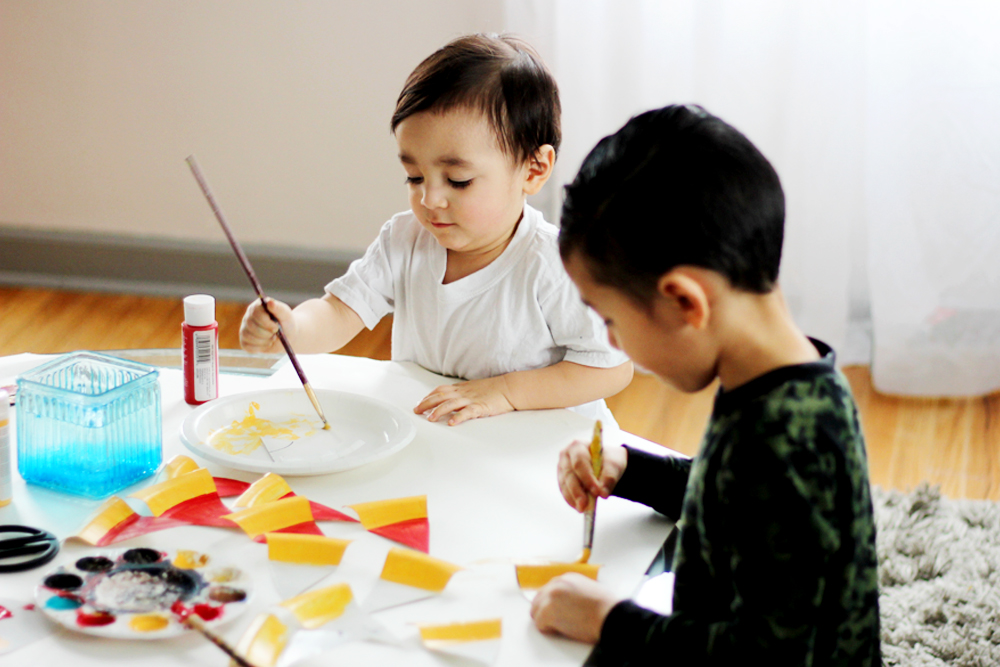
I was cutting a paper plate for my 5 year old for another car project he requested me to help him with, when I thought "these would make cute pizza slices (insert lightbulb emoji here 💡 )". I started visualizing what these would look like and that's how these came to be.
MESSY LEVEL: 2
There is a good amount of gluing and lots of cardstock cutting + hole punching.
SUPPLIES:
4 paper plates
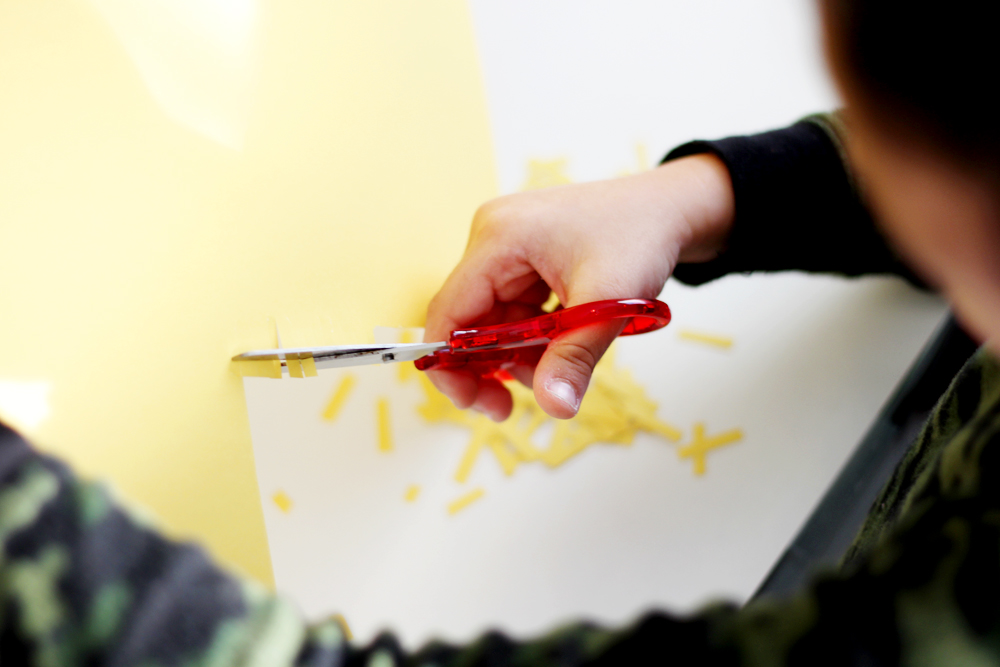
Scissors
Acrylic/craft paint + paintbrushes
Cardstock
A quarter (for tracing)
Pencil + Marker
Glue
Hole punch
String

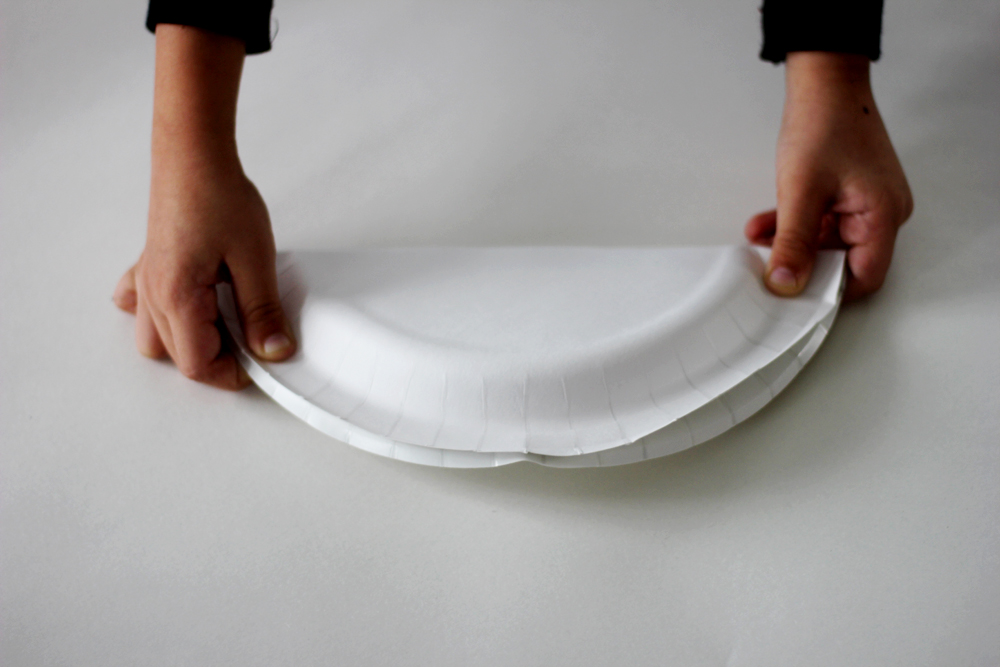
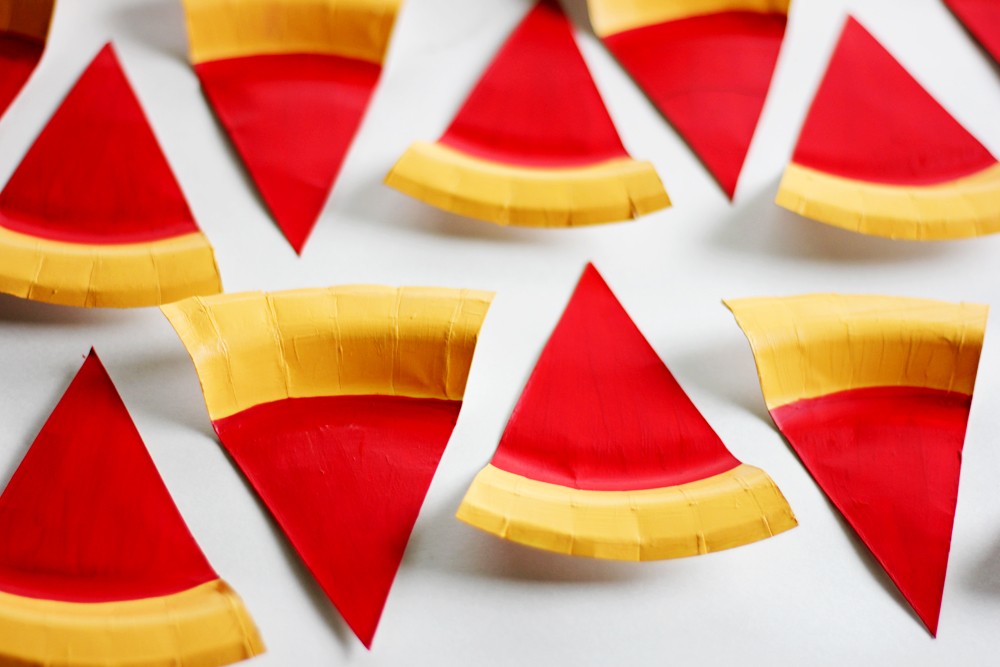
1.) First take one of your plates and fold it in half, open it. Then fold it in half again the other way so that once you open it you have 4 pie looking creases on your plate. Do this two more times so that you end up with 4 creases all together. This will equal 8 pieces of "pizza".

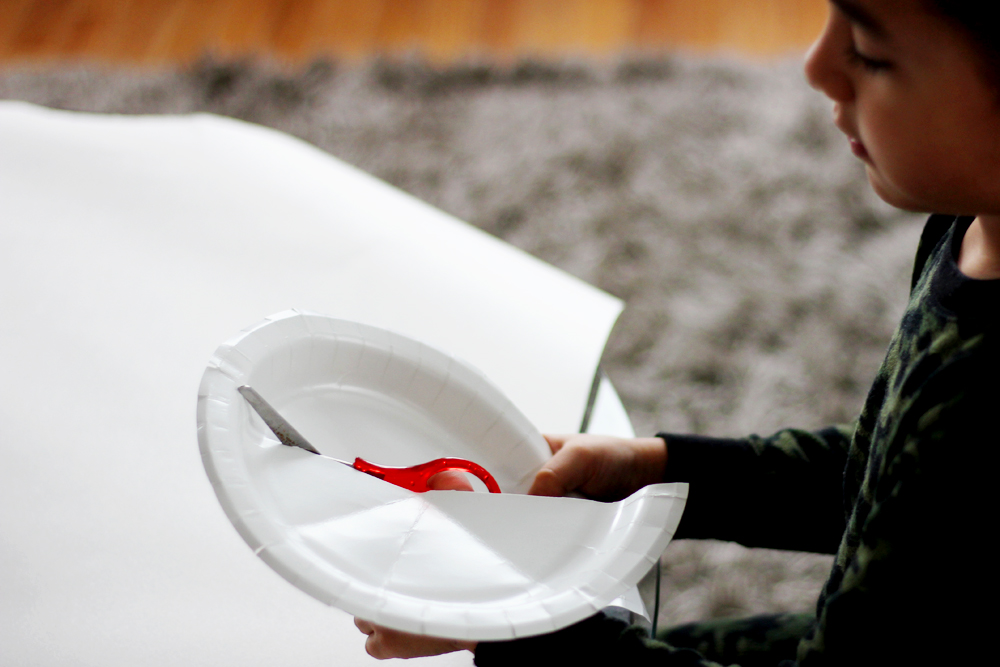
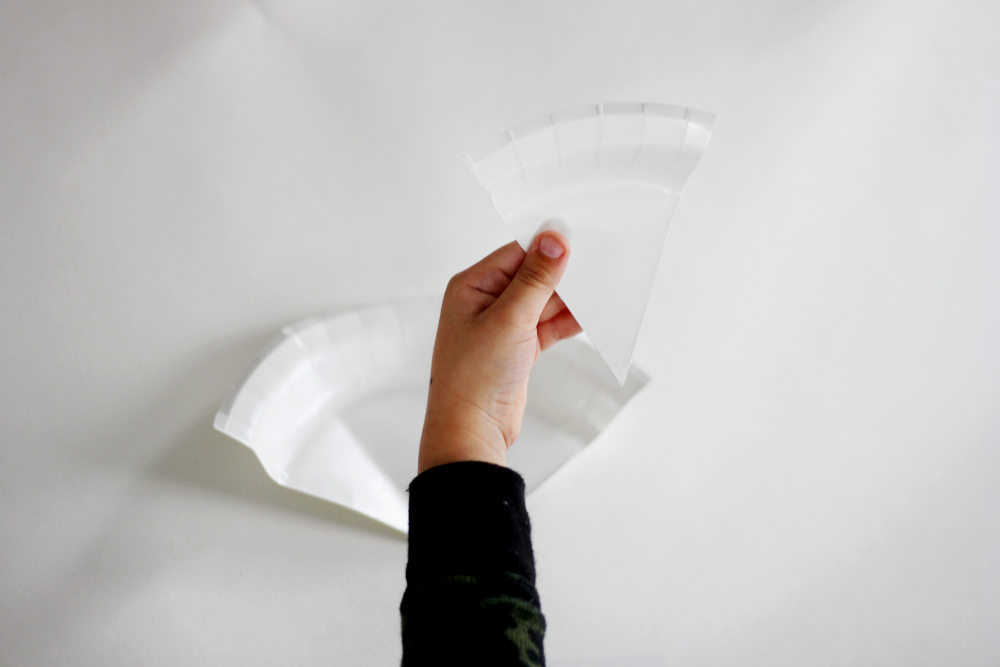
2.) Cut along the creases you created, this will give you 8 pizza slices to decorate. Depending on how big you want your banner continue to do this with more paper plates until you have the quantity desired. We wanted a banner 32 slices long so we did this with 4 paper plates.

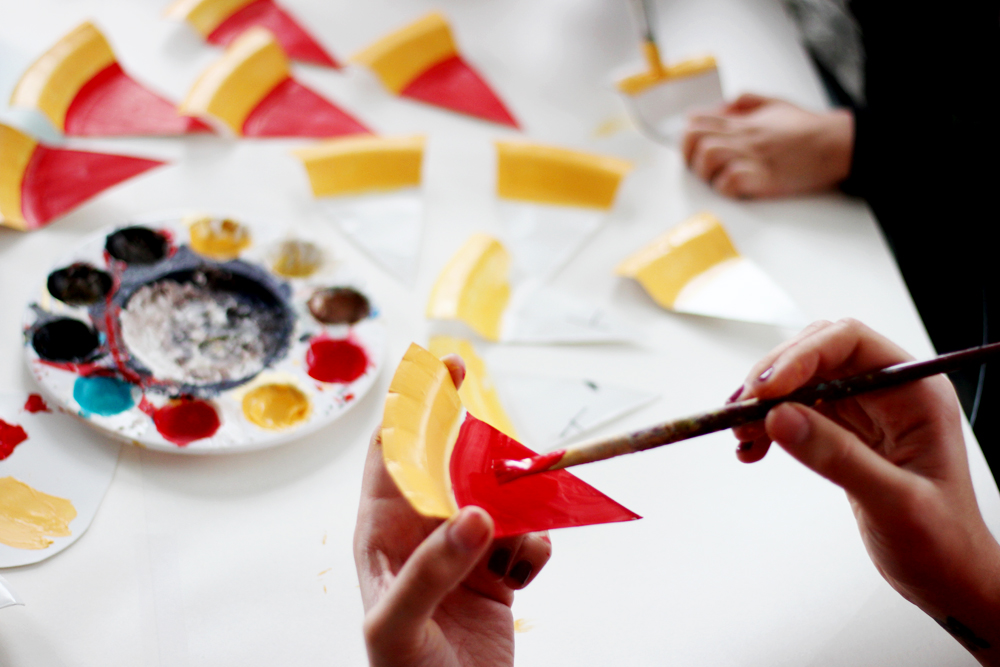
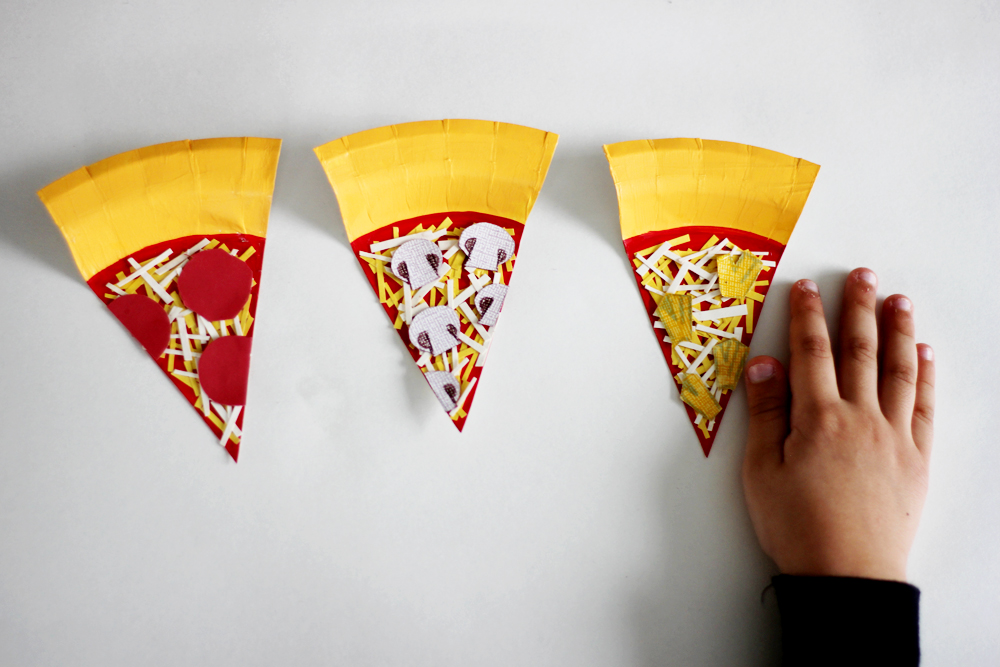
3.) Paint your pizza slices, our plates had a slight gloss finish to them so we used acrylic paint because it's more permanent and it stuck to the plate well. If you use a plate with no finish you can use watercolor, craft paint, or acrylic for this step. You can also use markers, crayons or colored pencils if you don't feel like making quite a mess. We used 2 coats of a melon colored paint for the crust and painted the rest of it a red color for the marinara sauce.
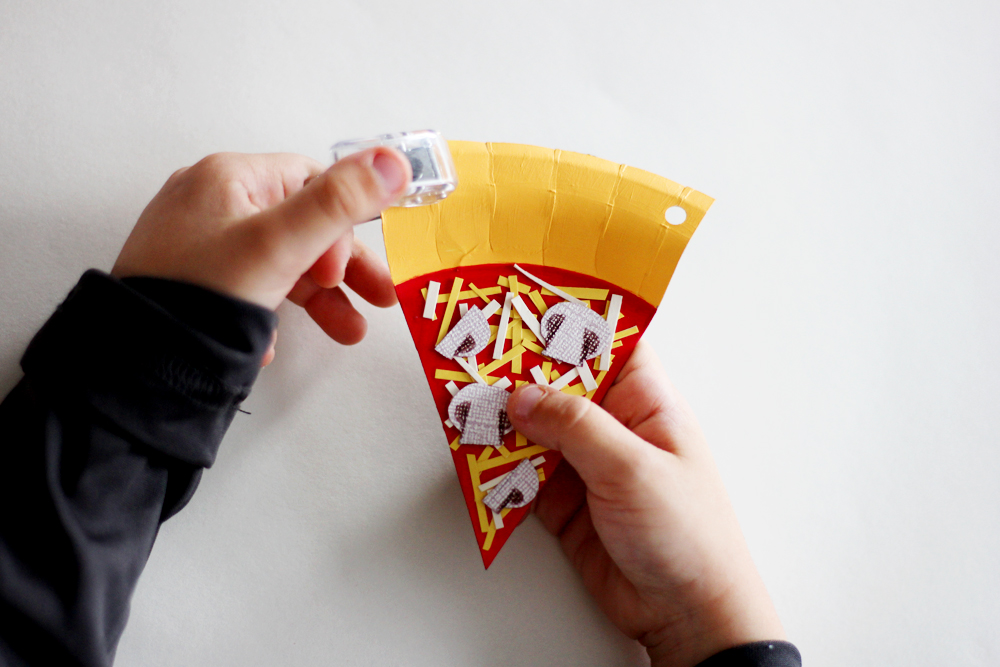
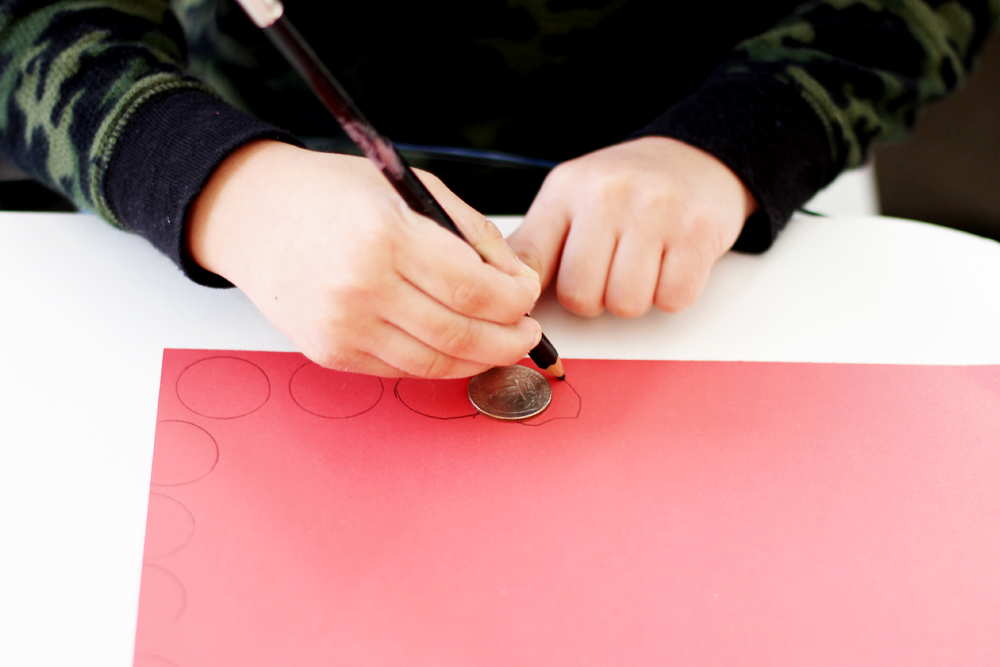
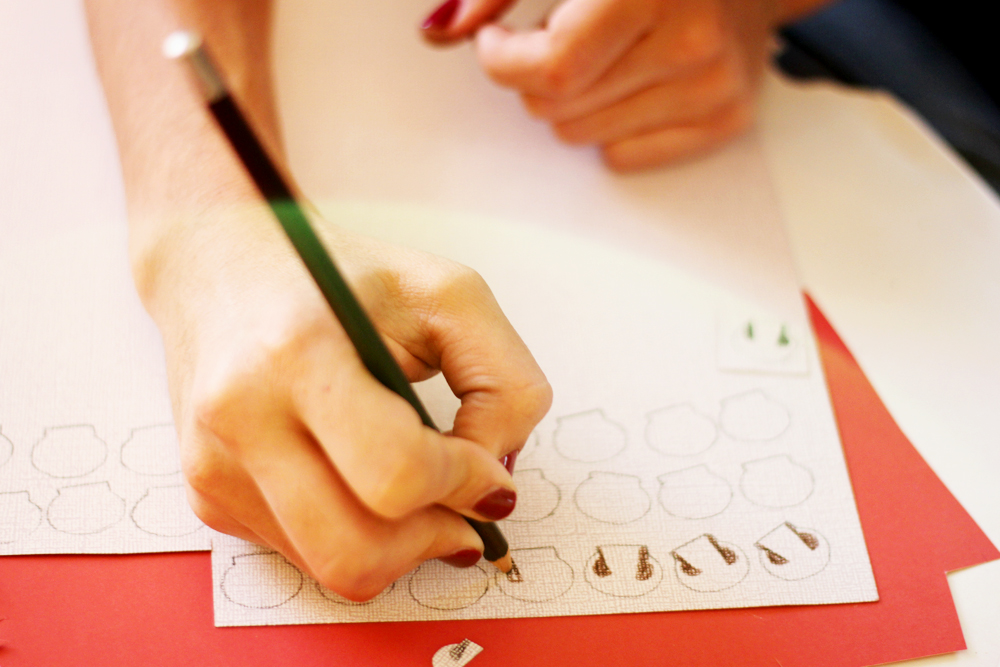
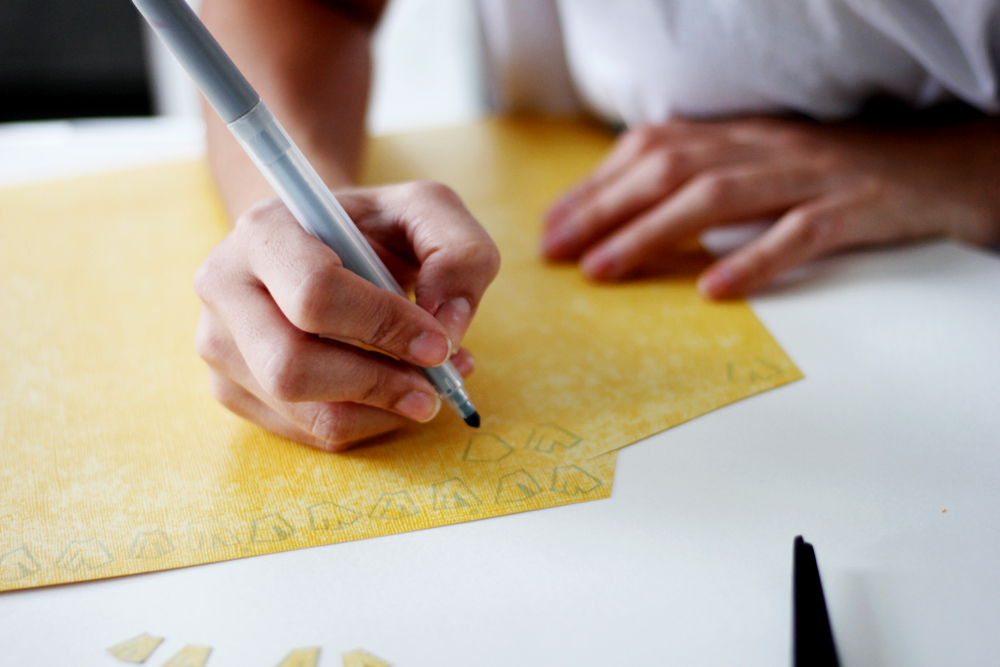
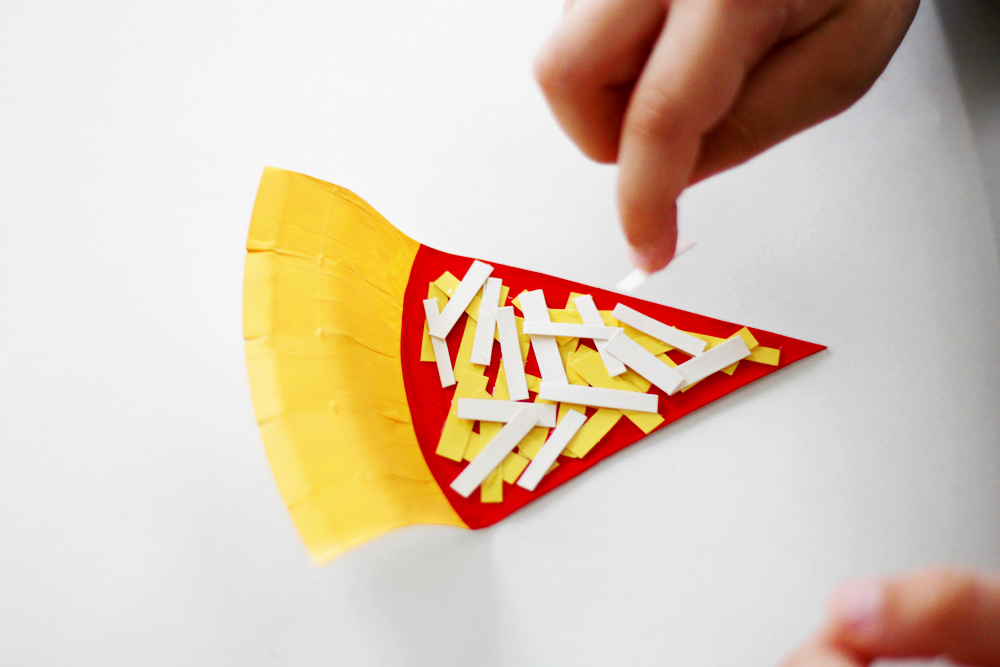
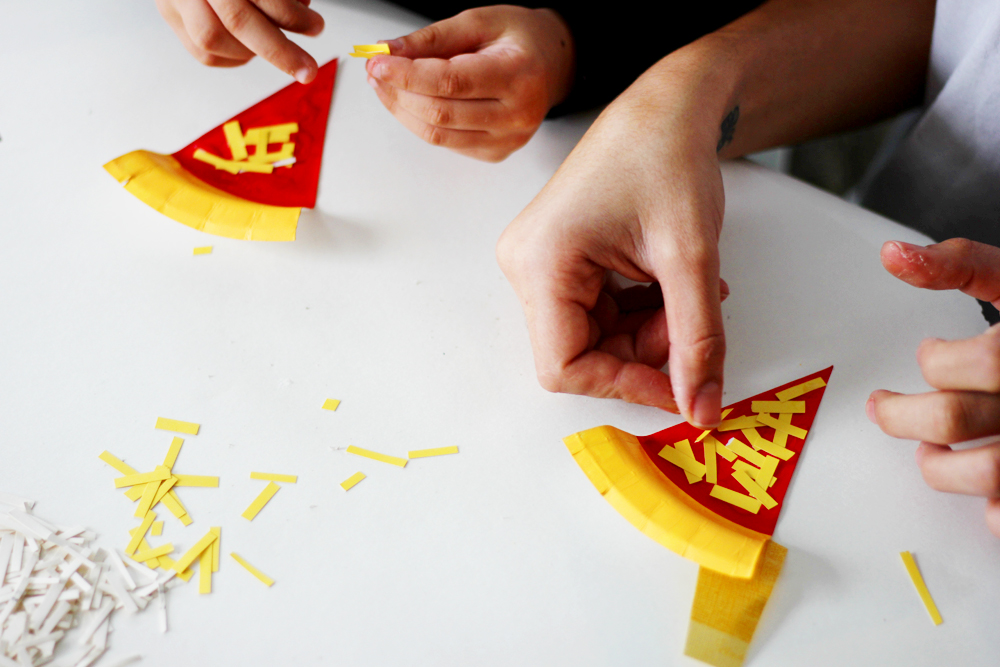
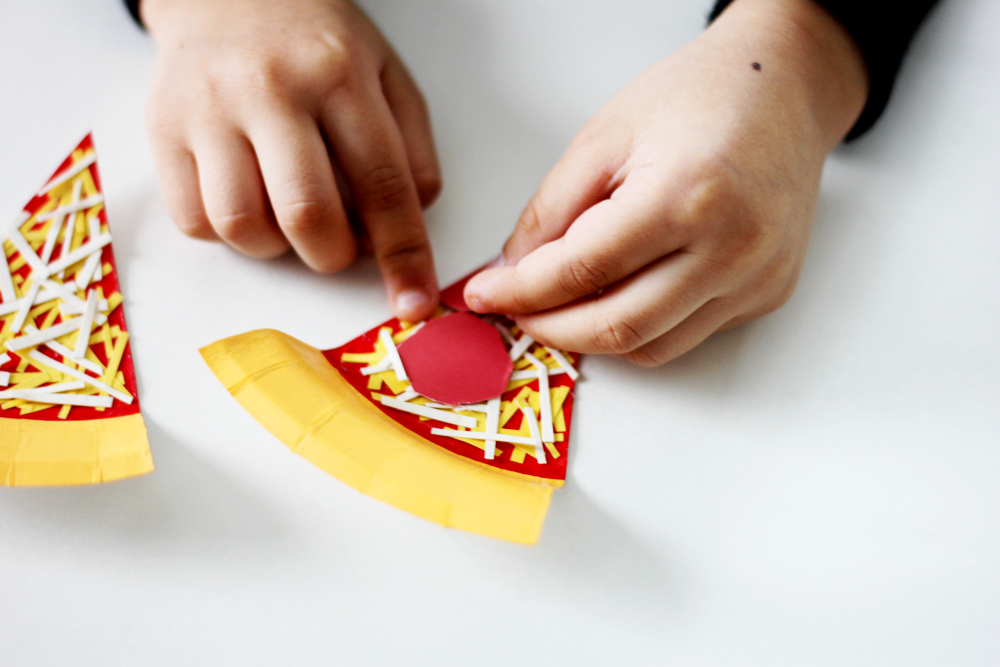
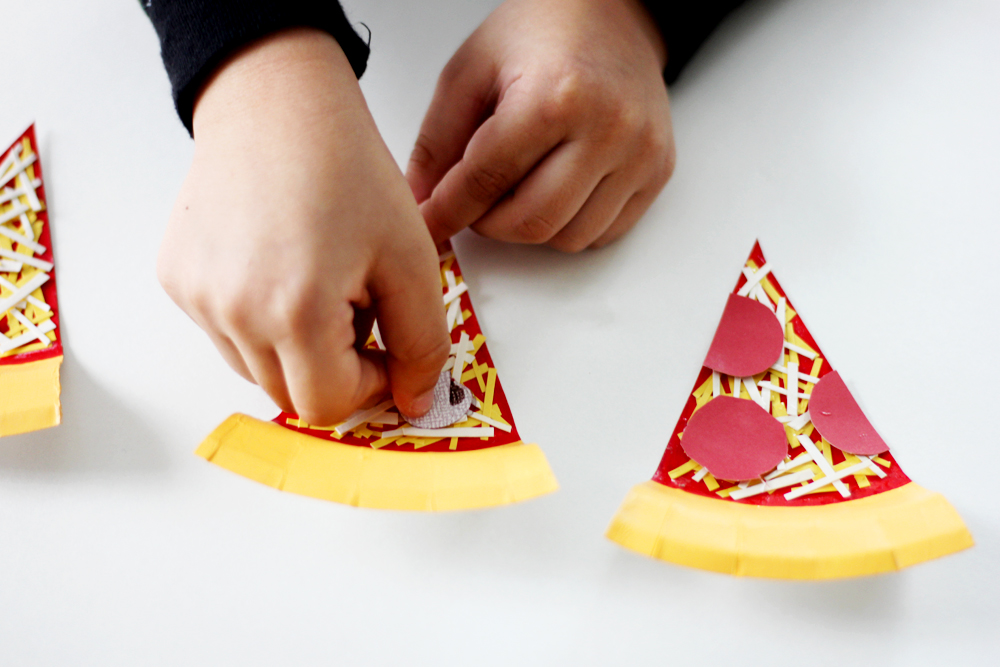
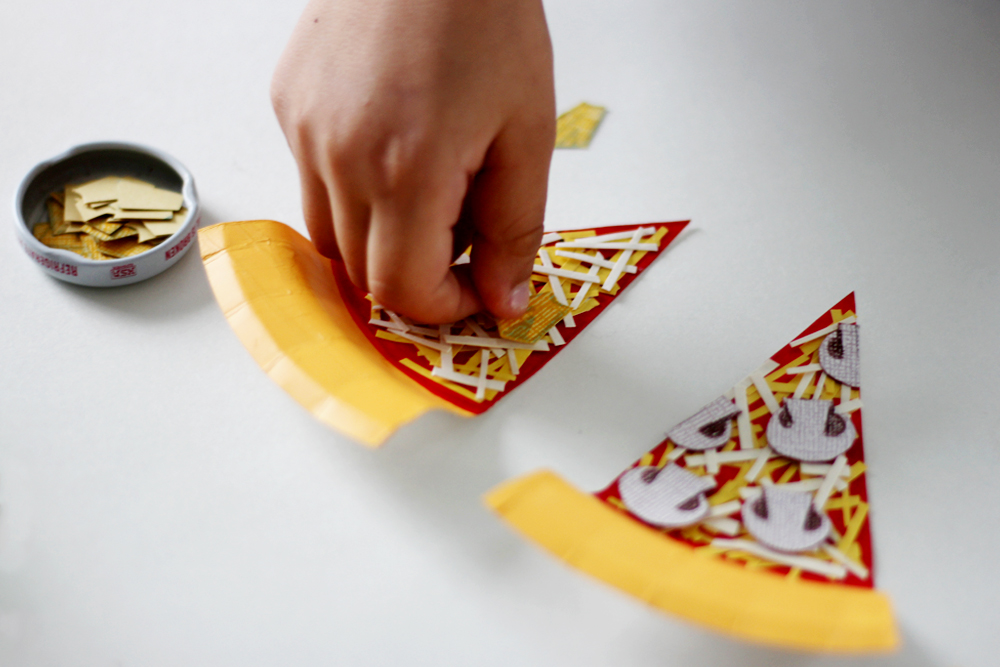
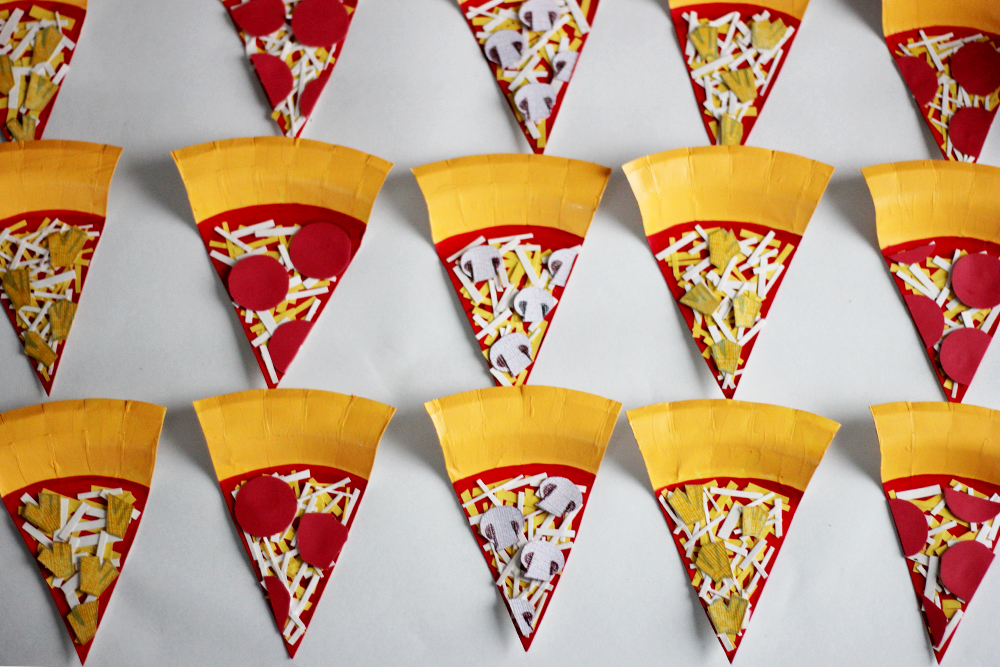
4.) While your paint dries (if you used paint), you can make the toppings! In our home Pepperoni and Hawaiian are the go-to pizza toppings we order. So of course one of our slices had to be decked out in Pepperoni, the other in Pineapple, and as crazy as it sounds my sons LOVE mushrooms so the last topping we chose was mushroom (veggie?). Using cardstock we drew out the shapes for our toppings with coordinating colors to what the real life toppings look like. For the pepperoni we traced around a quarter to create the pieces which ended up being the perfect size. Feel free to detail your toppings as much or as little as you would like, we added thin mozzarella + cheddar cheese pieces to all of our slices.
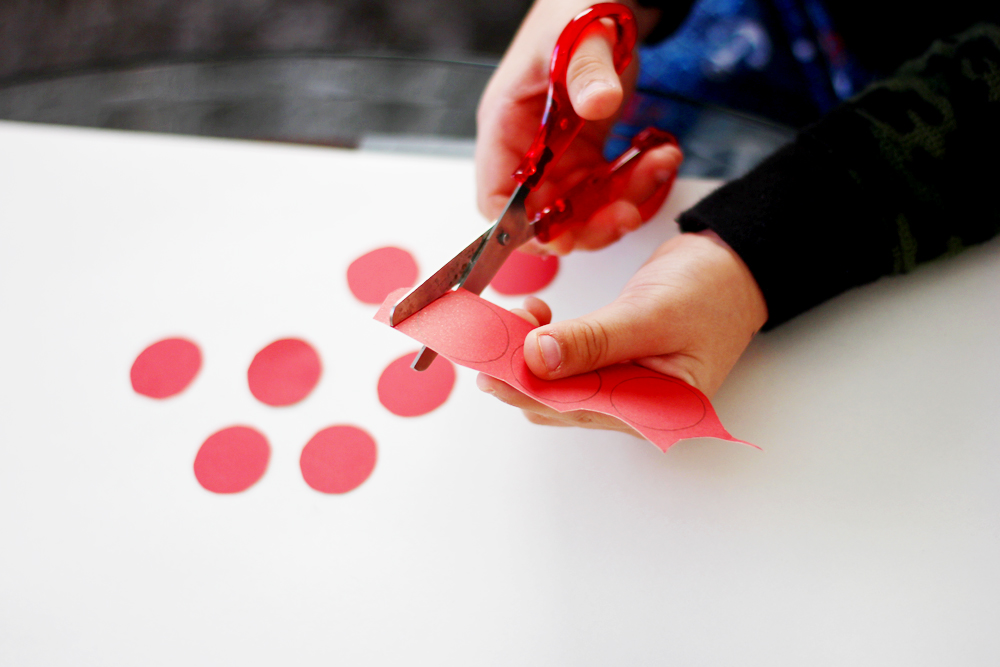
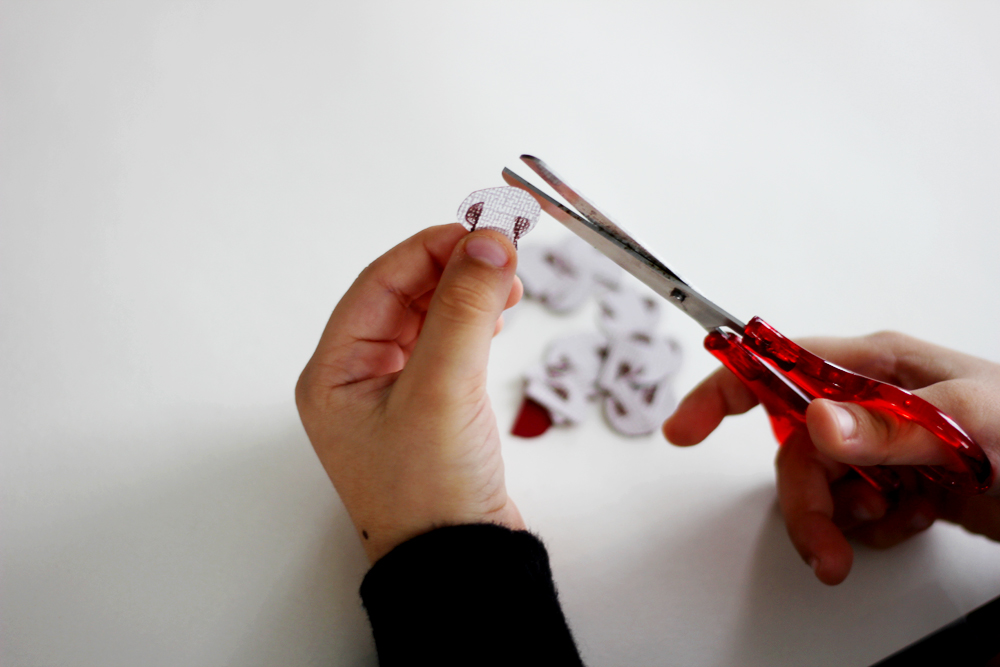
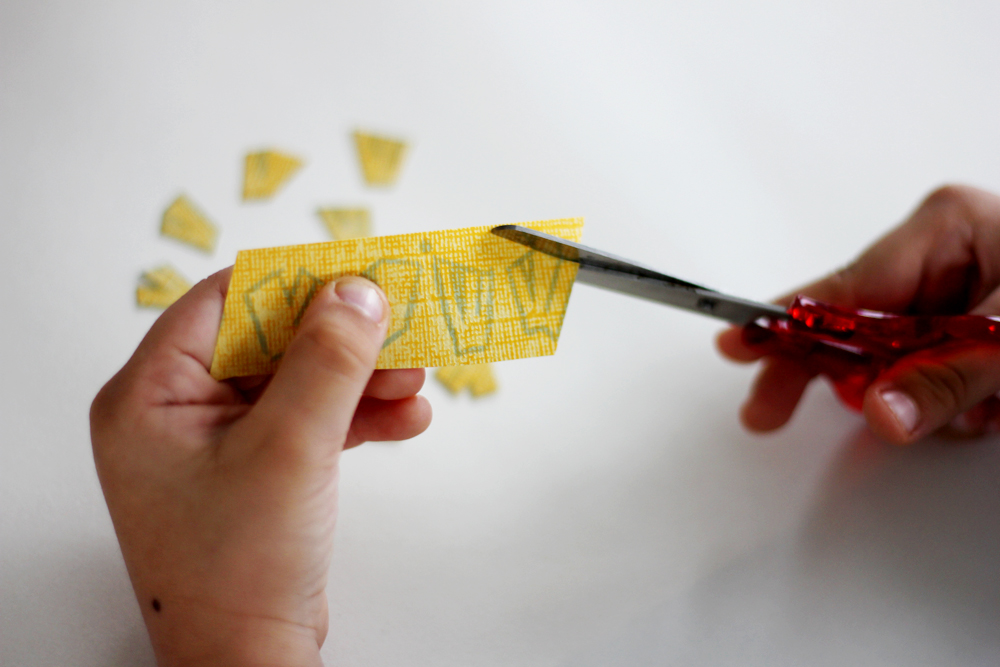


5.) After your "toppings" are all cut out start gluing them to your pizza slices.

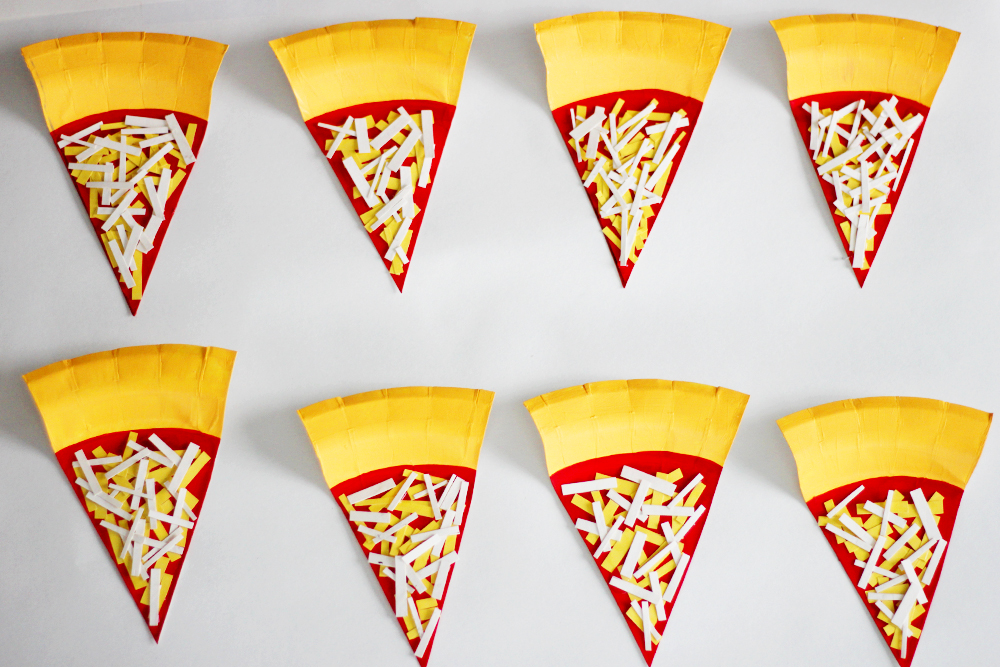

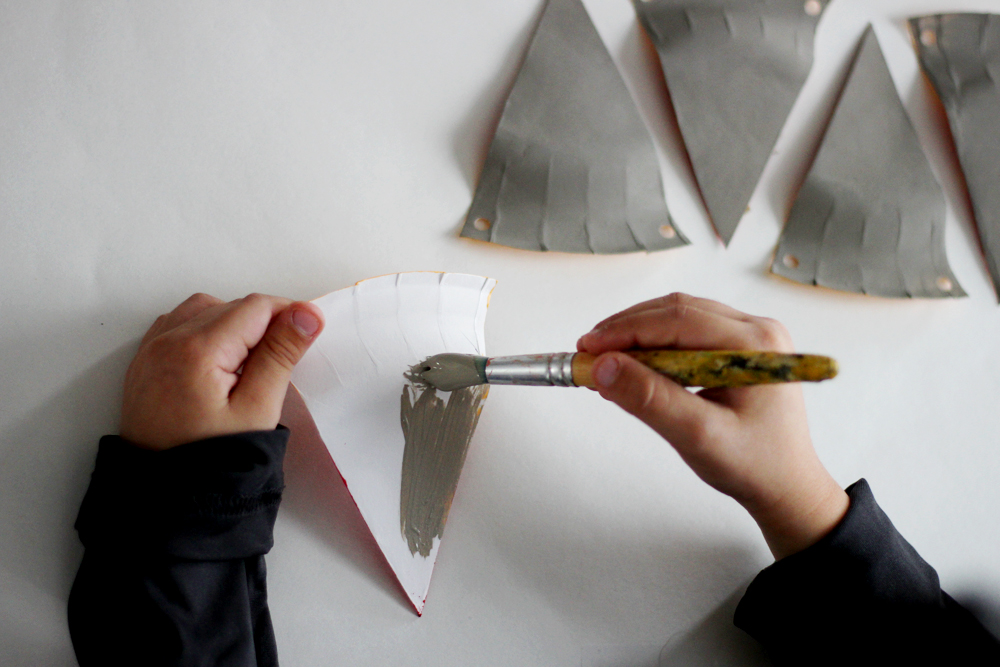
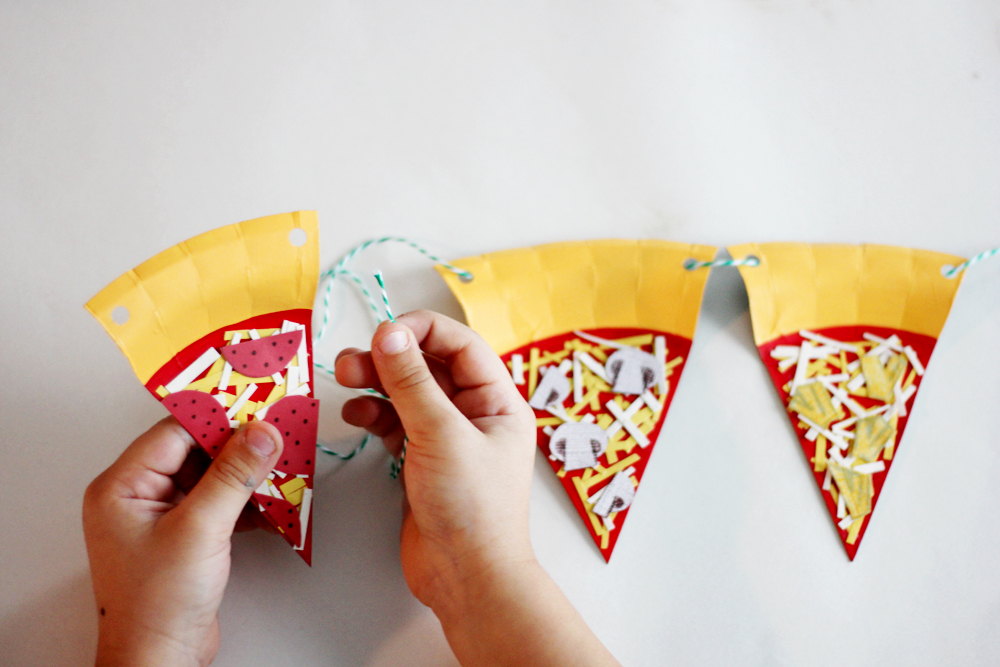
6.) You can add as much/as little detail as you'd like to your pizza slices. I wanted the back of each slice to have a clean finish so I painted all the backs black, this is an optional step. Hole punch both sides of your slices and weave a long string through all of them creating a garland. Then it's ready to hang! We love this garland (and pizza) so much that because our oldest little man's birthday party was coming up we were pretty sure that's what we were having to eat! (and we did). Have fun making these and don't forget to tag All Kids are Gifted: @allkidsaregifted on Instagram (@allkidsrgifted on Pinterest) and use hashtag #allkidsdiy as well!