KID COSTUMES: PIRATES • captain Hook + captain jake 🏴‍☠️

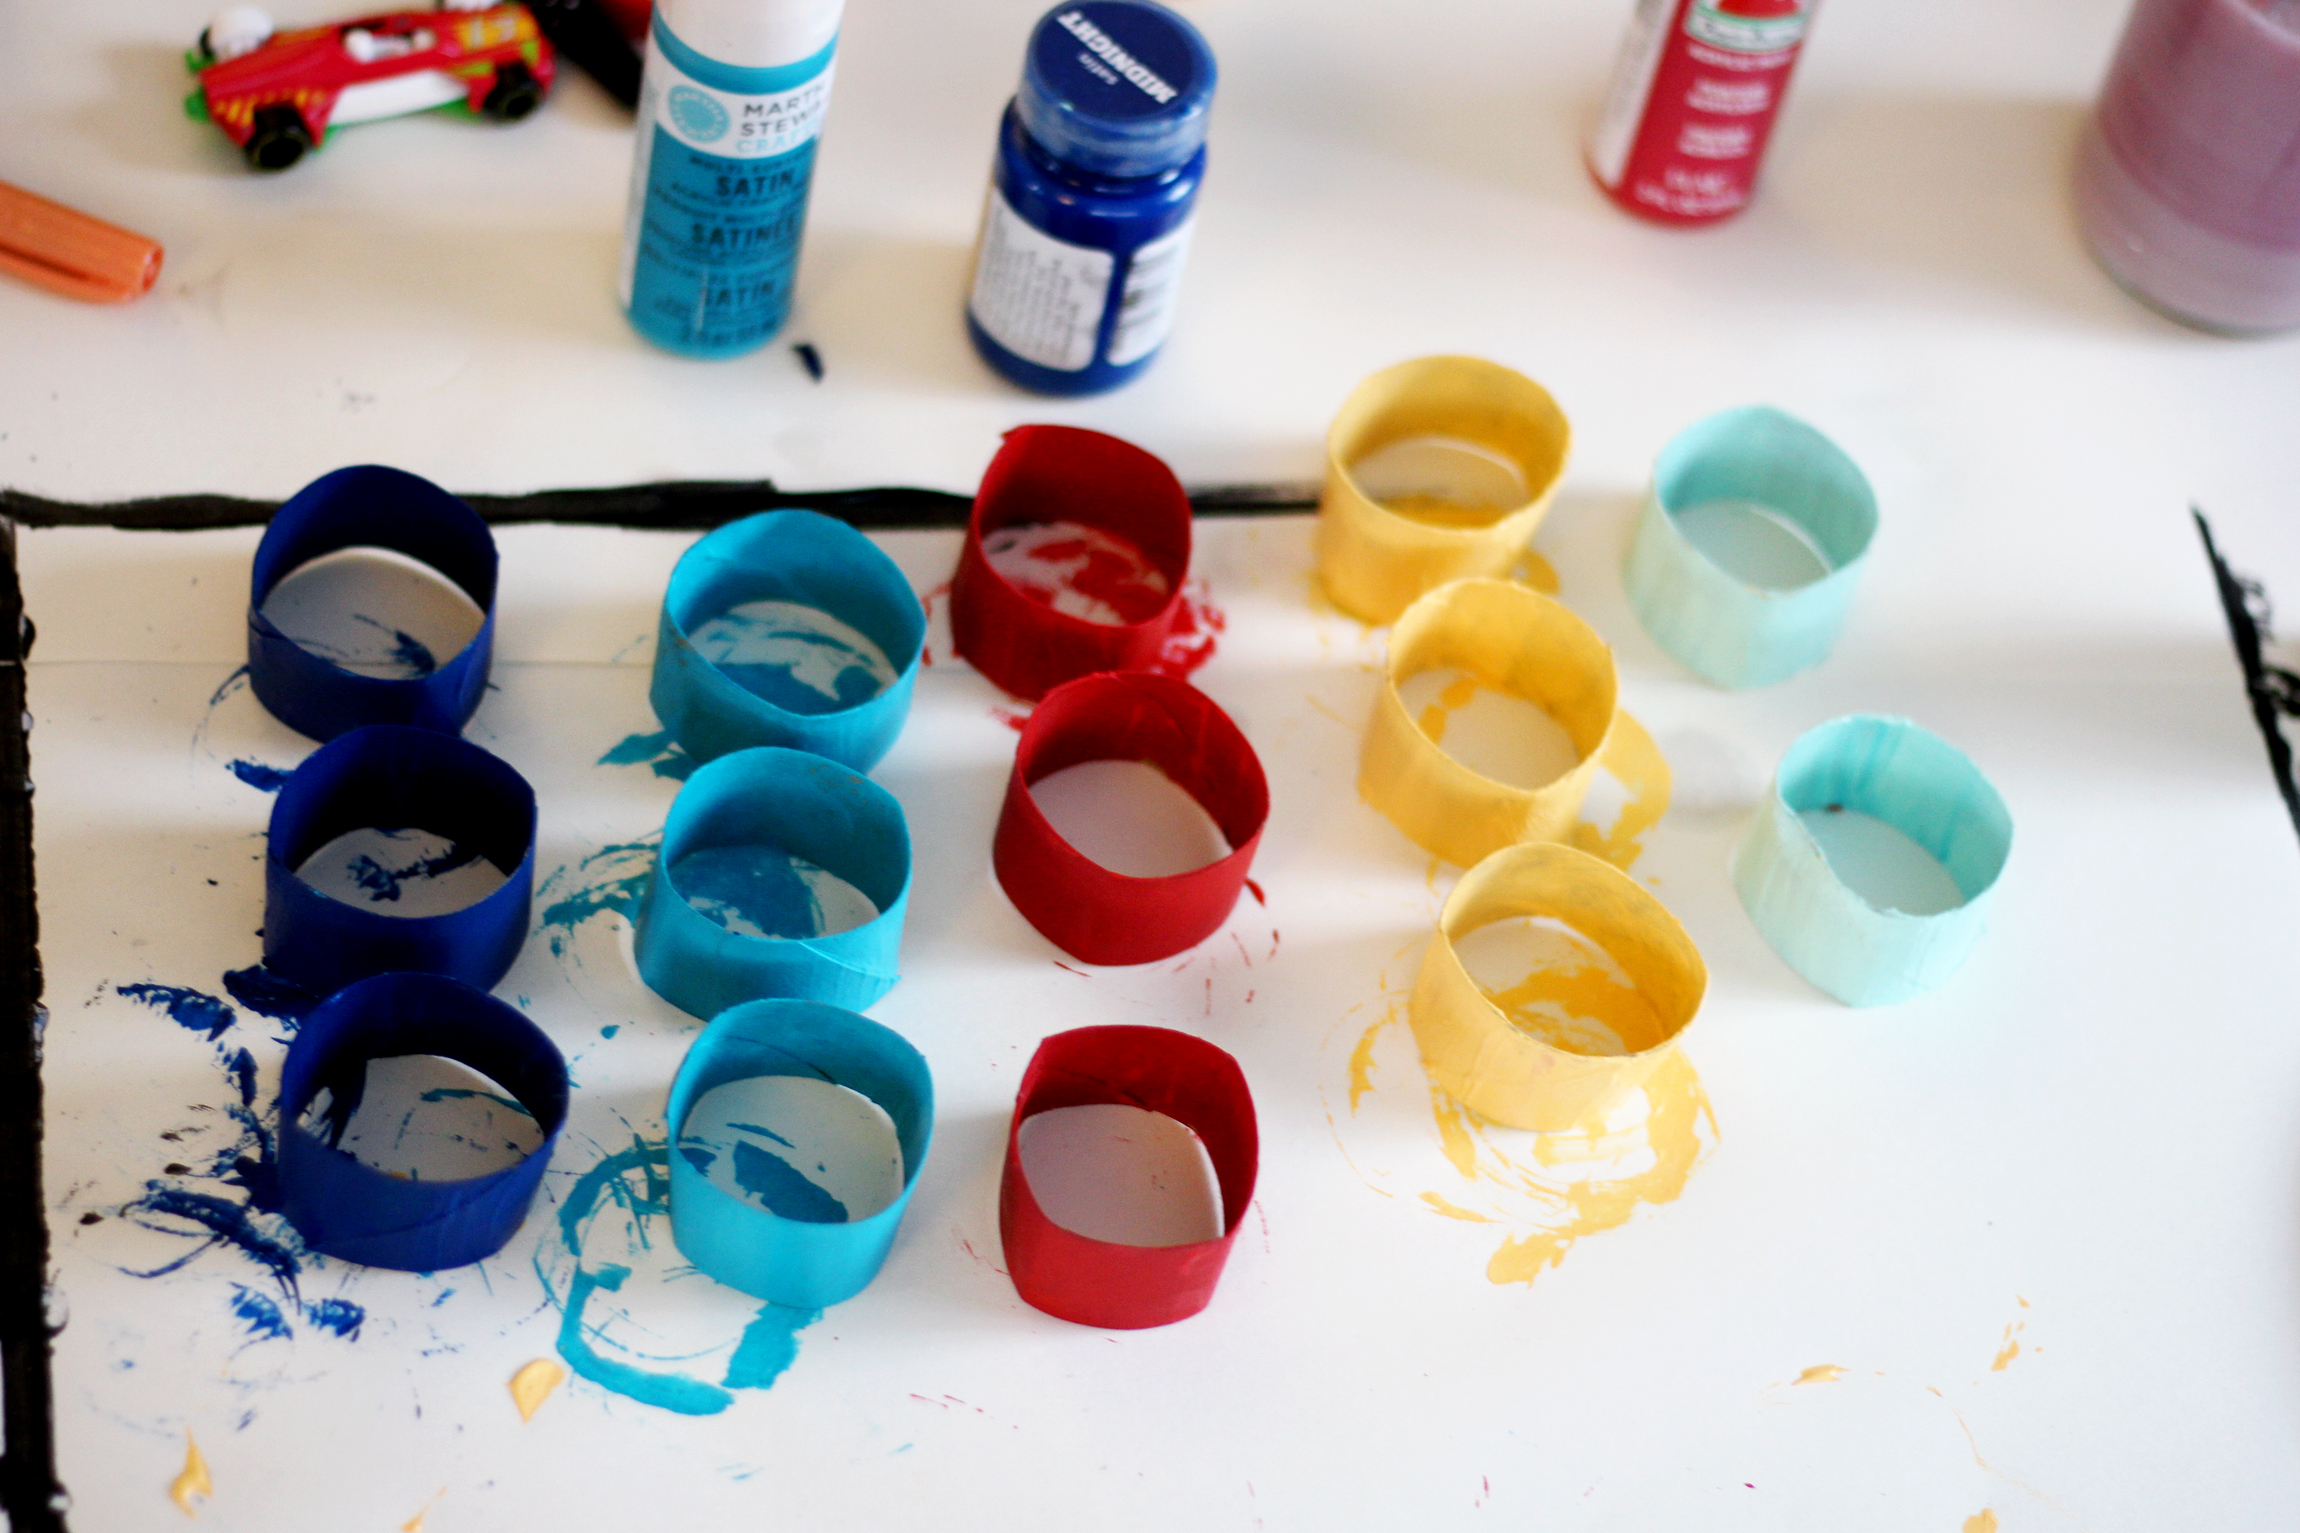
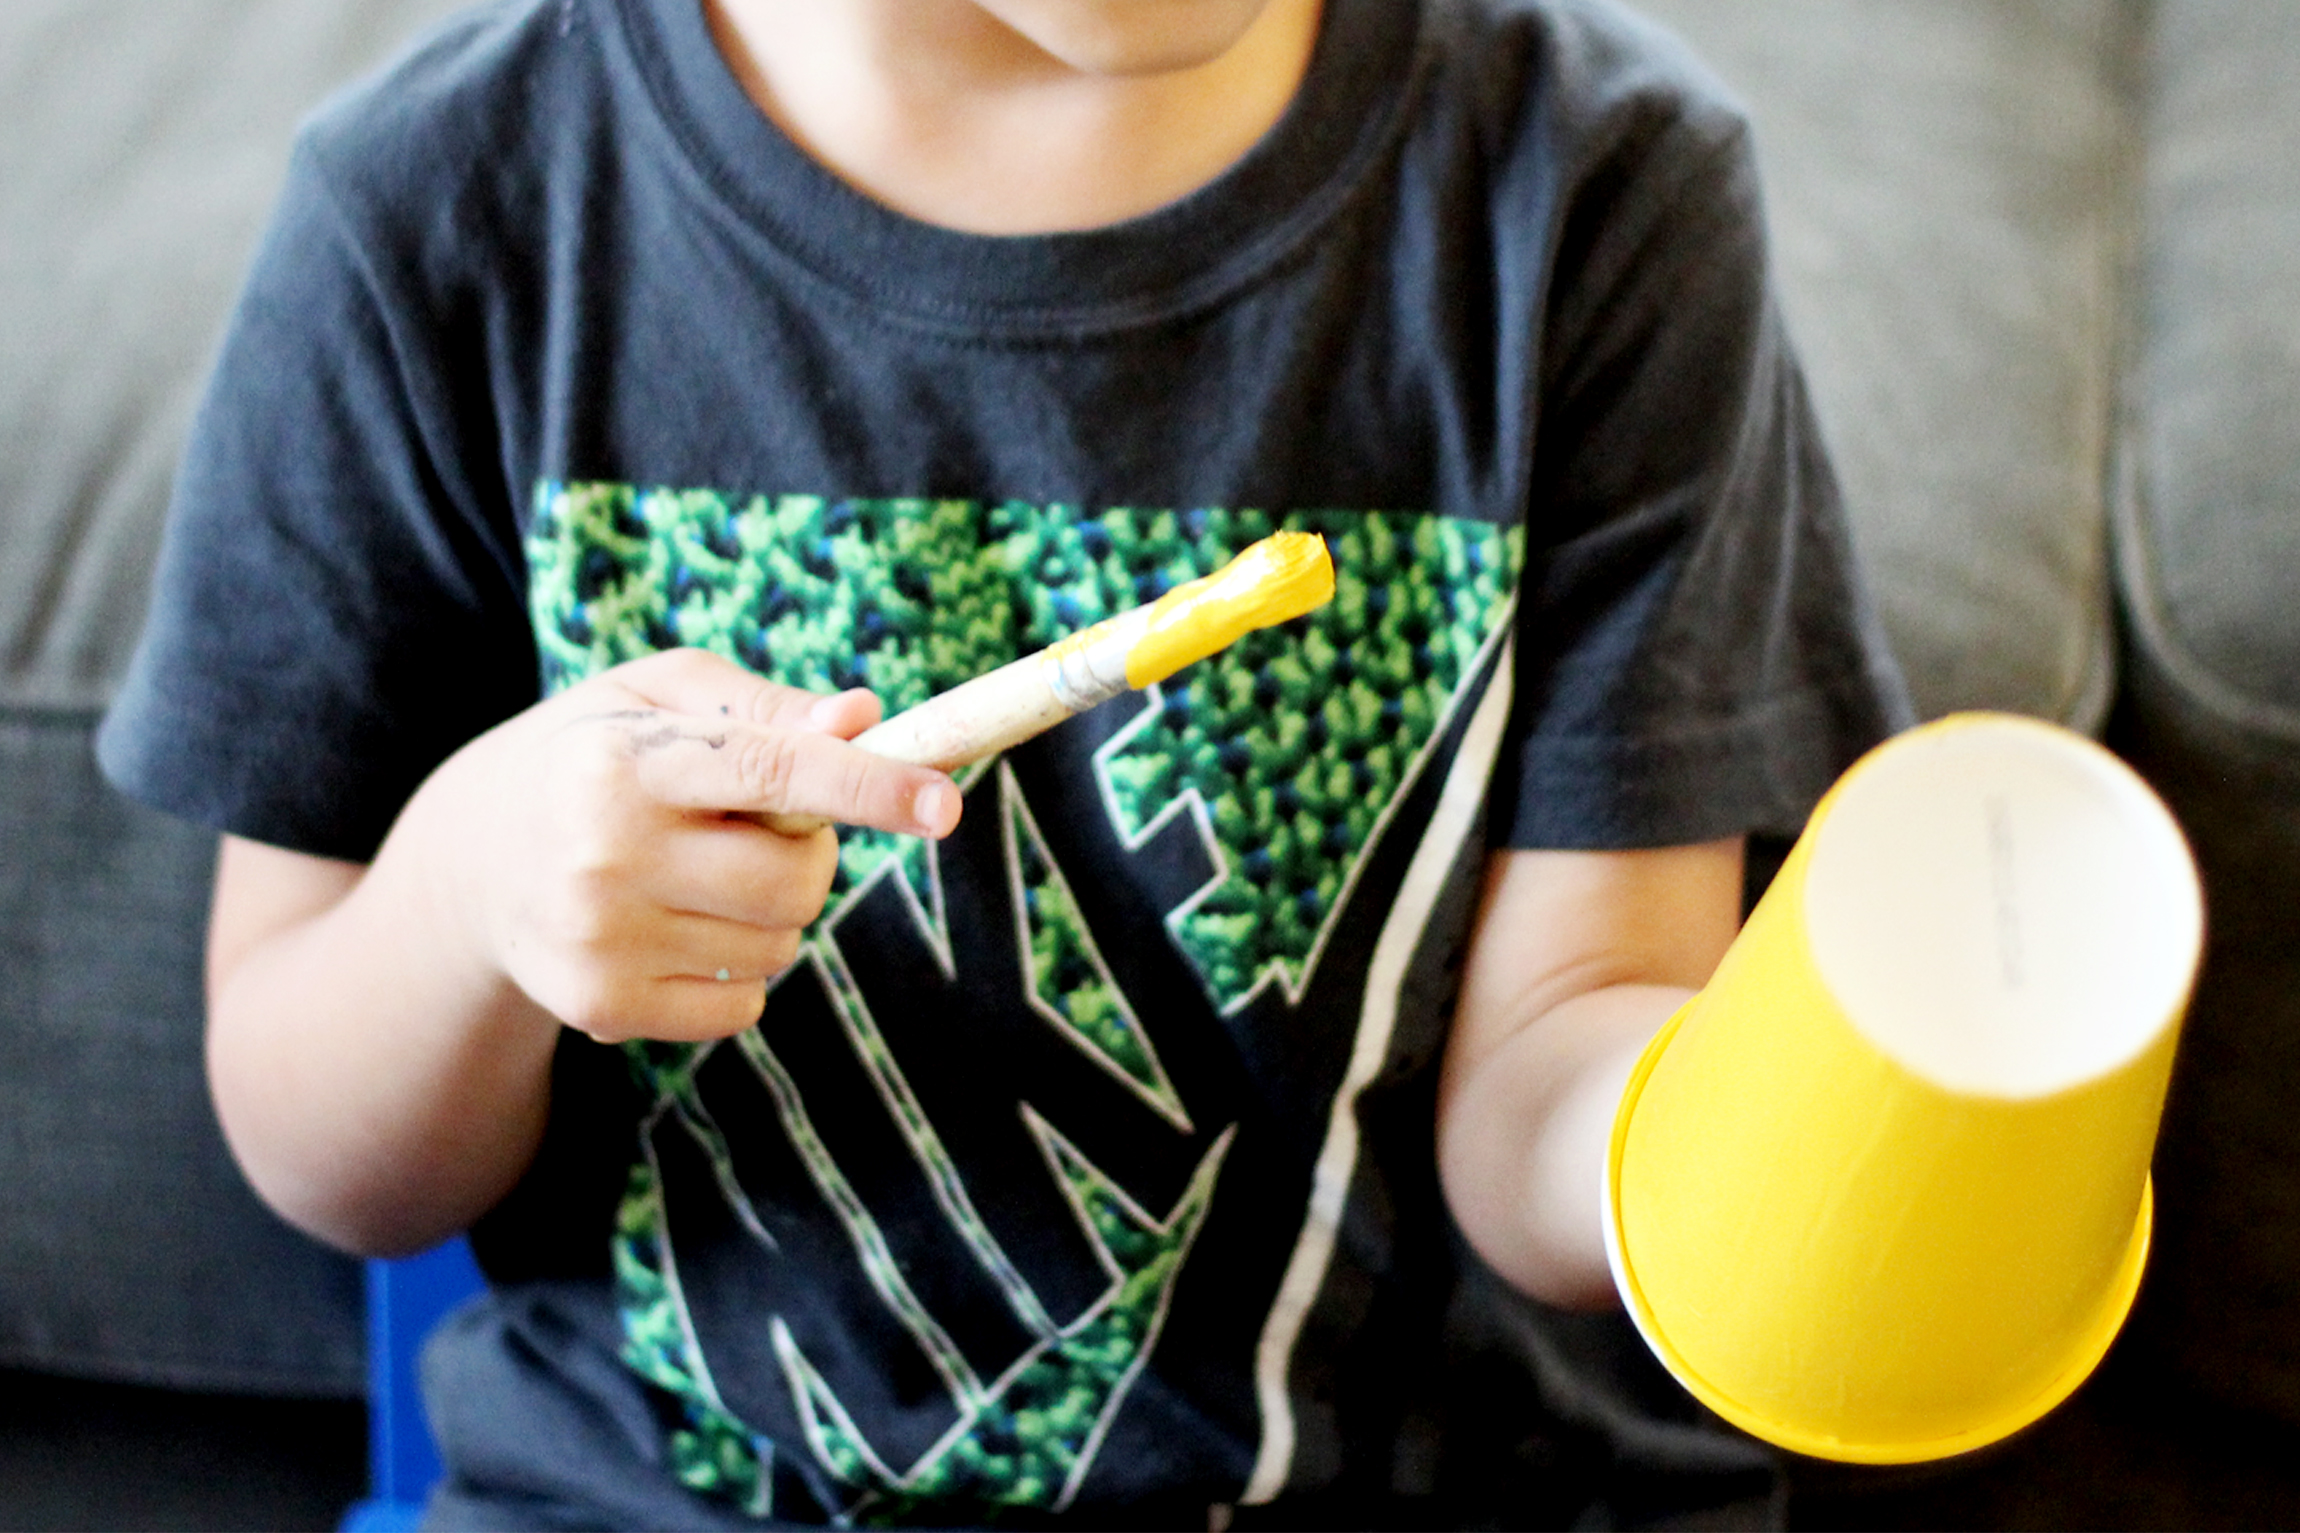
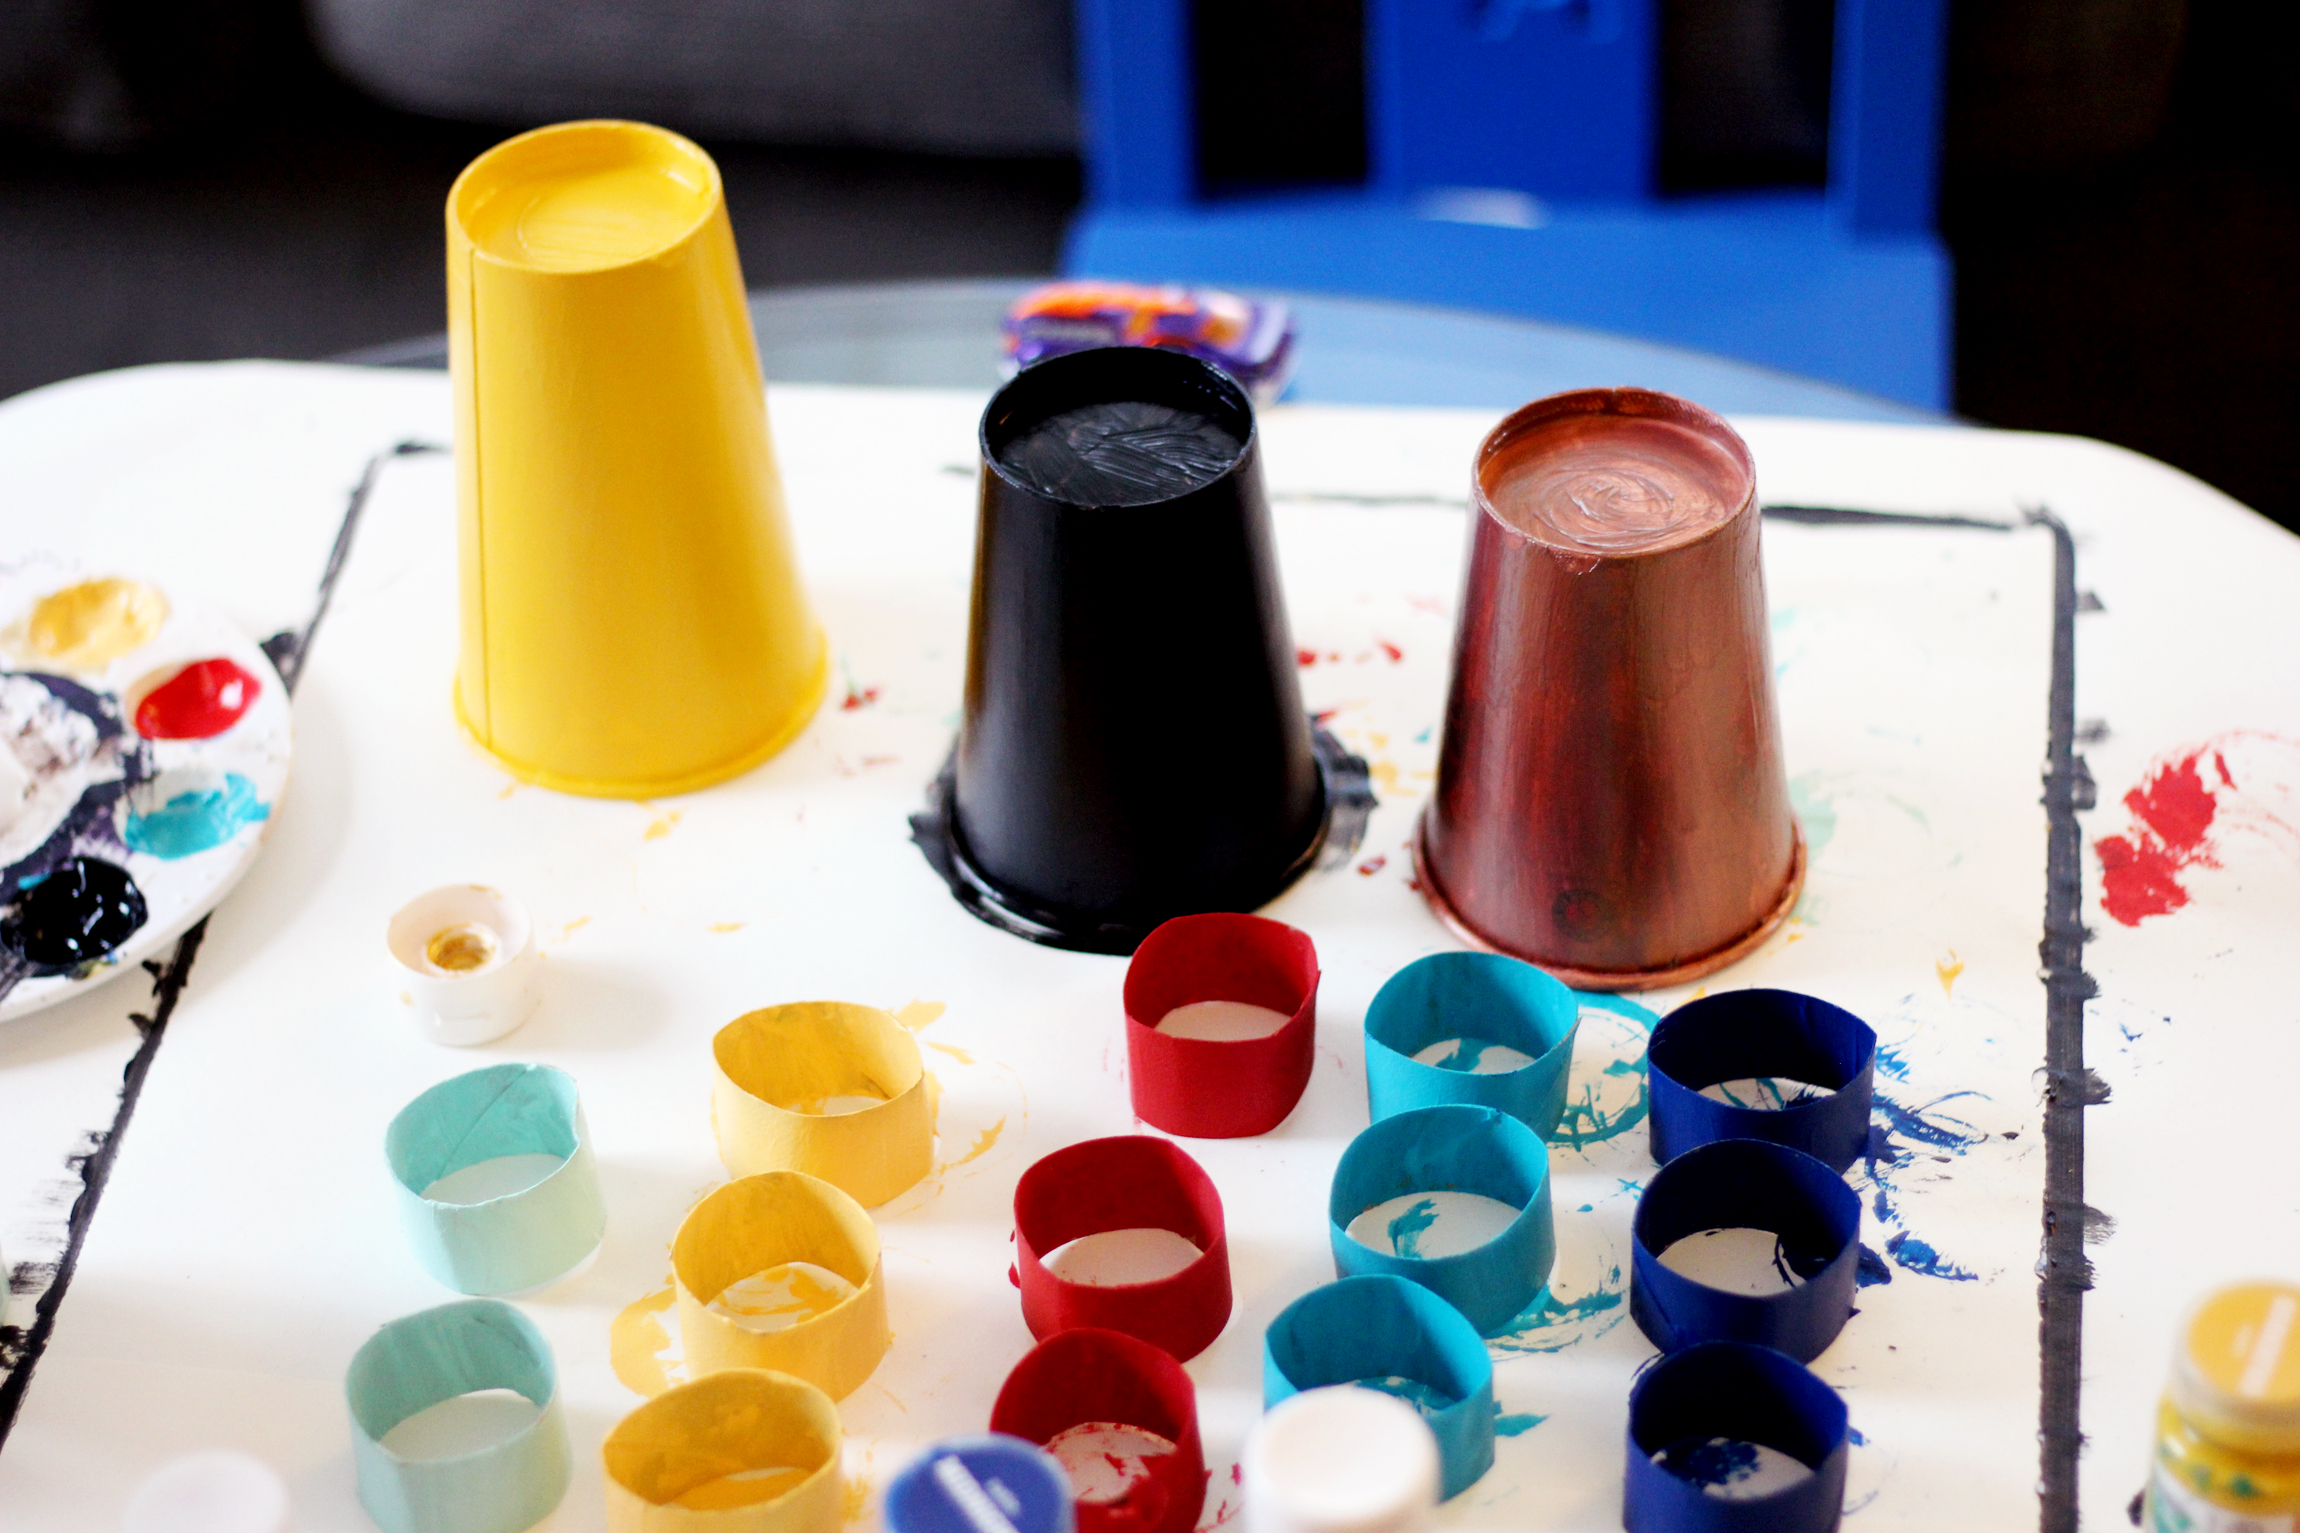
Now that Halloween is only 3 weeks away we decided to pull out last year's fun "Jake and the Neverland Pirates" inspired costume photos. They definitely got us in the spirit while we started working on this year's costumes! Plus, we can NEVER get tired of looking at these gems! 

Enjoy the rest of the visual story below!

DIY Projects - KID COSTUMES: CAPTAIN HOOK + CAPTAIN JAKE - All Kids Are Gifted

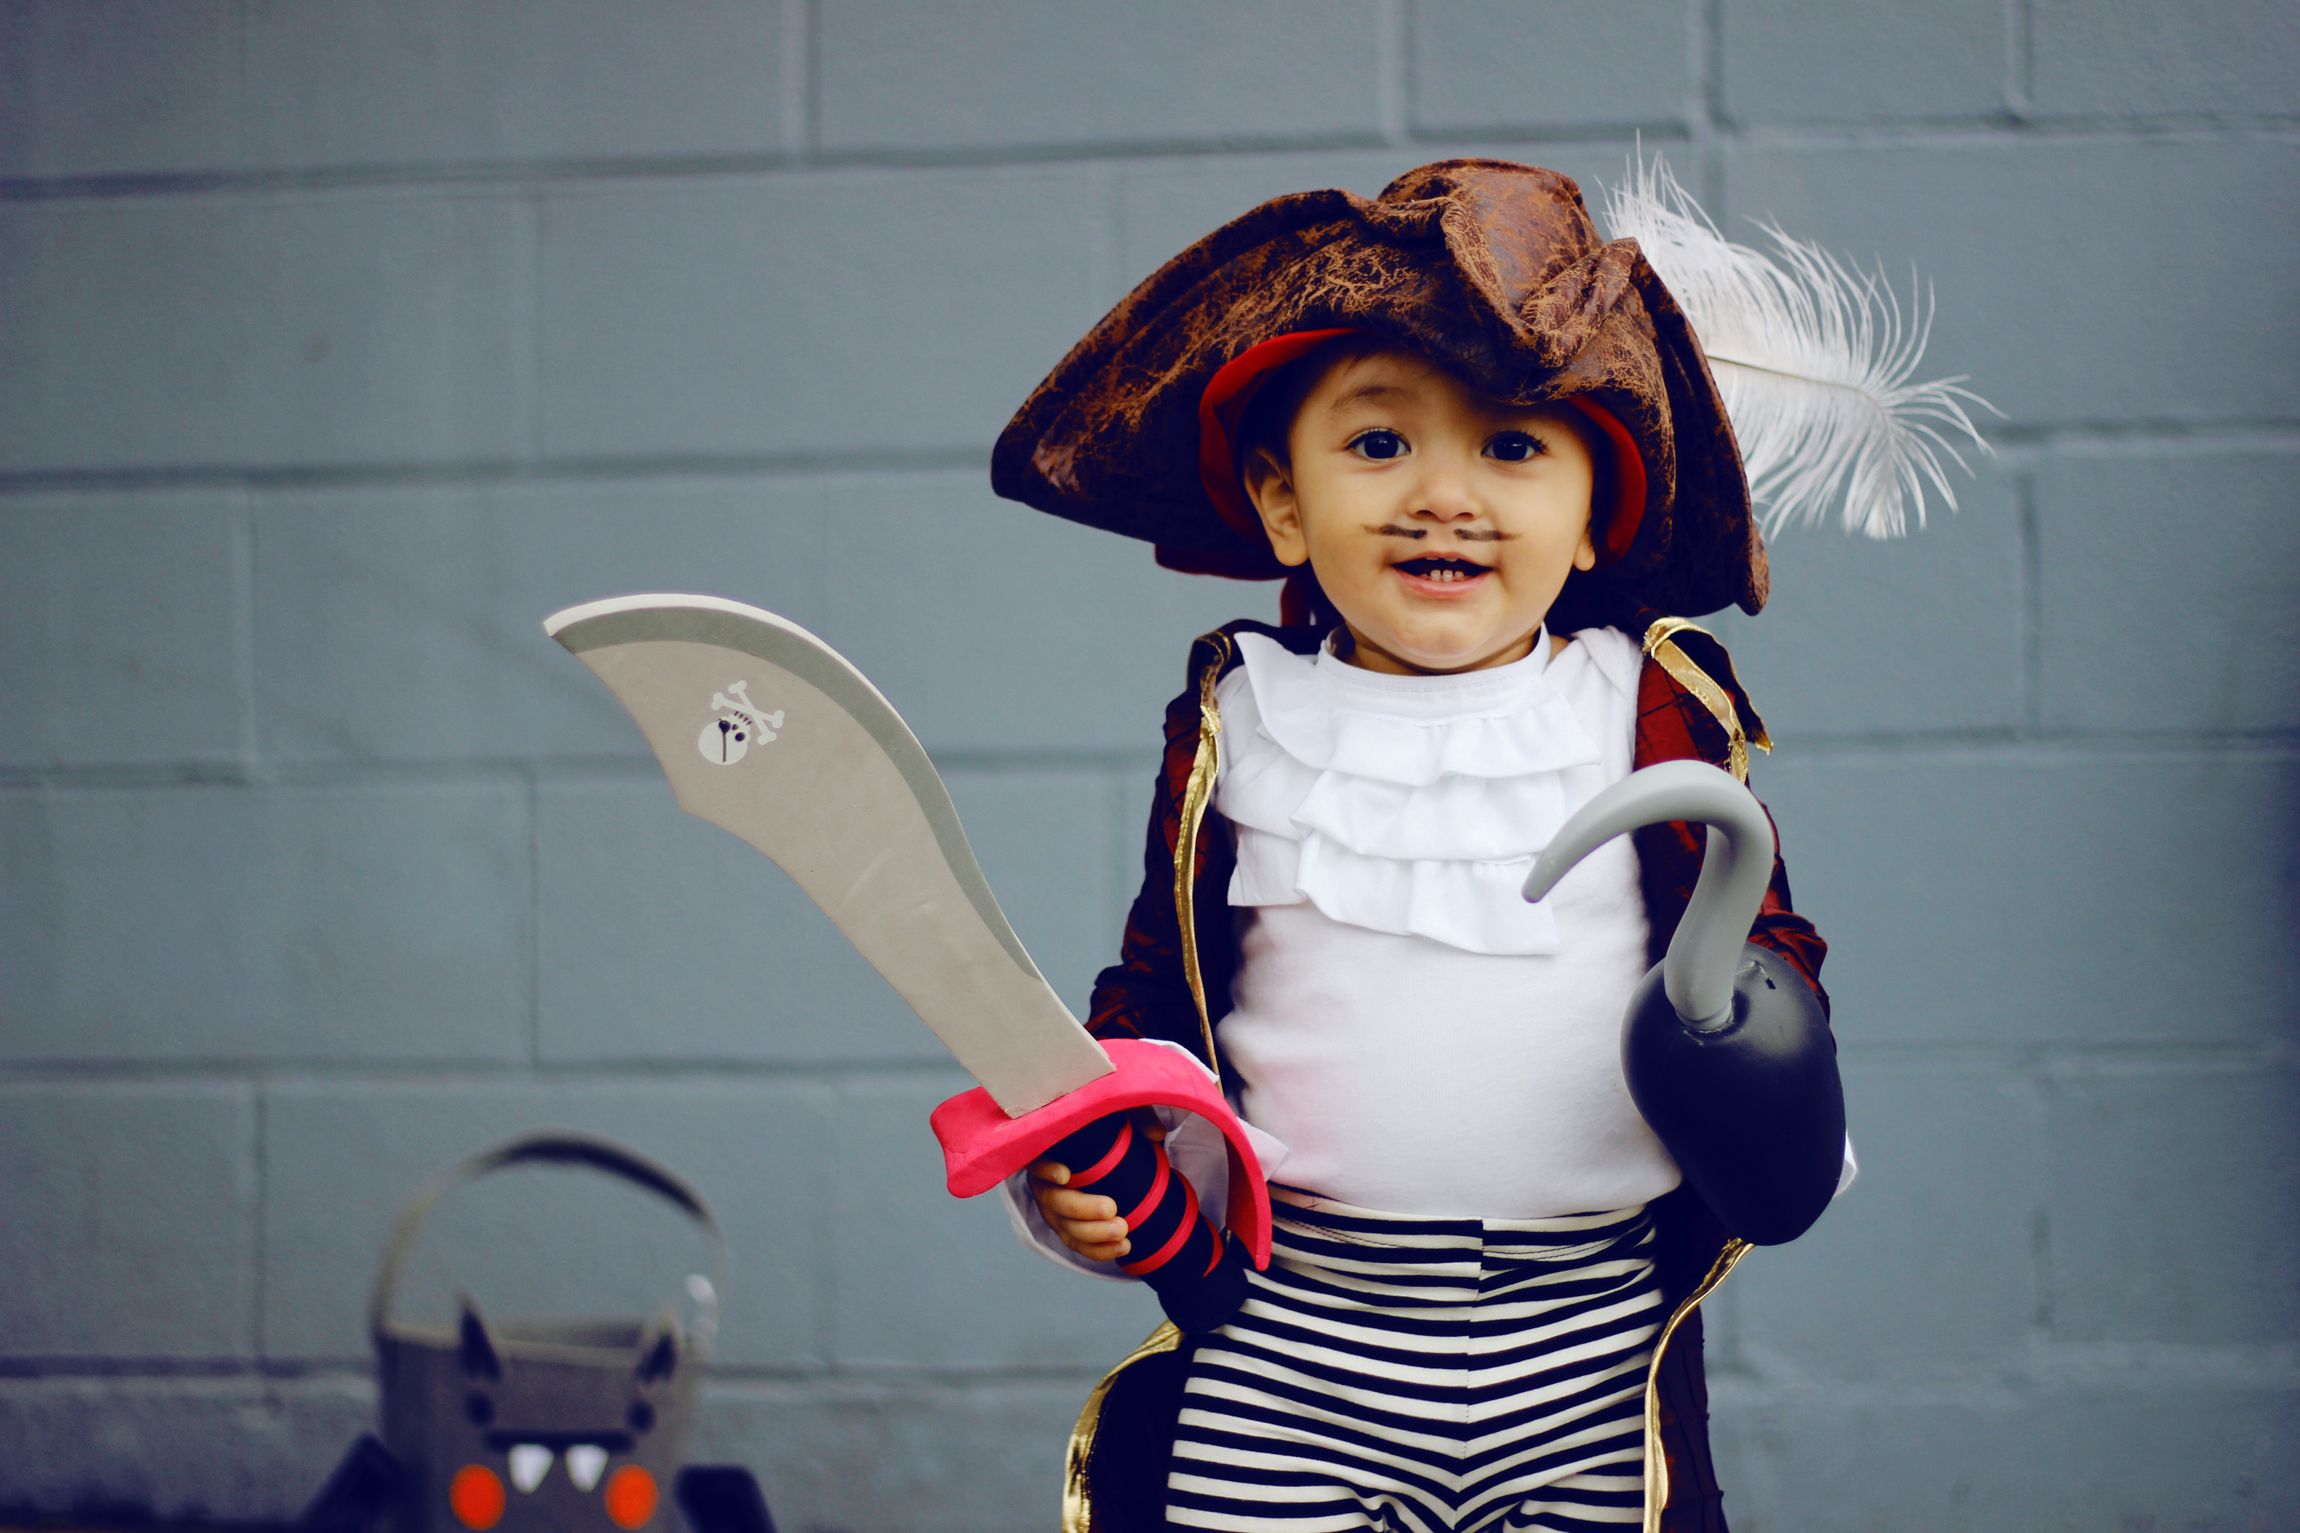
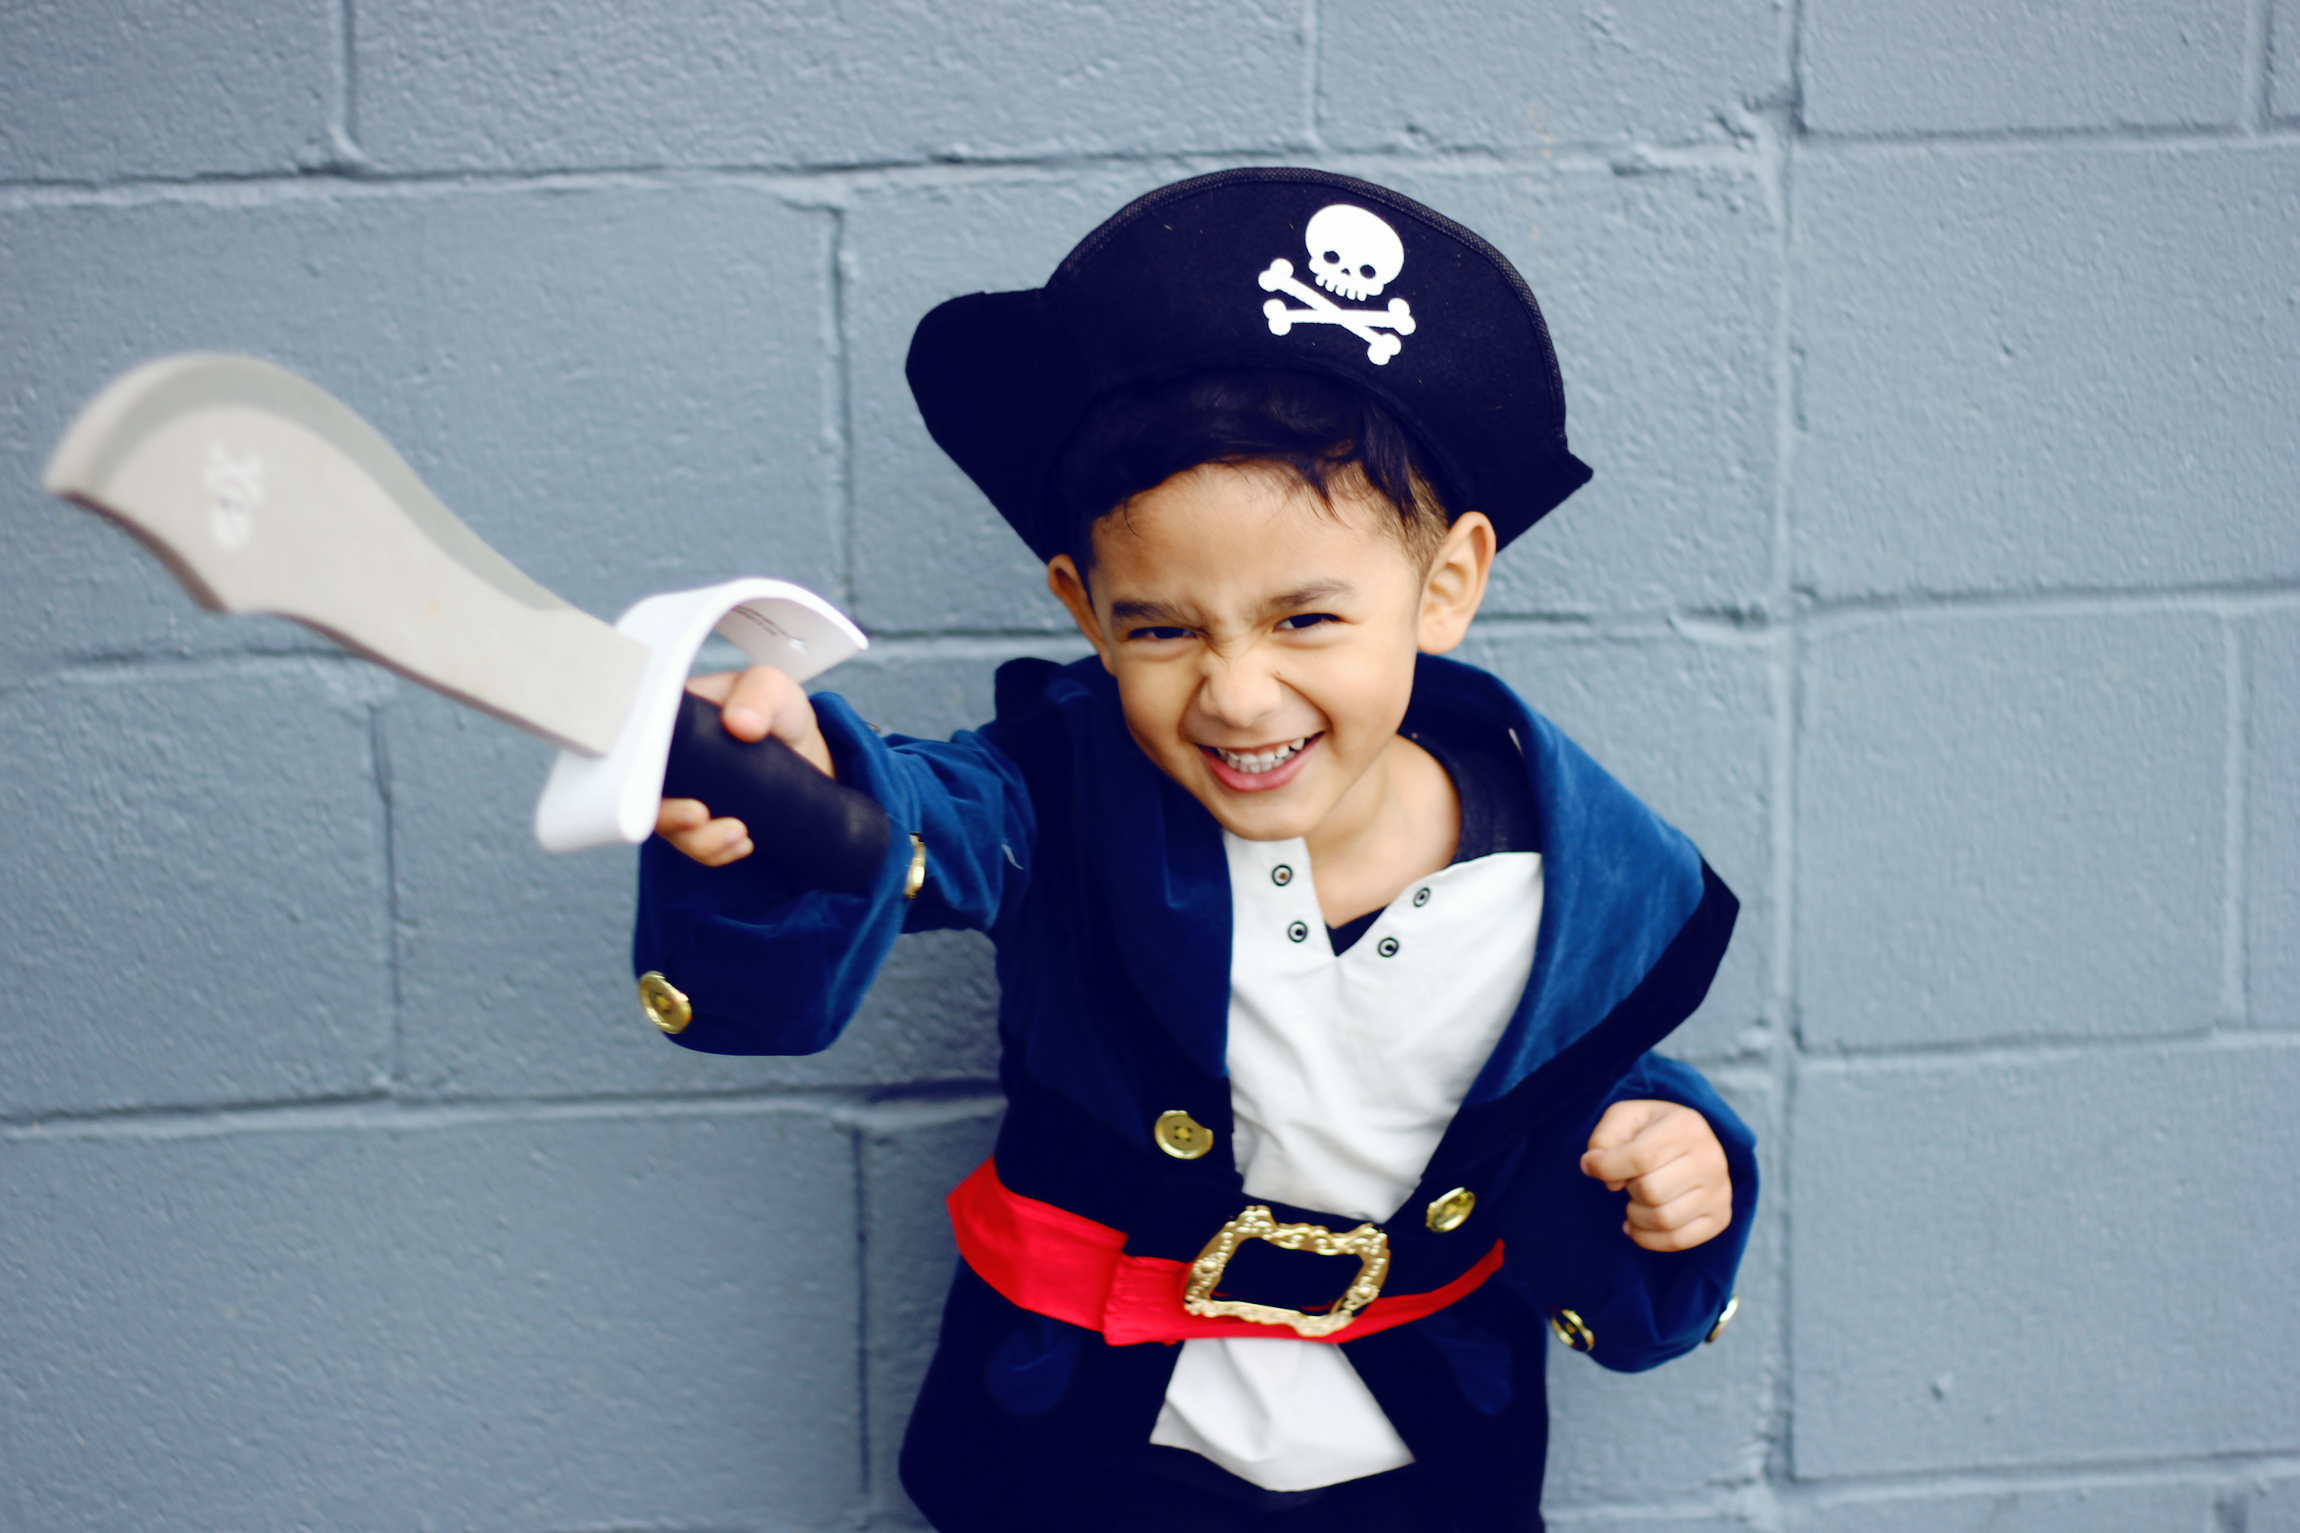
Aren't they SO adorable?! On the right we have the Captain Jake costume from the Disney store which you can find HERE, and on the left we have our modern version of Captain Hook. We put it all together; handmade the burgundy coat, the collar, and the arm cuffs. We found a cool pirate hat, added a large white feather and tied it all together with striped leggings and of course: Converse! All pirates wear striped leggings right?

DIY Projects - KID COSTUMES: CAPTAIN HOOK + CAPTAIN JAKE - All Kids Are Gifted

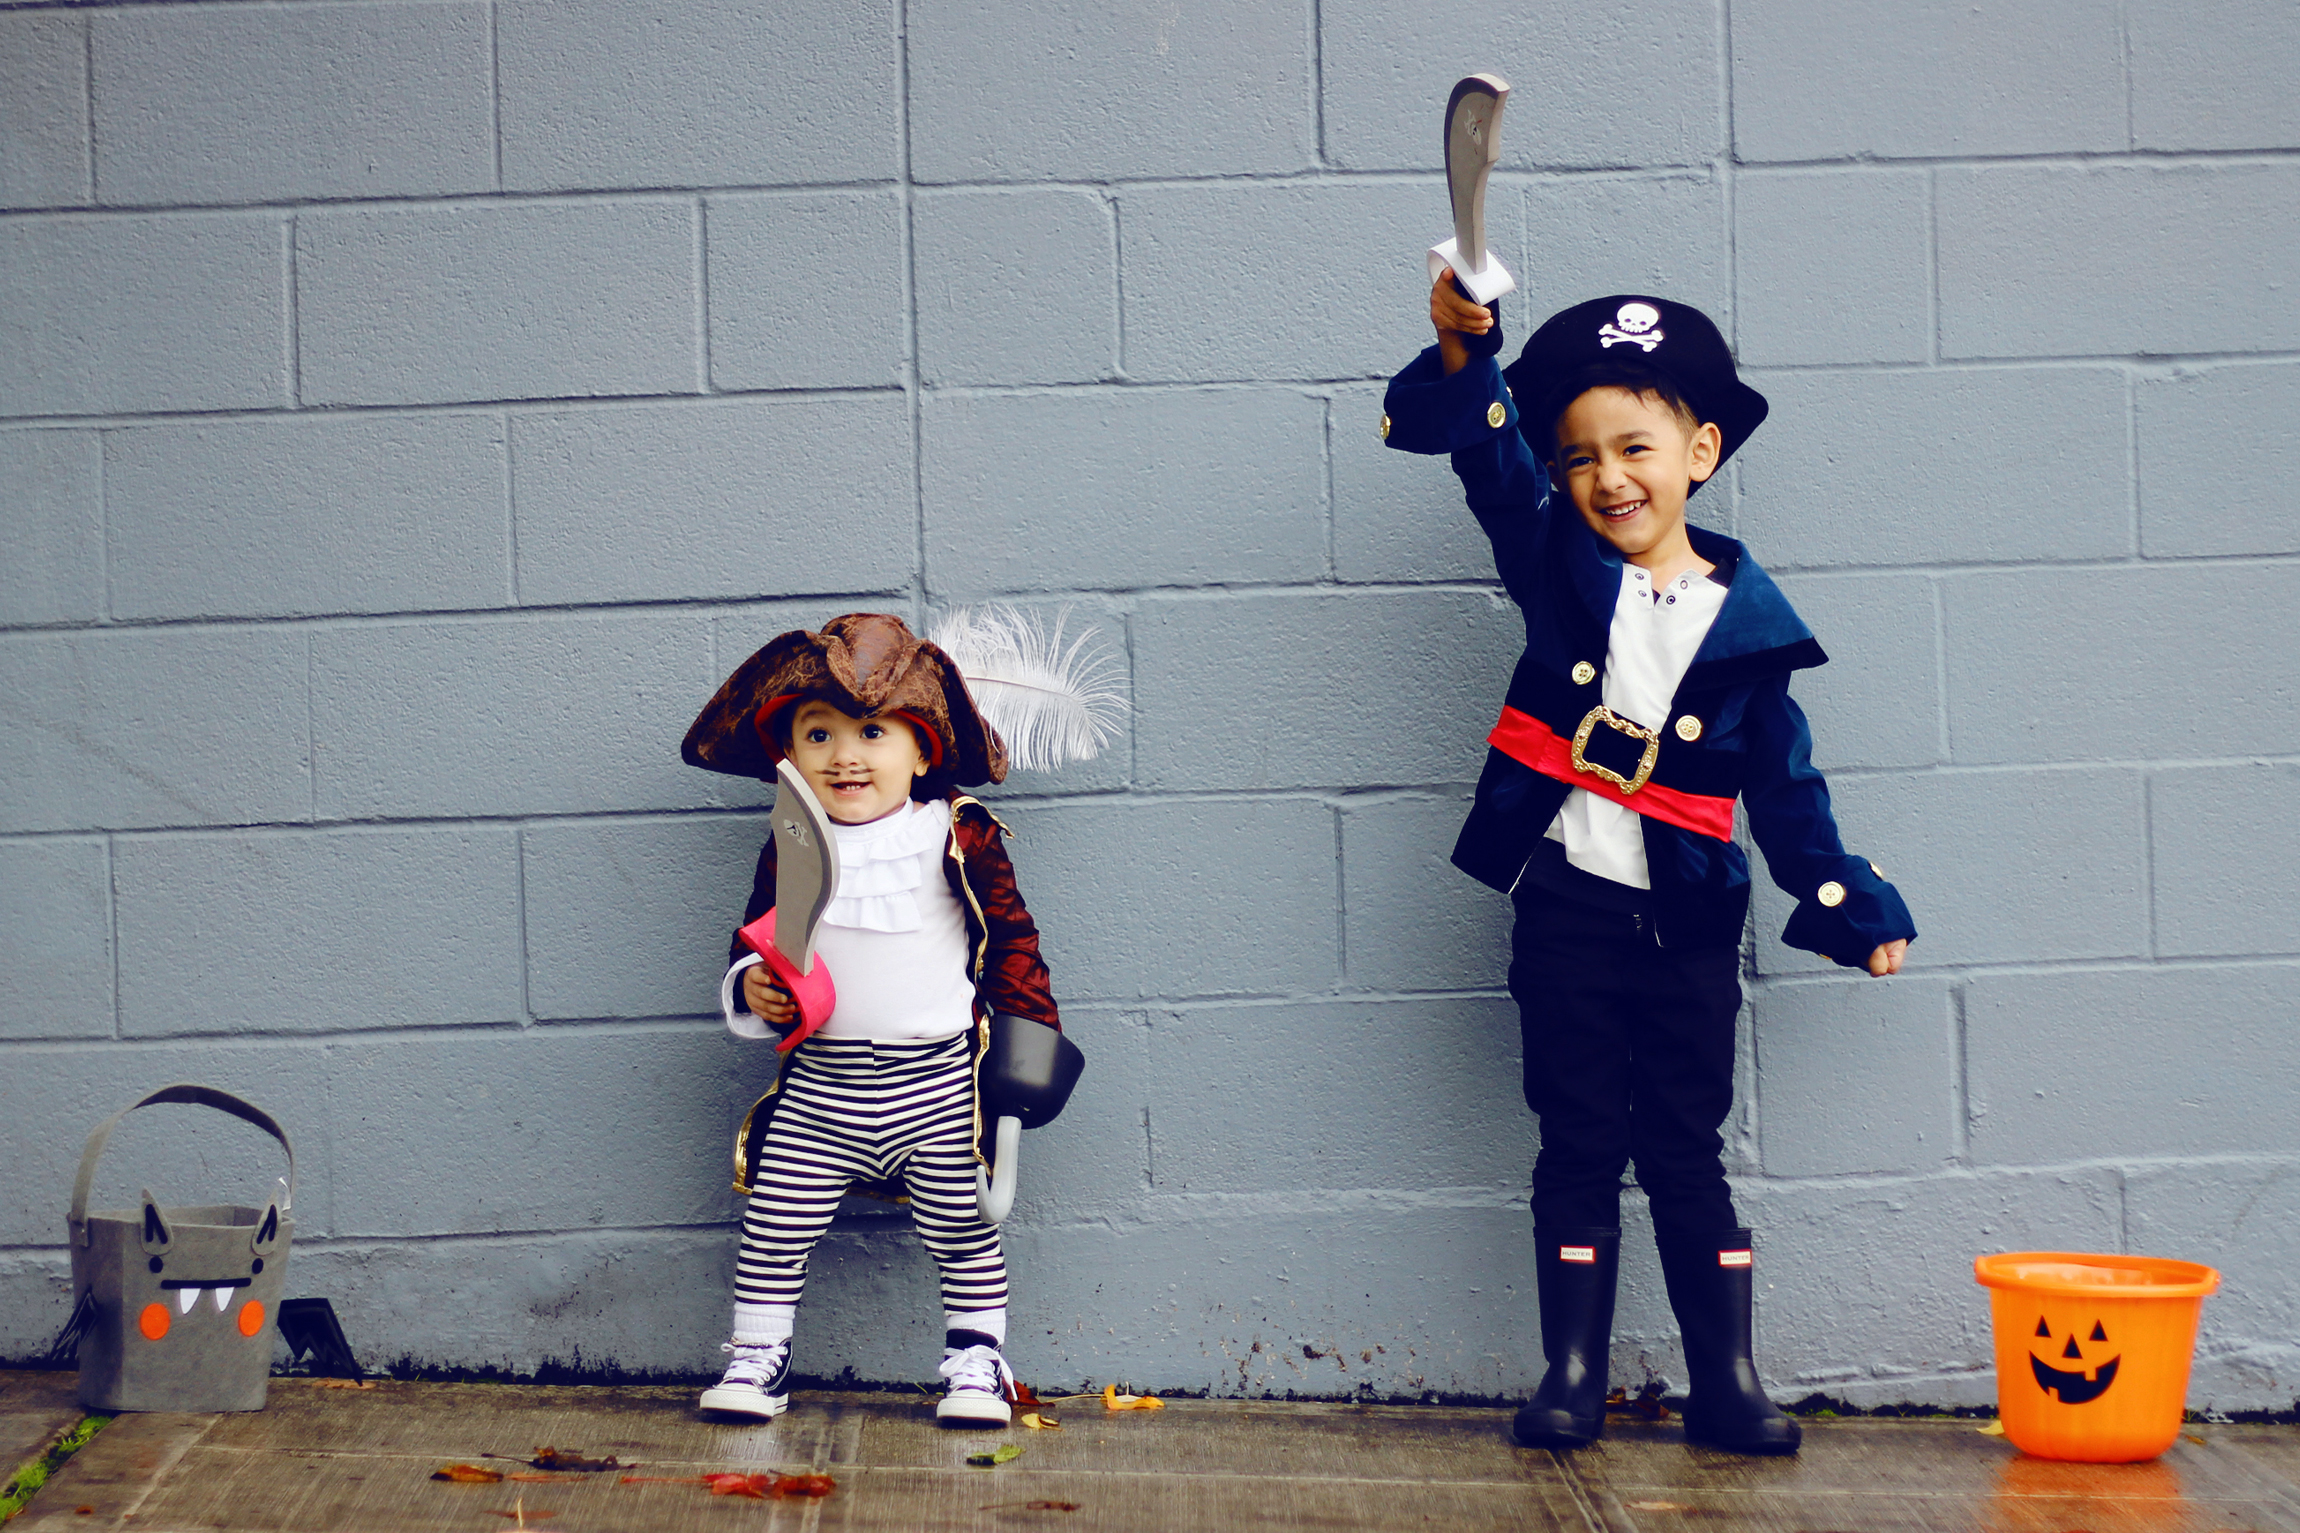
The full outfit details can be found at the end of this post! Have fun getting your littles and yourselves ready for Halloween this year loves! What will you and your kiddos dress up as?

DIY Projects - KID COSTUMES: CAPTAIN HOOK + CAPTAIN JAKE - All Kids Are Gifted

•       •       •
// OUTFIT DETAILS 🎃  //

• CAPTAIN JAKE •
JACKET: Part of the Jake costume from the Disney store
PIRATE HAT: Shop similar HERE
BOOTS: Hunter shop similar HERE
SWORD: Shop similar HERE
PUMPKIN PAIL: Target shop HERE

• CAPTAIN HOOK •
LONGSLEEVE ONESIE: H&M shop HERE
COLLAR/ASCOT + ARM CUFFS: Handmade
CAPTAIN COAT: Handmade
CAPTAIN HAT: Shop similar HERE
PIRATE LEGGINGS: Target shop HERE
SHOES: Nordstrom shop low top version HER
SWORD: Shop similar HERE  
HOOK: Party City shop HERE
BAT PAIL: Target

MINI PINEAPPLE PIñATAS! 🍍

Ello! Making these mini pineapple piñatas was actually a very fun project! The idea came to me when I was trying to come up with a fun party favor for my sons 4th birthday party (last year) and then it clicked! I had purchased a cute mini donkey piñata at Target a few weeks before, but I wanted to add my own little creative twist to go with his summery tropical theme. Plus I've been really into pineapples lately so there you go! 

DIY Projects — MINI PINEAPPLE PINATAS — All Kids Are Gifted

MESSY LEVEL: 3
The paper maché  process can get pretty messy with the glue and water mix. Also, there is a lot of tissue + paper cutting and gluing.  

SUPPLIES: 

  • Balloons

  • Tissue paper

  • Scissors

  • Water

  • Elmer's glue (I used the largest gallon I could find)

  • Hole punch

  • String for handle

  • Dish to mix glue + water

  • Newspaper / magazine paper

  • Paper for small message (optional)

  • Card stock to seal bottom of shape

  • Acrylic / tempera paint

  • Paint brushes

  • Card stock for stems / leaves

1. First of all you want to blow up your balloon(s) to the size desired. After that, you want to mold them (by squeezing the balloons) into the shape you're wanting the body of the piñata to have. Then you're ready to start paper maché-ing. I mixed 3/4 parts glue to 1/4 parts water so that it was  a thicker consistency, just soak each piece of newspaper or magazine and stick it right onto the balloon.  I found that 2 -3 layers of paper maché is best for this project. I also left a top and bottom opening on each balloon so that once the paper maché dried I could determine which side I liked best to be the bottom and top of the pineapple. I tied some yarn (any type of string will work) to the end of each balloon to hang while drying so that the soon to be piñatas would dry evenly, this also made it easier to add the extra layers of paper maché.

DIY Projects — MINI PINEAPPLE PINATAS — All Kids Are Gifted

2. Once your paper maché is dry and you're left with a solid shape, you pop all of the balloons and take them out of each piñata along with the yarn used to hang dry them. Then you're ready to see which side would be best as the bottom side. When you pick that, it's time to seal it off by creating a cardstock circle (make sure it's a good amount larger than the opening). Cut half inch tabs all the way around your circle, then you dip each cardstock circle into the glue and water paper maché mixture.

We did this by: Turning each piñata shape upside down and laying the circle flat on the opening that we wanted to seal off. We then smoothed the edges out all around and glued them to the sides bending and gluing them down into the rest of the shape. Two layers of glue mixture is best for a good solid base. Let this part dry well. If it's too soft once dry, add another layer and don't be afraid to use too much glue, the more glue the better for a solid base that isn't easily breakable.

DIY Projects — MINI PINEAPPLE PINATAS — All Kids Are Gifted

3. Now that the bottom of your pineapple is dry, you have a standing piñata! These top openings will be where you attach the stem / leaves of the fruit. You can add the candy (if you're putting candy in it) here or you could do what I did and put the candy in a separate little bag so that the leaves aren't ruined. Also feel free to cut the openings wider to form a nice circle , it makes it easier to insert the leaves and will leave a nicer overall result.

DIY Projects — MINI PINEAPPLE PINATAS — All Kids Are Gifted

4. I then painted each piñata with a tempera paint so that the newspaper didn't show through the thin tissue outer layer. You can also use the paper maché method and add a yellow (or whichever color) paper all over. I tried this with one of the piñatas and found it more time consuming, so then I went with the paint which was a lot faster for me. 

DIY Projects — MINI PINEAPPLE PINATAS — All Kids Are Gifted

5. After that I added two layers of small tissue paper squares I cut to seal the bottom of the piñata for a nice finish, since I knew I wanted to add a message to each. You can do this by just gluing down each tissue square, and then sealing it with a coat of glue as well. Once the glue is dry you're left with a nice, durable, and shiny finish. This is optional and if you're happy with what the bottom of your piñatas look like once you're done painting them, you can totally skip this step

DIY Projects — MINI PINEAPPLE PINATAS — All Kids Are Gifted

6. Then you're going cut 1 inch wide x 2 inch long strips of tissue paper. You can either cut small vertical lines all the way across (like the traditional piñatas normally use) or you can create a chevron pattern. These will be the strips you layer all around your piñatas. I used both kinds of strips to have a variety of the piñatas for the kiddos. 

DIY Projects — MINI PINEAPPLE PINATAS — All Kids Are Gifted

7. Once you have enough strips cut (about 20) you can start layering and gluing them all around your piñata, row after row from bottom to top. I just used a paint brush and painted elmer's glue along the top of each strip to seal it down and kept doing this until I reached the opening of the piñata.

DIY Projects — MINI PINEAPPLE PINATAS — All Kids Are Gifted

8. When this is dry, you can make two holes with your hole punch on opposite sides of the top of the piñata so that you can attach your sting that will be the handle. I used a plastic craft string but any durable yarn, string or plastic would work. 

DIY Projects — MINI PINEAPPLE PINATAS — All Kids Are Gifted

9. Now you're ready to add your leaves. I cut pieces of green card stock into different shapes and sizes of pineapple leaves. Then I added some glue to the side that would be attached to the inside of the piñata, and put each of them in pressing firmly for about a minute to make sure they attached well. I did this all the way around the inside of the piñata folding the leaves in different places as I went, creating a pineapple leaf look. Then I did this again in a second layer attaching leaves to the leaf pieces that were already glued to the piñata. This formed the center leaves which you can also fold out or just leave standing. 

DIY Projects — MINI PINEAPPLE PINATAS — All Kids Are Gifted

10. When your glue is all dry you can focus on the finishing details. I typed out little messages for each guest, cut them into little squares, and glued each of them to the bottom of the piñatas. As I mentioned before, this step is completely optional. 

DIY Projects — MINI PINEAPPLE PINATAS — All Kids Are Gifted

Then TAAA DAAA! You're all finished and ready to add your creations to your party favor or cake table! Aren't they the cutest?! They make adorable little decorations as well for the party and for the guest to use in their home! Also watching each tiny birthday guest walk away with their little piñata party favor in hand was ADORABLE. I will definitely be making more varieties of these in the future! I hope you enjoy making them and we would love to see your creations!  Also, you can add any Holiday / celebration twist to them! Check out some of the Holidays we've used them for below! Don't forget to comment and tag us in your photos: @allkidsaregifted on Instagram (@allkidsrgifted on Pinterest) and use hashtag #allkidsdiy as well! Have fun!!

DIY Projects — MINI PINEAPPLE PINATAS — All Kids Are Gifted

TEA CUP SUCCULENT PLANTERS 🌱

Our family attended a friends babyshower not too long ago  and one of the (super cute) activities they had for the guests was to paint the most adorable little teacup planters. Of course my boys and I were all over that project! I didn't document the painting process since we weren't at home but here's a picture of the finished product. Can you guess which was painted by who? 


MESSY LEVEL: 2
Painting the ceramic planters can get a little messy, as can the planting of the succulents. Yay for creative messes!

SUPPLIES: 

  • Ceramic teacup planters
  • Acrylic paint
  • Gloss to seal paint
  • Succulents to plant
  • Potting soil
  • Shovel
     
DIY Projects — TEACUP SUCCULENT PLANTERS — All Kids Are Gifted

We adore how these turned out and have been waiting to plant some cute succulents (my fave) into them. This afternoon was so beautiful and sunny so we decided to go out to our back deck and make the planting happen. 

DIY Projects — TEACUP SUCCULENT PLANTERS — All Kids Are Gifted

// Can't forget to water!

DIY Projects — TEACUP SUCCULENT PLANTERS — All Kids Are Gifted

// And DONE! 

DIY Projects — TEACUP SUCCULENT PLANTERS — All Kids Are Gifted

// "Mama take a picture with my boots in it PLEASE!!!!" Can't say no to that! There you have it, apparently kids LOVE to help give plants a new home so I highly suggest including them if you're planning on doing any gardening/adding plants to your living space. Have fun planting! 🌱

CAR RACE WINNER'S STAGE!

On your marks, get set, RACE! Our oldest son is constantly lining his cars and racing them day in and day out. I was thinking of a new DIY I could do with him as I was watching him make yet another humongous car line when it hit me. Why not make a stage where his "race winners" could be displayed? He absolutely LOVED this idea and we set out to make it a reality! I looked through my supplies and gathered everything we could use for this and this is what we came up with! 

DIY Projects — CAR RACE WINNERS STAGE — All Kids Are Gifted

SUPPLIES:

  • 2 Paper towel cardboard tubes

  • 3 To-go cups [We used one 16 oz and two 12 oz cups]

  • Scissors

  • Ruler

  • Glue gun + glue sticks

  • Cardstock [In whatever color you choose to decorate cups and stage]

  • Foam board 12 x 12 inches [You can make this as big as you'd like]

  • Acrylic/craft paint + brushes

  • Decorations!

  • Optional: We used 1, 2, and 3 stickers to label the places + we made a little "rope" fence


1.) We started off by painting our foam board, I only had white on hand and since we wanted a black "road" stage a little acrylic paint did the job. If your foam board is already the color your little racer likes, you can skip this step. 

DIY Projects — CAR RACE WINNERS STAGE — All Kids Are Gifted

2.) Mark dots across your paper towel cardboard tube(s) 1 inch apart. Flatten, then draw lines across making it easier to cut. After you cut them, have your little one help you shape them back into rings. 

3.) Paint all of your rings color(s) desired! 

4.) Next, paint all of your cups for 1st, 2nd and 3rd place winners. We went with 1st Gold, 2nd Black (I didn't have any silver paint in stock), and 3rd Bronze. 

5.) Using cardstock, decorate the bottoms (which will be the tops) of your cups then glue them down to your foam board. 

6.) Glue down paper towel rings in front of your winners cups. 

DIY Projects — CAR RACE WINNERS STAGE — All Kids Are Gifted

7.) DECORATE! We added 1, 2, and 3 number stickers for each place. Then I made a banner to go behind the top winners and a little string + wood "rope" to go all around the stage so it was more enclosed. Feel free to do this as well or add whatever decorations you and your little helper choose! 

DIY Projects — CAR RACE WINNERS STAGE — All Kids Are Gifted

// DONE! It's time to play! My little men have LOVED playing with this stage especially my oldest that helped me make it. He felt such pride because he helped me every step of the way and his imaginary races now have a cool display! Have fun making these with your little racer, it's a simple DIY that will have them entertained for hours! 🏁