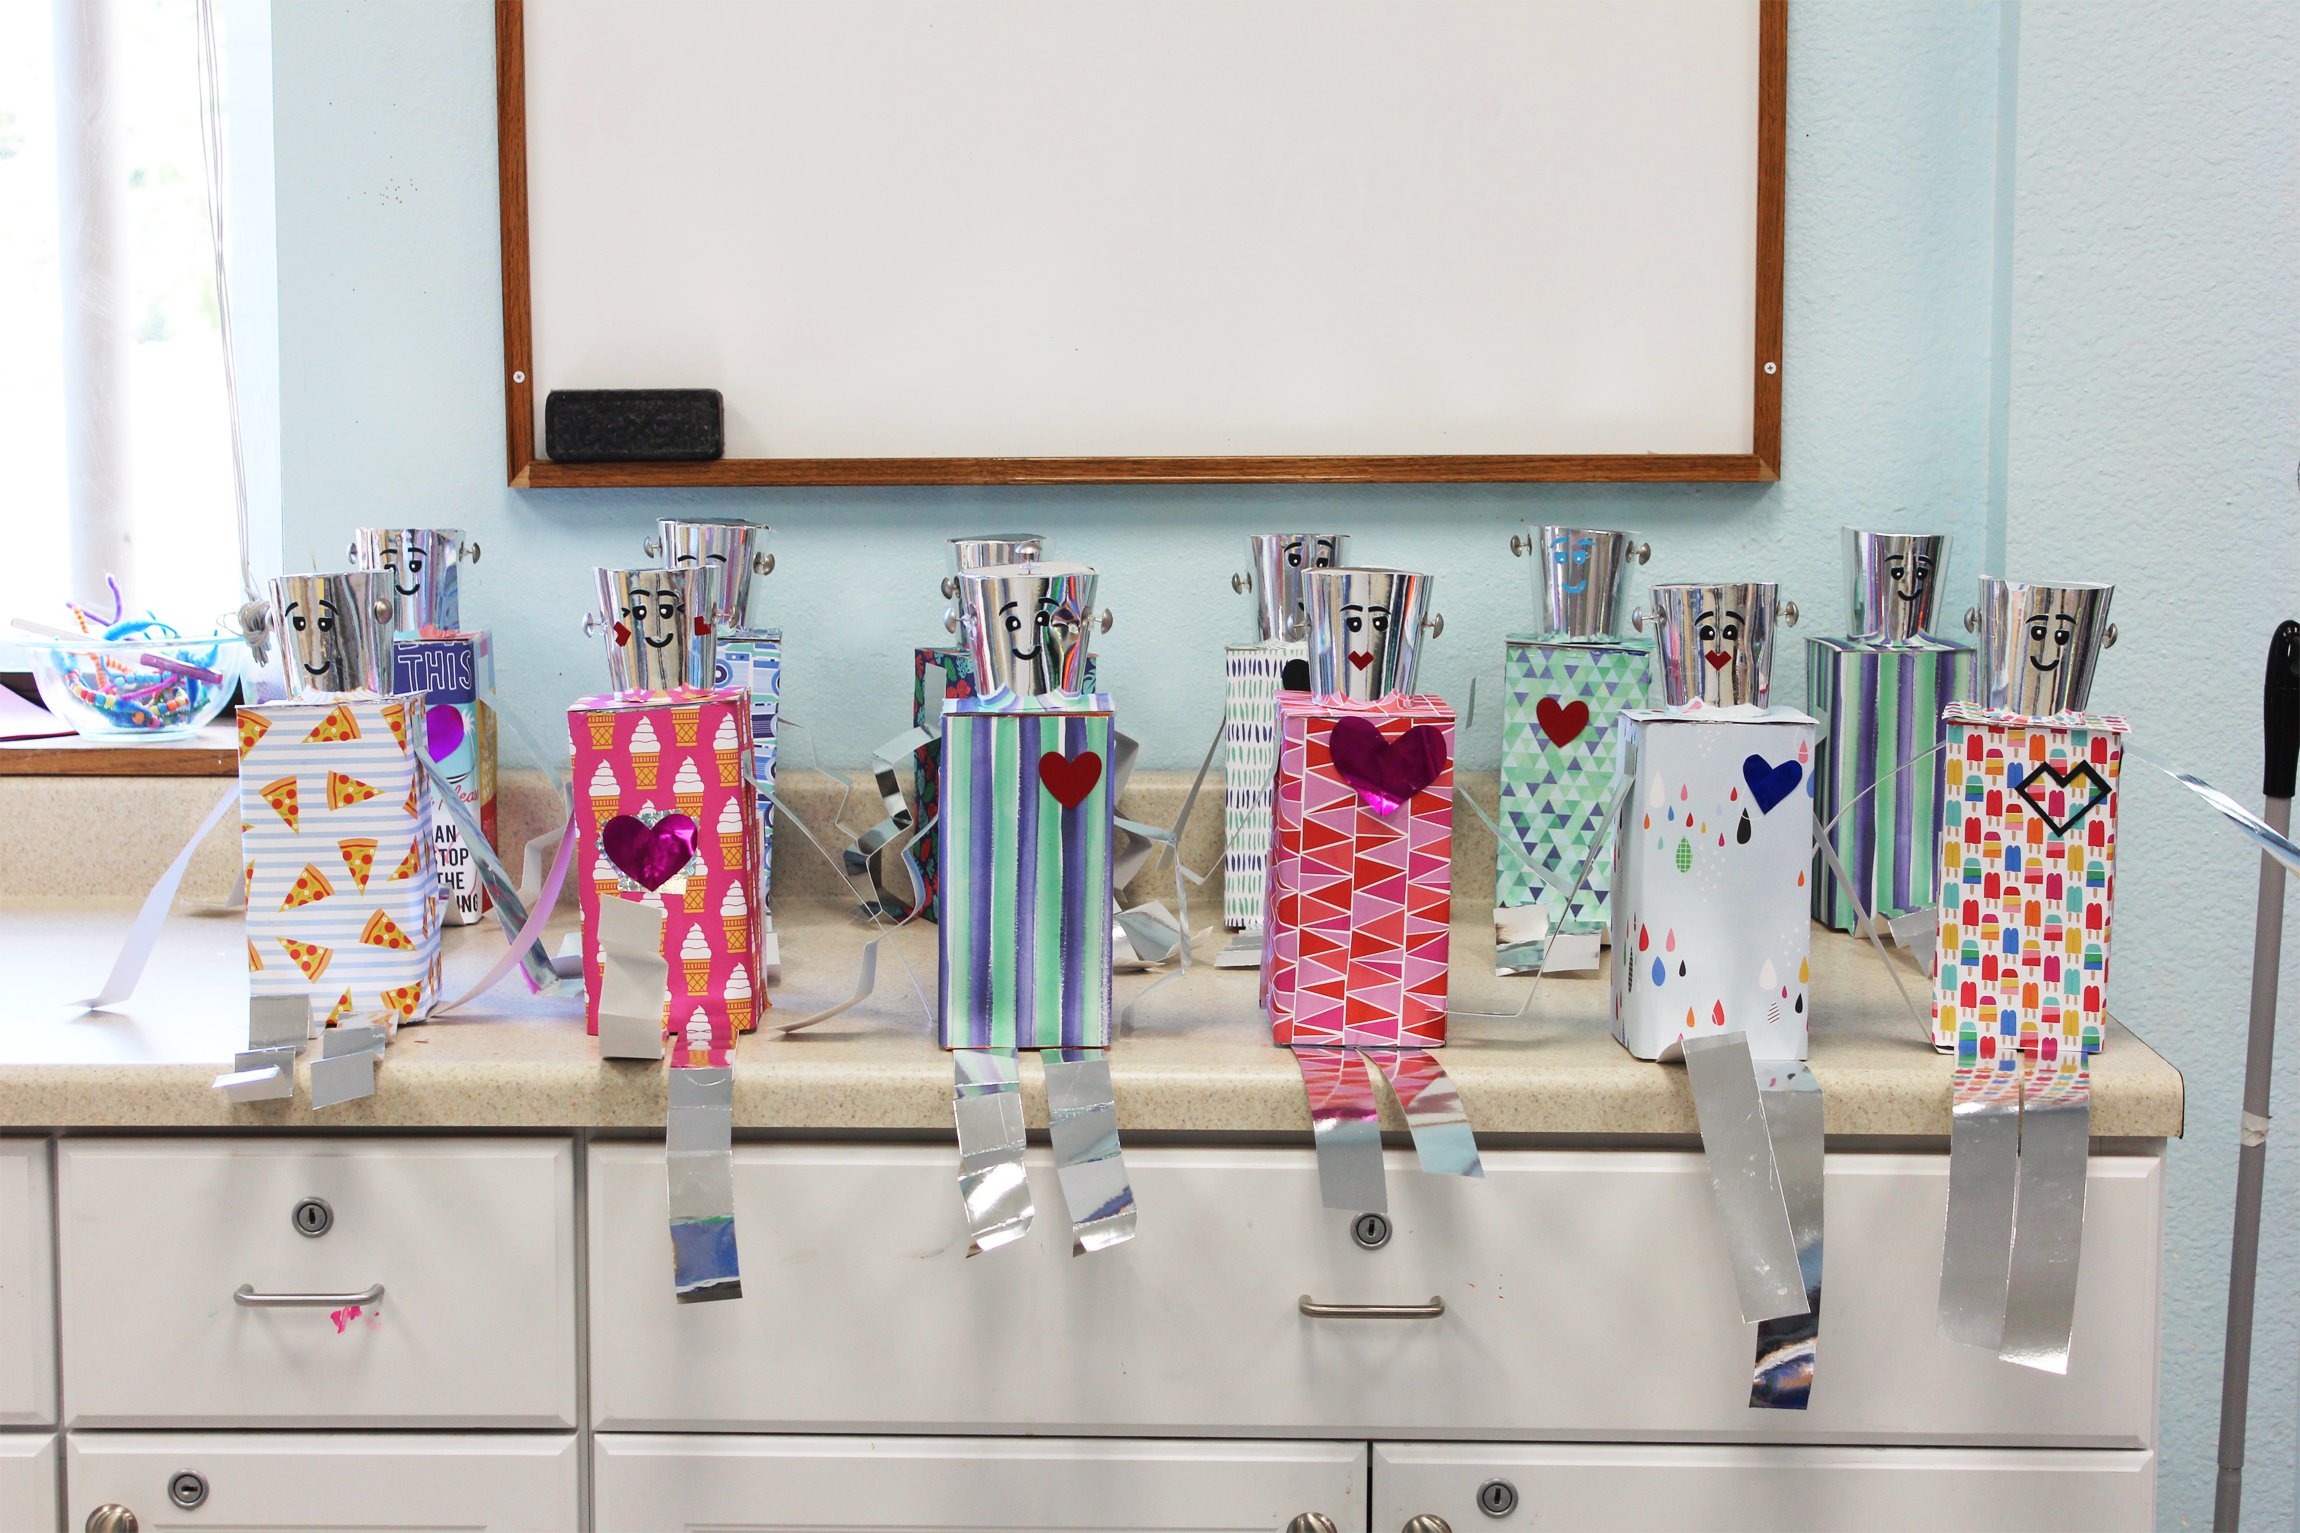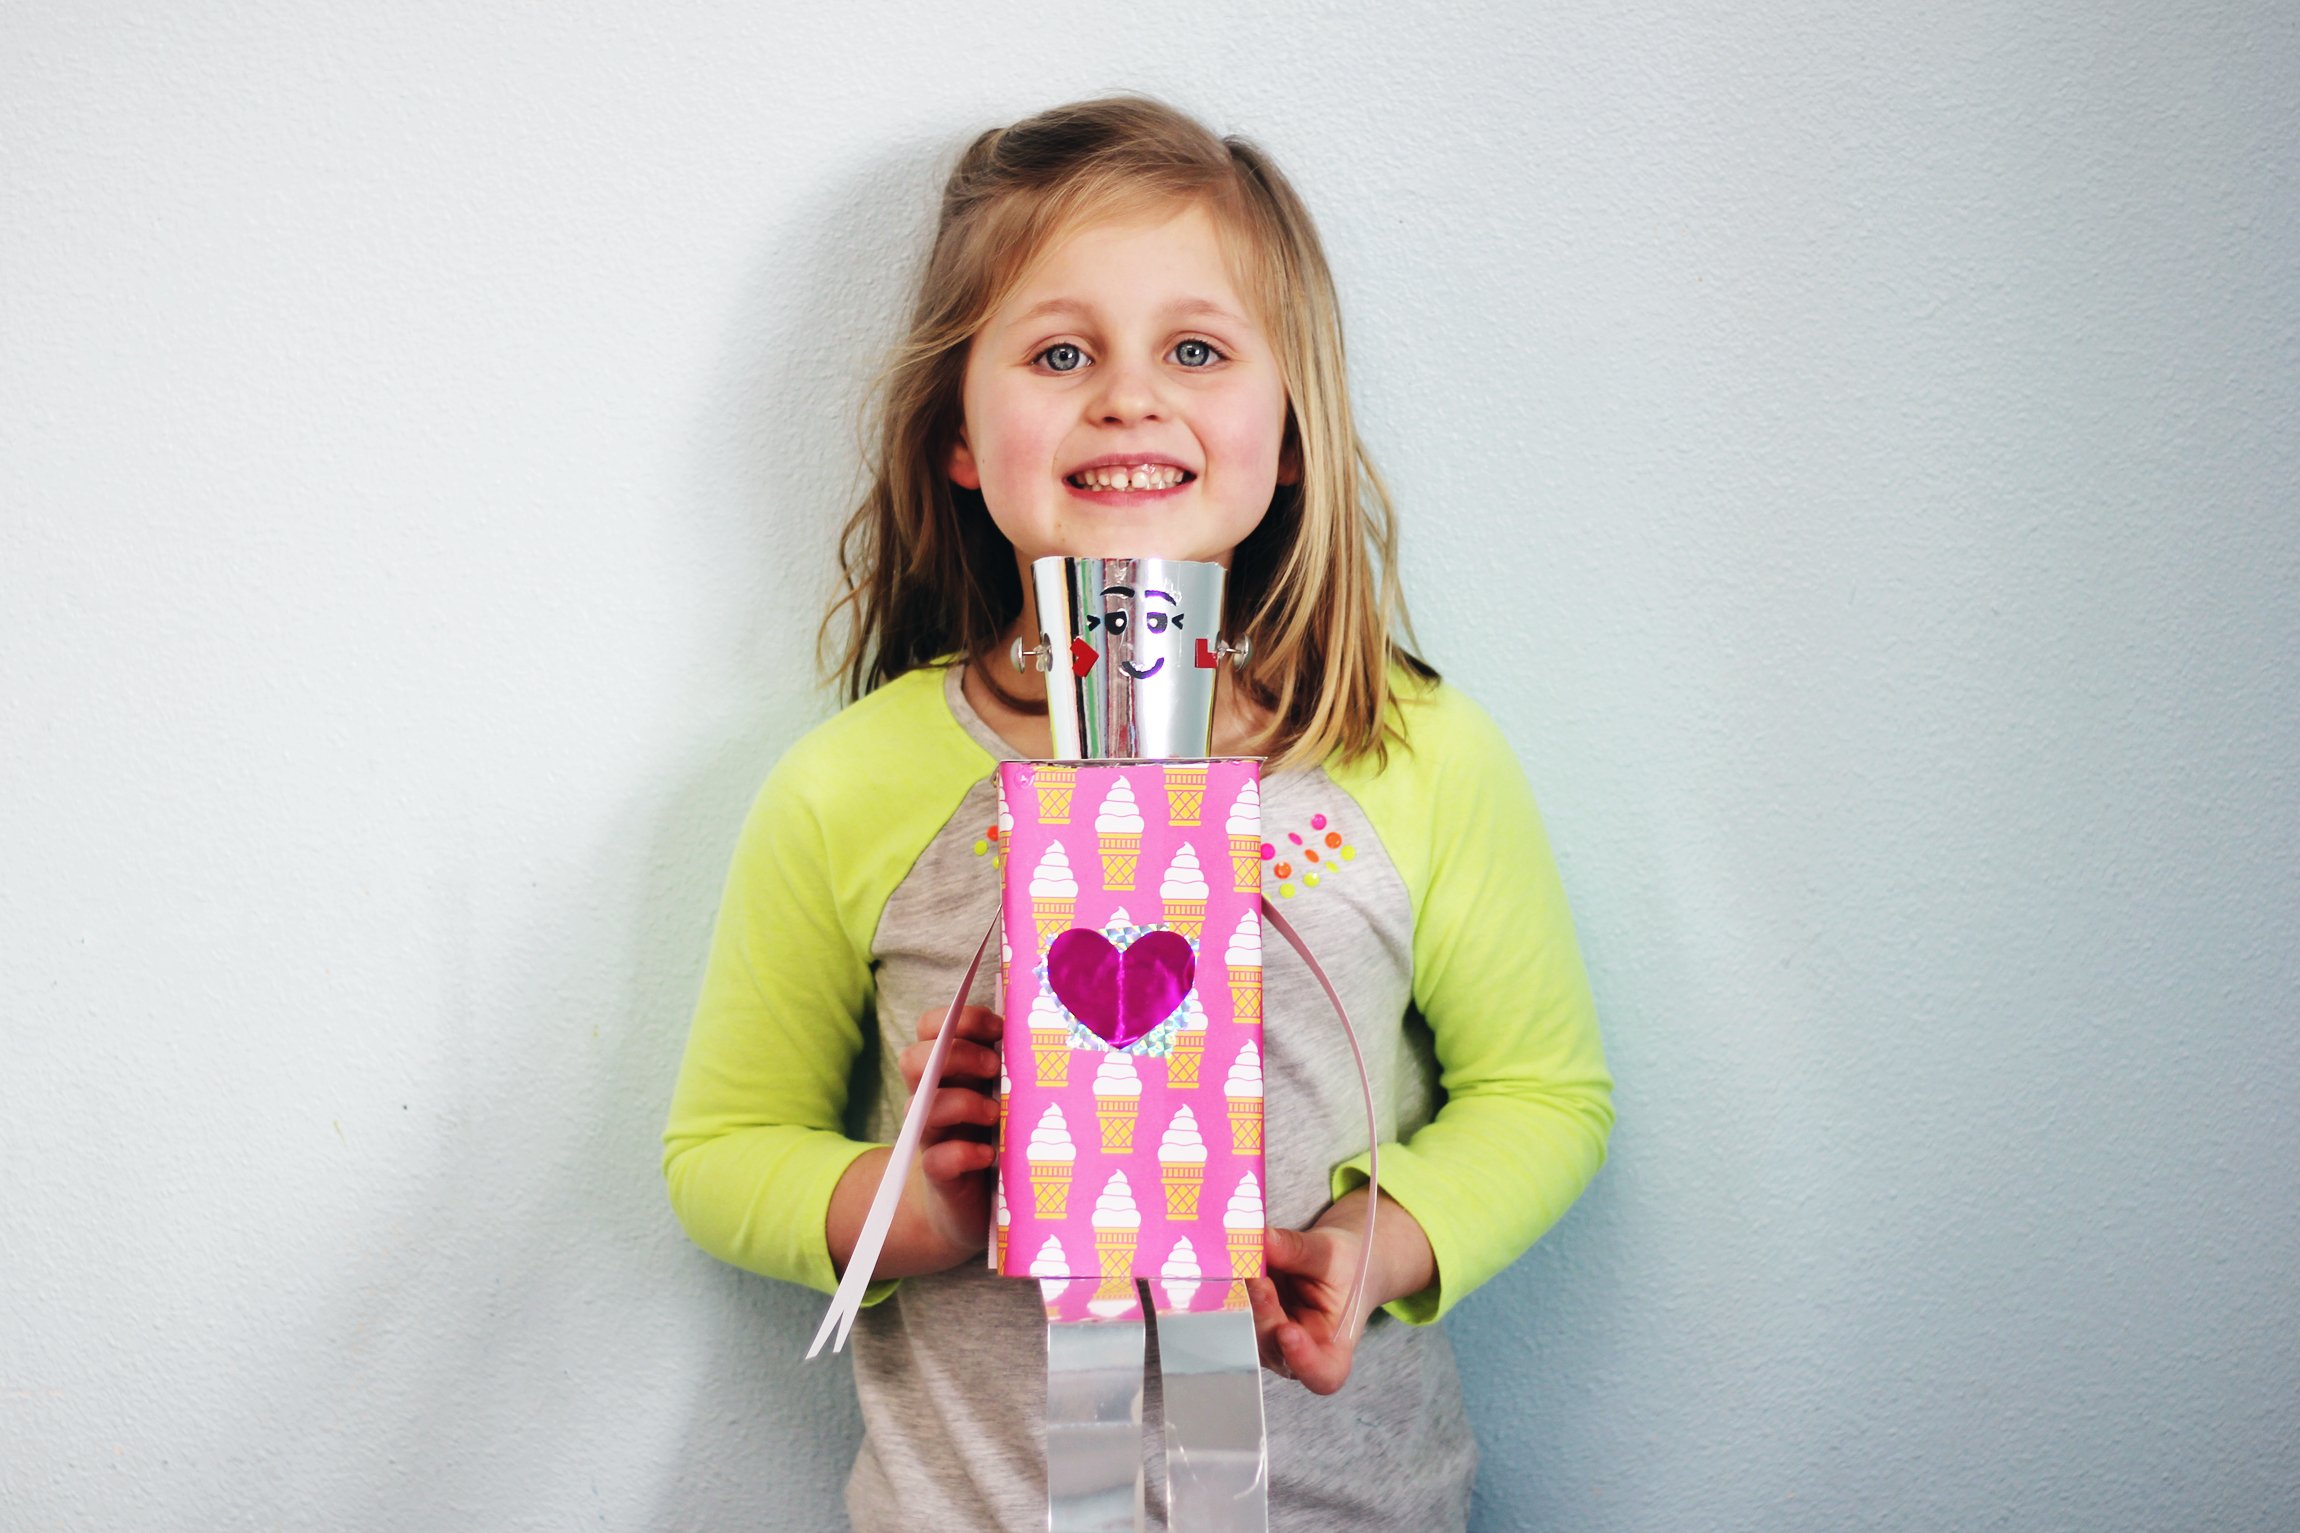
This super cute Valentine’s Day Robot DIY is a pretty easy Kids’ DIY to make with an adults help, and it will help you start decorating for Valentine’s Day! This projects is also a good idea if you’re a teacher needing a project for your class ... what better to collect adorable Valentine's from your classmates with than these Valentine’s Day Mailboxes? Have fun making these and getting ready for LOVE month!

❤️Check out our Youtube video of our Valentine’s Day Robot Mailbox below, or scroll down to see the written + photo step by step.
MESSY LEVEL: 1
This project isn't very messy, there is some gluing with the hot glue gun and paper cutting.
SUPPLIES:
1/2 gallon juice / milk container [ cleaned out ]
16 oz to-go coffee cup [ re-use / reduce?! we did! ]
Scissors
Ruler
Glue gun + glue sticks
Card stock [ in whatever color you choose for robot body ] + mirror card stock [ robot head, arms + legs ]
Foam / cardstock sheet [ robot face details ]
Decorative Tacks [ robot face details ] You can purchase in bulk HERE
Any other metallic supplies you have laying around [ we used New Years noise maker ribbon which was a perfect metallic detail, metallic tape works well too! ]

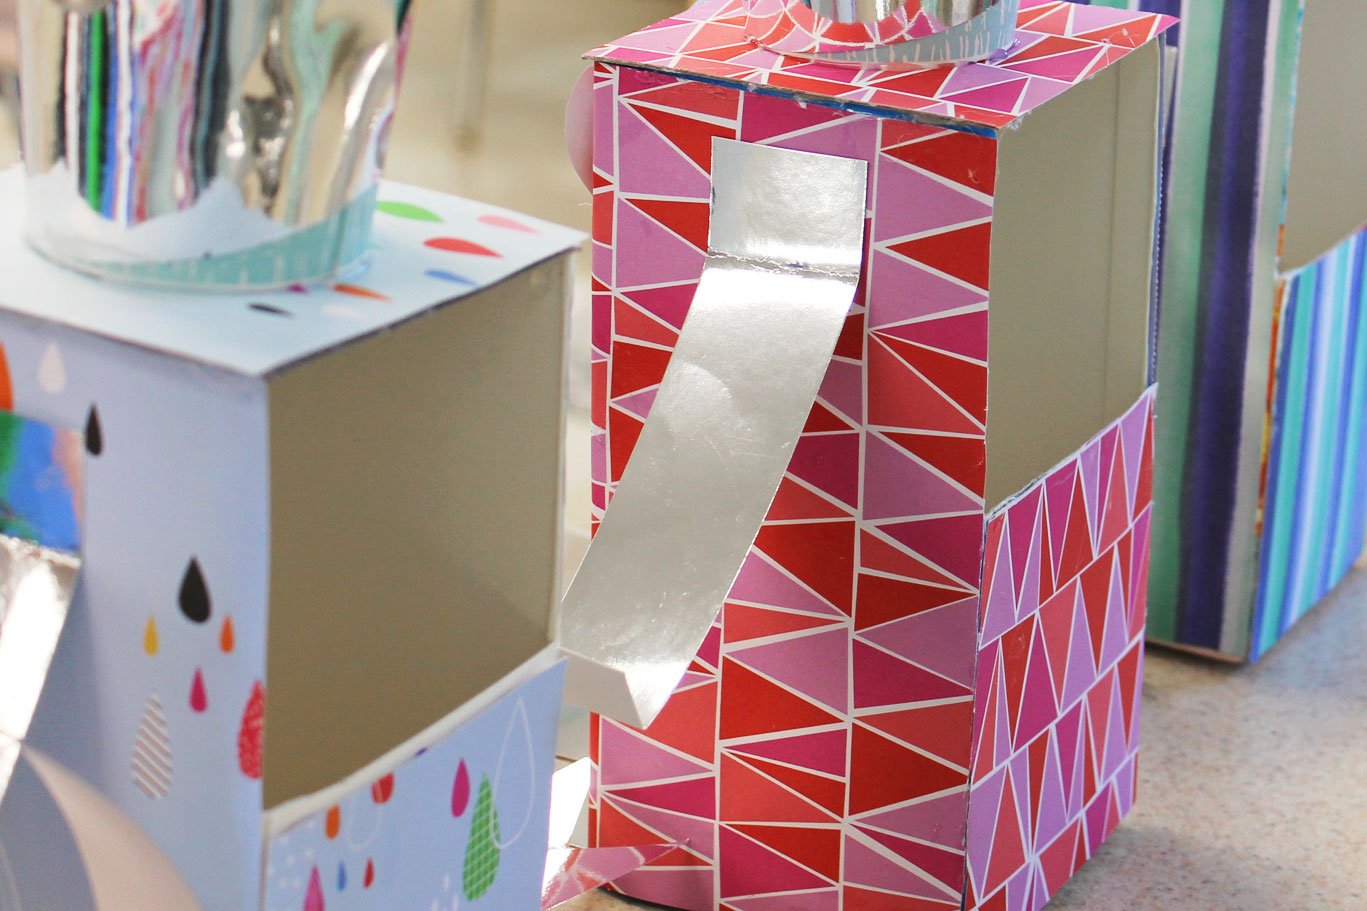
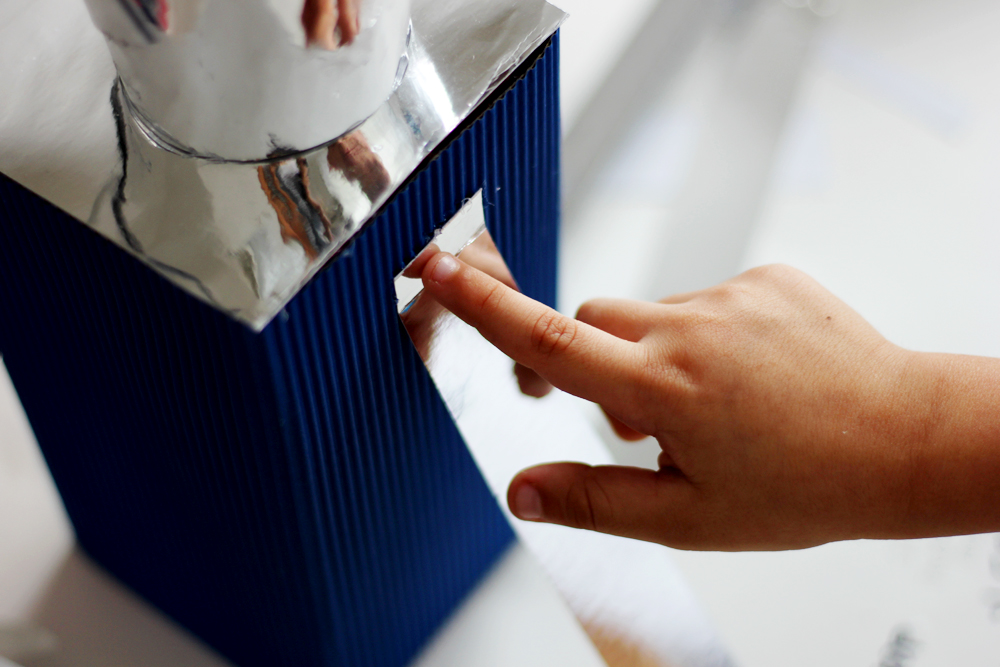
1.) Taking your clean 1/2 gallon container, you will help your little one cut the top part off along the line (unless he/she is an expert with the scissors, they can do it themselves.) Then, you are going to choose what the “back” of your robot mailbox will be and you are going to cut a square starting from the top, down to a little above the halfway point of the gallon. You will work your way across and back up to the top of the gallon forming a square. This will end up being the slot for Valentine’s do go into.
**TIP: I used a pencil to draw a line about halfway down the back of the container.

See example:
Here is what the back of finished your mailbox cubby will look like on back of robot:
2.) Next measure and cut a thick card stock square to fit over the top opening. You can even use the remaining square that you just cut out to create the mailbox opening on the back of the robot. You won't see this piece in the finished product, it's just to close the opening and for re-enforcement. Glue that down with the hot glue gun.

3.) After that, help your little one measure a card stock piece in the color you want the robots' body to be and cut it out. We used a 12 x 12 card stock piece, so the piece we measured wrapped around 3 sides of our container and we used the remnants of the card stock to cover the shorter back side.

4.) Then wrap your card stock around the container, gluing it down as you go.

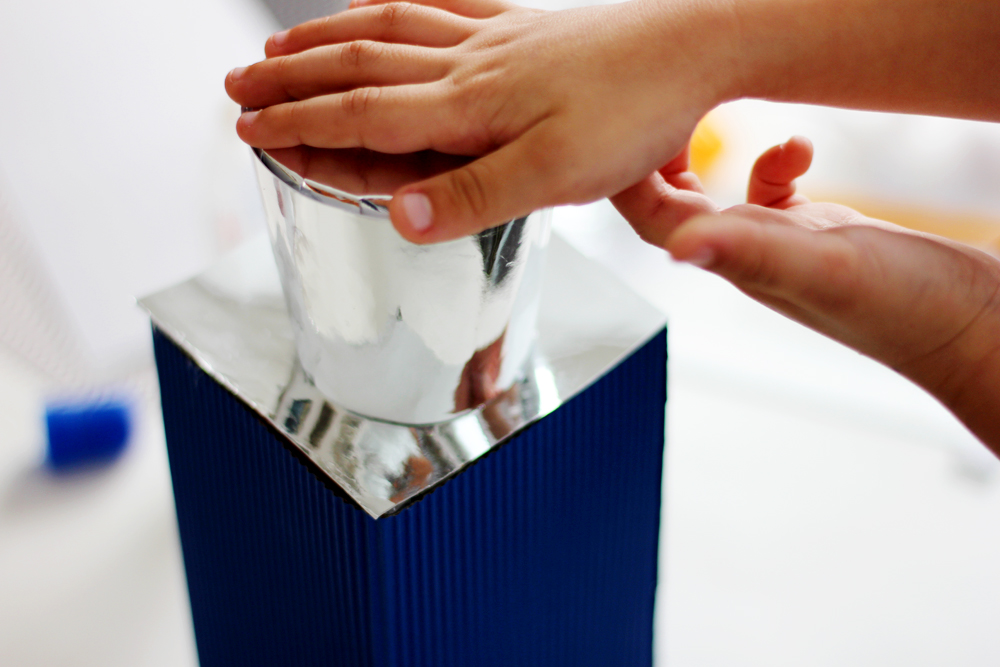
5.) The next thing we did was measure, cut, and glue a square piece of the mirror card stock to go over the previous layer of card stock square that covered the top. This will end up being the Robots' shoulders.

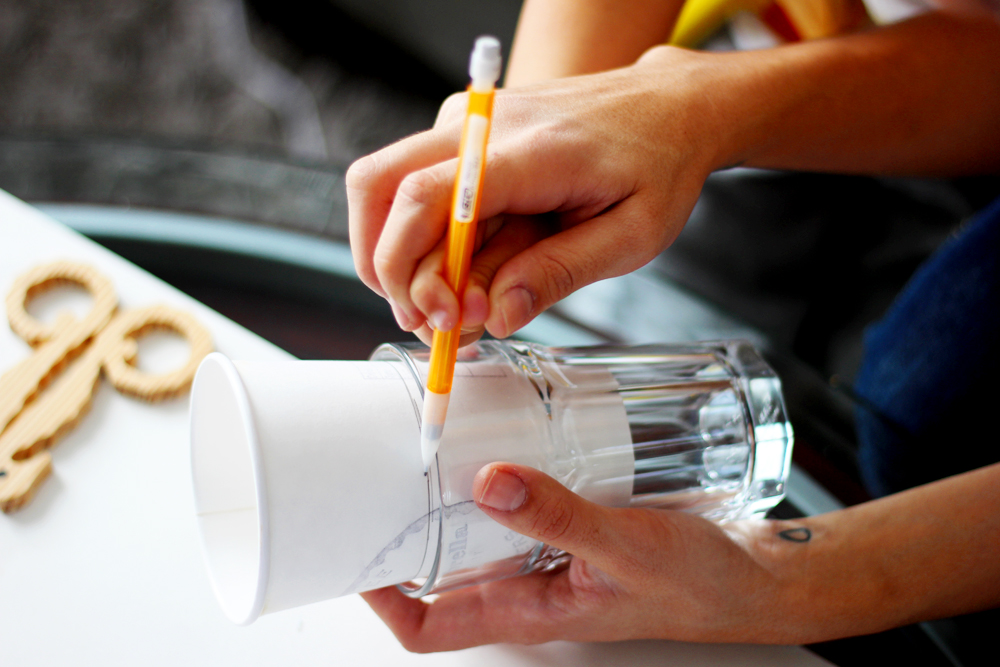
6.) Mark and cut out the bottom part of your cup, this will be your robots' head. We used a glass to help us measure and mark a straight cut all the way around our cup.

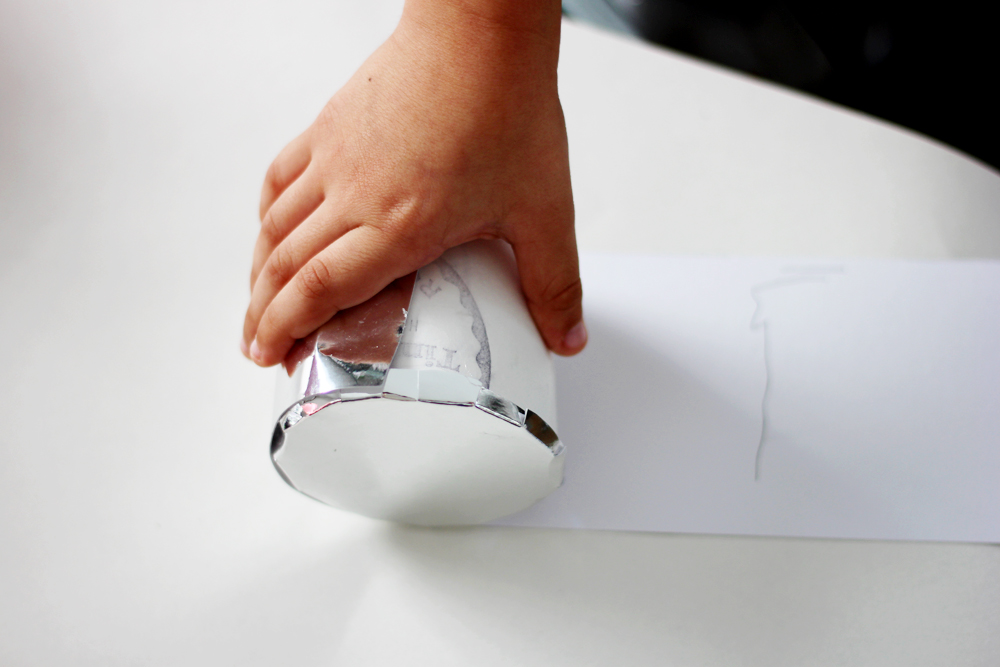
7.) Trace a circle around the top side of your newly cut cup onto the back side of your mirror card stock, then cut a circle 1 cm wider than this circle so that it's easier to attach the card stock to your cup (the top of your robots' head). I cut little tabs all around my circle and folded them in which made it easier to glue down to the top of the cup.


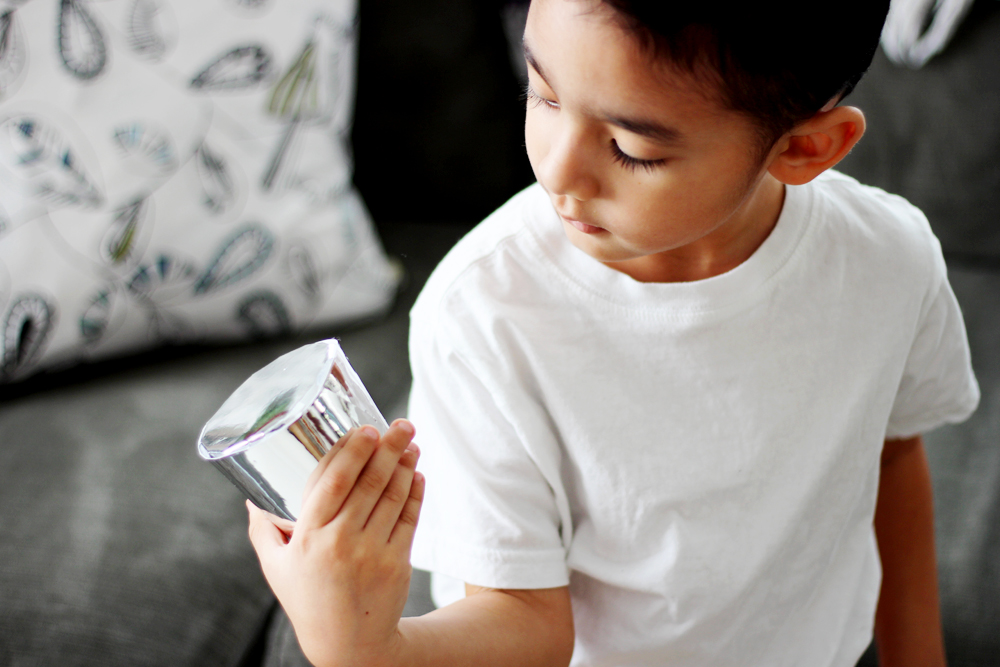
8.) After you glue down the top of your robot's head; measure, cut and wrap a piece of the mirror card stock all around the width of the cup (gluing it down as you go). Then you can glue this to the carton top (this will be your robots head and body).
9.) Cut 4 pieces of mirror card stock 1 inch wide, making 2 pieces 9 inches long and 2 pieces 11 inches long (these will be the arms and legs). Glue to the robots' body.

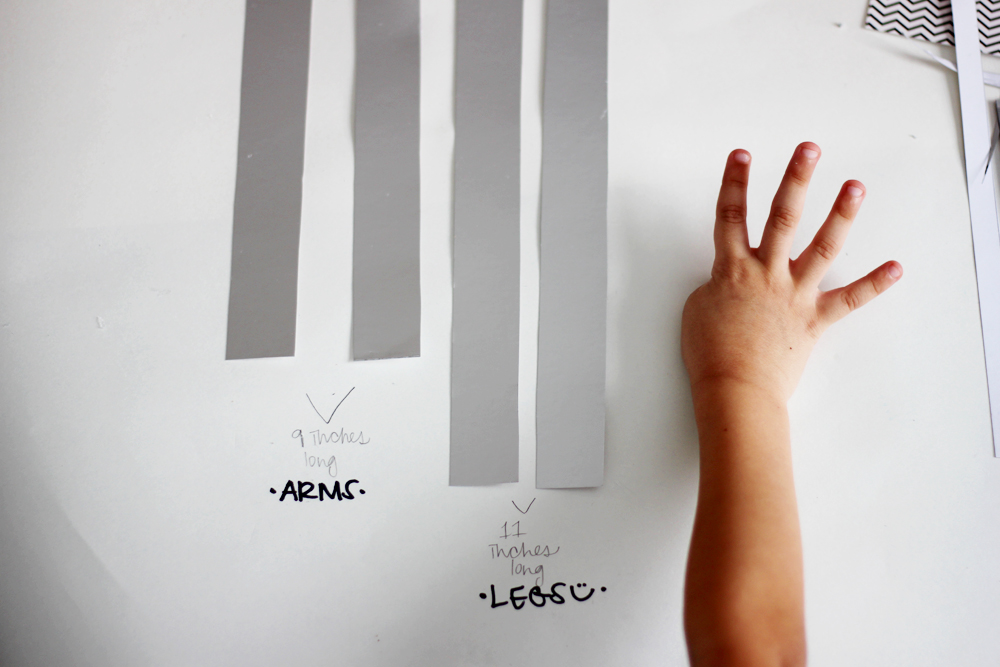
// We folded our legs accordion style, then cut + glued pieces of New Years' noise maker ribbon into each fold to make them more fun. The metallic blue went perfectly with our robot and once more: reuse / reduce :)


10.) Create a face out of sticky foam sheet and attach. I drew it and then cut it out. I had my little man attach it. I also added white puffy paint dots to give the eyes a little of dimension.

11.) Glue as many decorative tacks as you would like to the top and sides of the head. I also created a little tube with a piece of mirror card stock to lift the top pin, this is optional. You and your little one(s) can decorate your robot as much or as little as you'd like.

// Add little pieces of love :)

// Cuddle with your Valentine's Day Robots + sit them on your favorite shelf, don't forget to revisit the Valentine's inside reminding you how amazingly loved you are. Have fun making these and tag @allkidsaregifted so that we can see how yours turned out! Can't wait to see!!


TAUGHT IN CLASS
Here is a peek at when I taught the Valentine's Day Robot Mailbox DIY in my son’s Kindergarten class: