In our house dragons are a big deal—especially for our youngest little man, who has loved dragons “since I was a baby” he says. These wings were designed one day when we had one of our little co-op friends over. When friends were still able to come over of course.
My little and his friend were pretending to be dragons and since I really like to get creative with them when she’s over, I asked “do you want to make dragon wings?!”
“YES DRAGON WINGS YES!” was the response, so I looked around and grabbed the empty La Croix box sitting in the kitchen and went to work on the foundation for M + X to deck out some cool wings. You can totally use a La Croix box as well it works great, in this tutorial we used a poster board. I kid you not: the adorable duo worked on their wings for about an hour coloring them with markers, adding stickers, glitter and “dragon power” icons to them. Once they were finished creating their cool wings, they ran around and jumped off the couch giggling and roaring—having a blast until school started. They were a hit! So much so that our little friend M’s mom re-created them when my son swapped and went to THEIR house. These wings are a blast, there’s so much creative freedom in them and I really wanted to share them with YOU.

MESSY LEVEL: 2
Decking out dragon wings means lots of coloring and gluing. Yay for sensory and creative fun!
SUPPLIES:
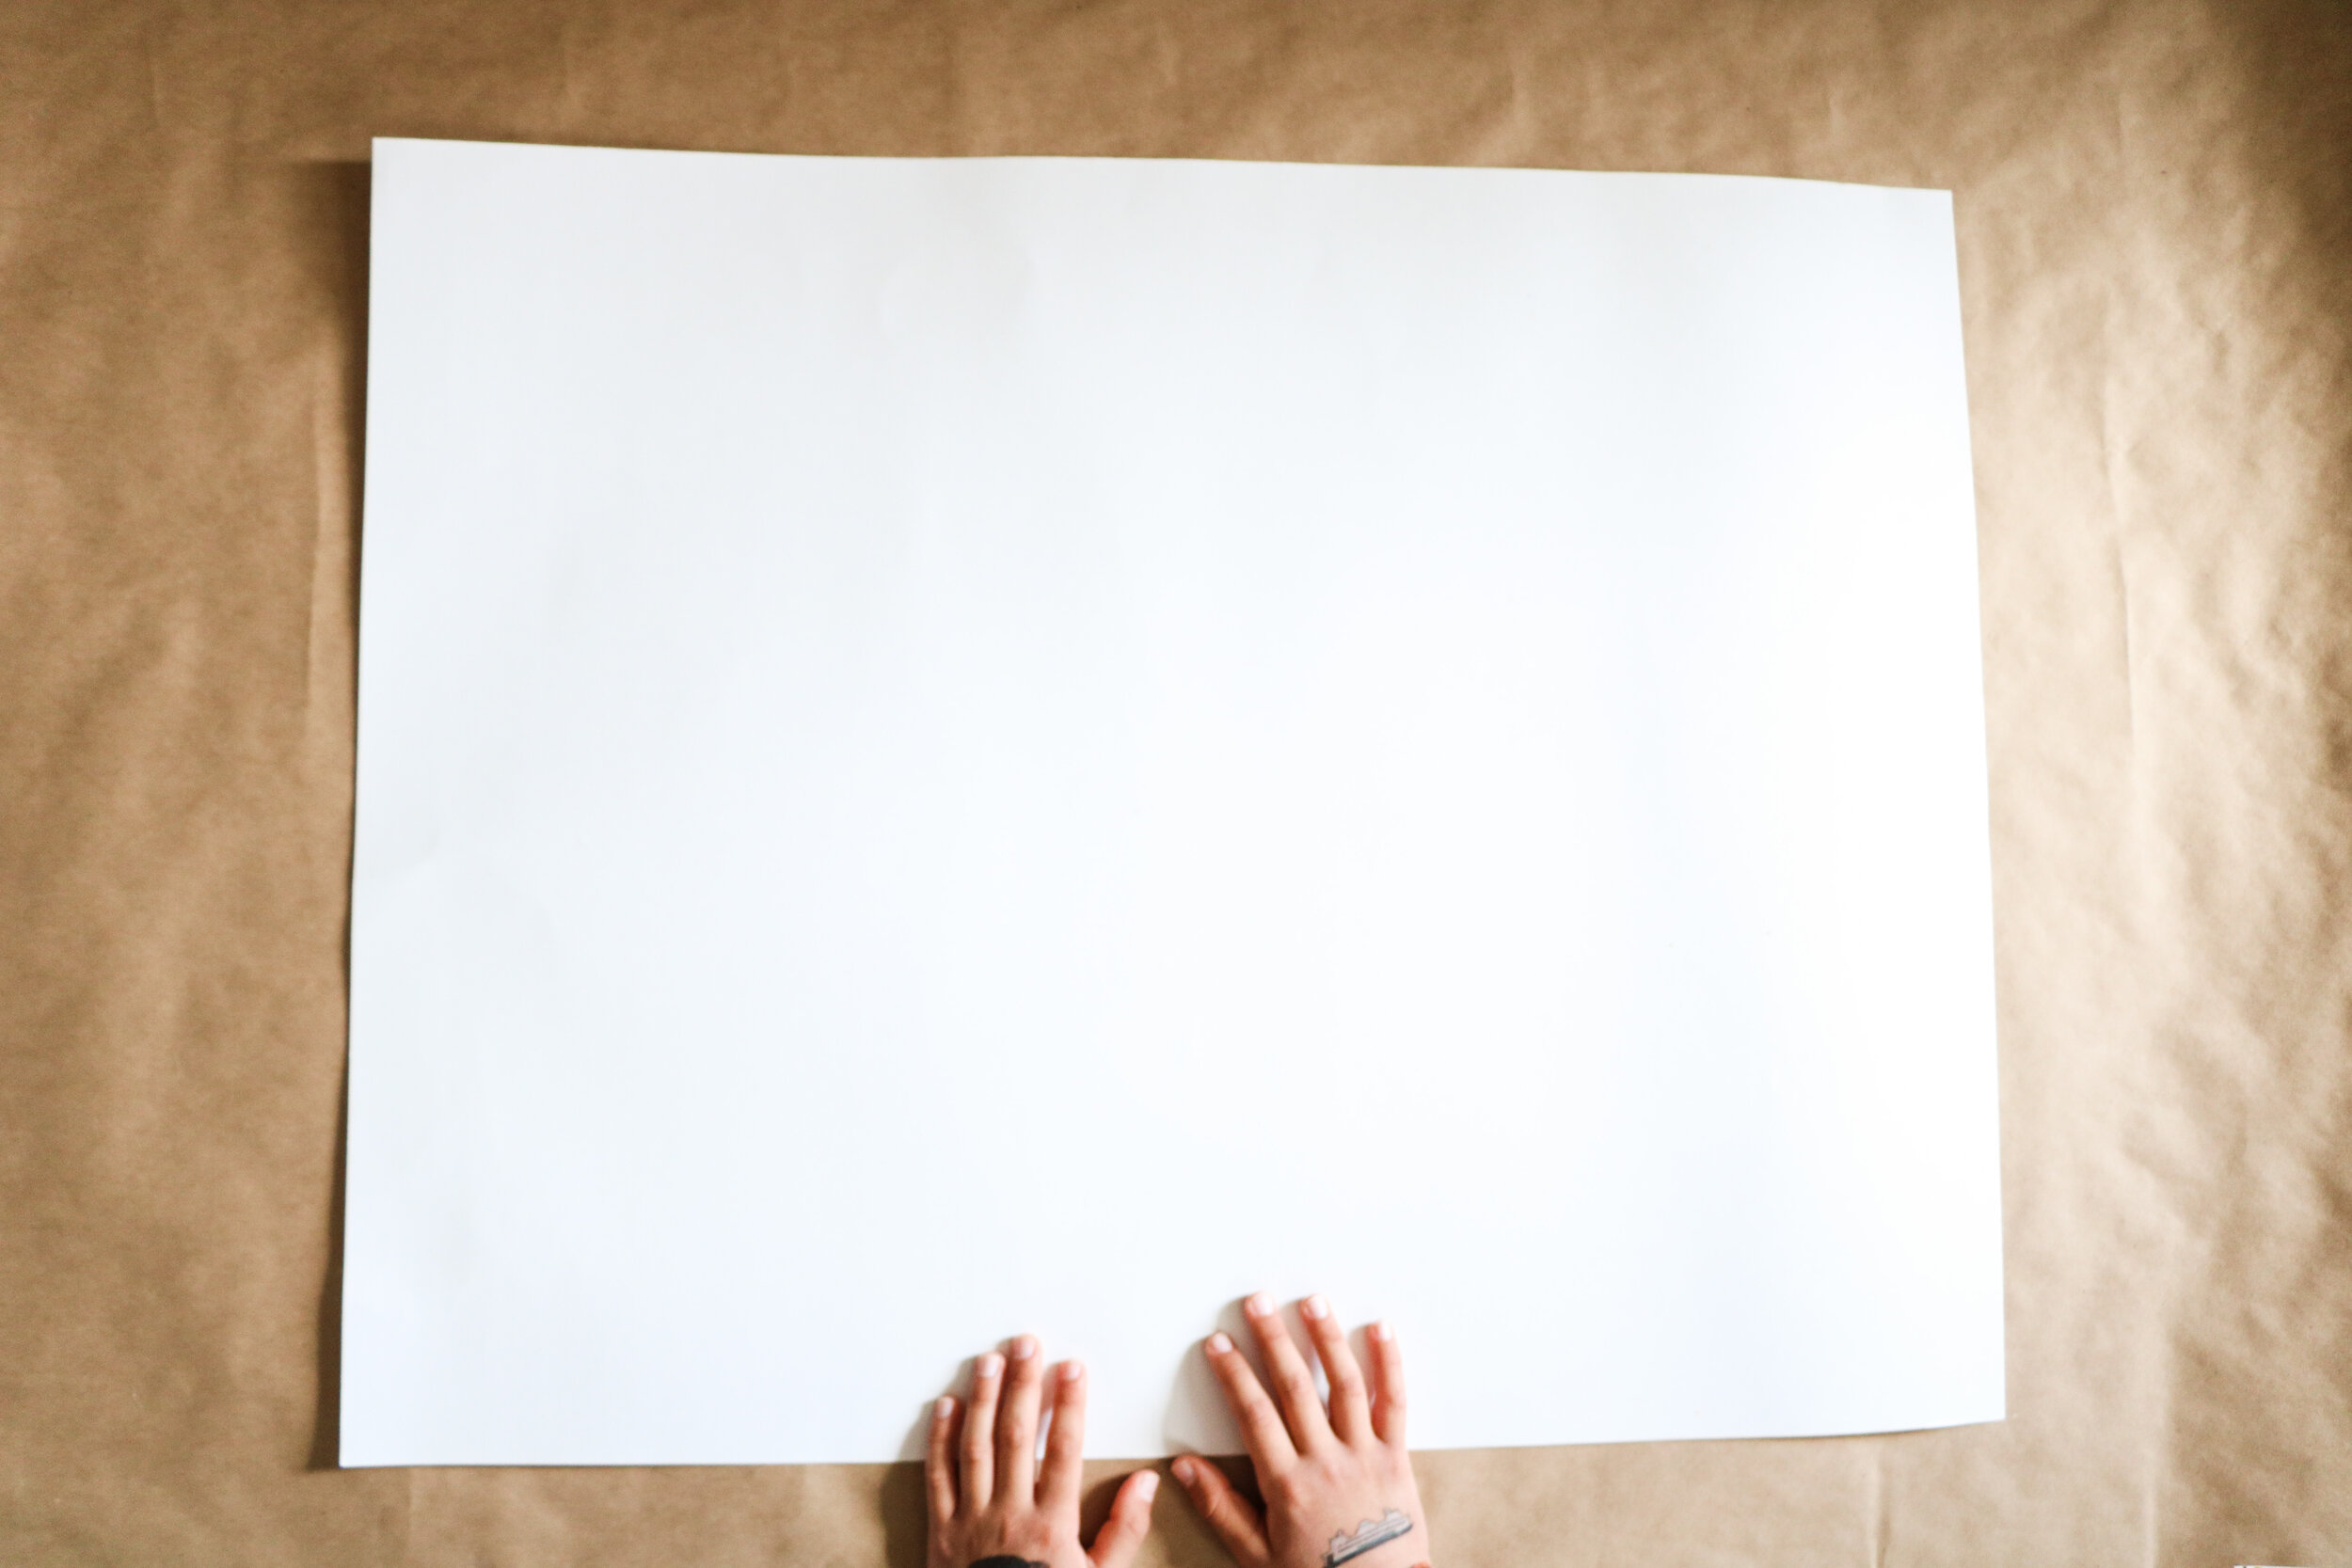
Poster Board 22 x 28 inches
Pencil/Pen
Scissors
Hole Punch
Bakers Twine / String to attach dragon wings
Markers / Color crayons
Sequins / Glitter / Confetti: grab all the colorful shine
Make and glue your own foam shapes that represent Dragon Powers *optional*
Stickers of any kind *optional*
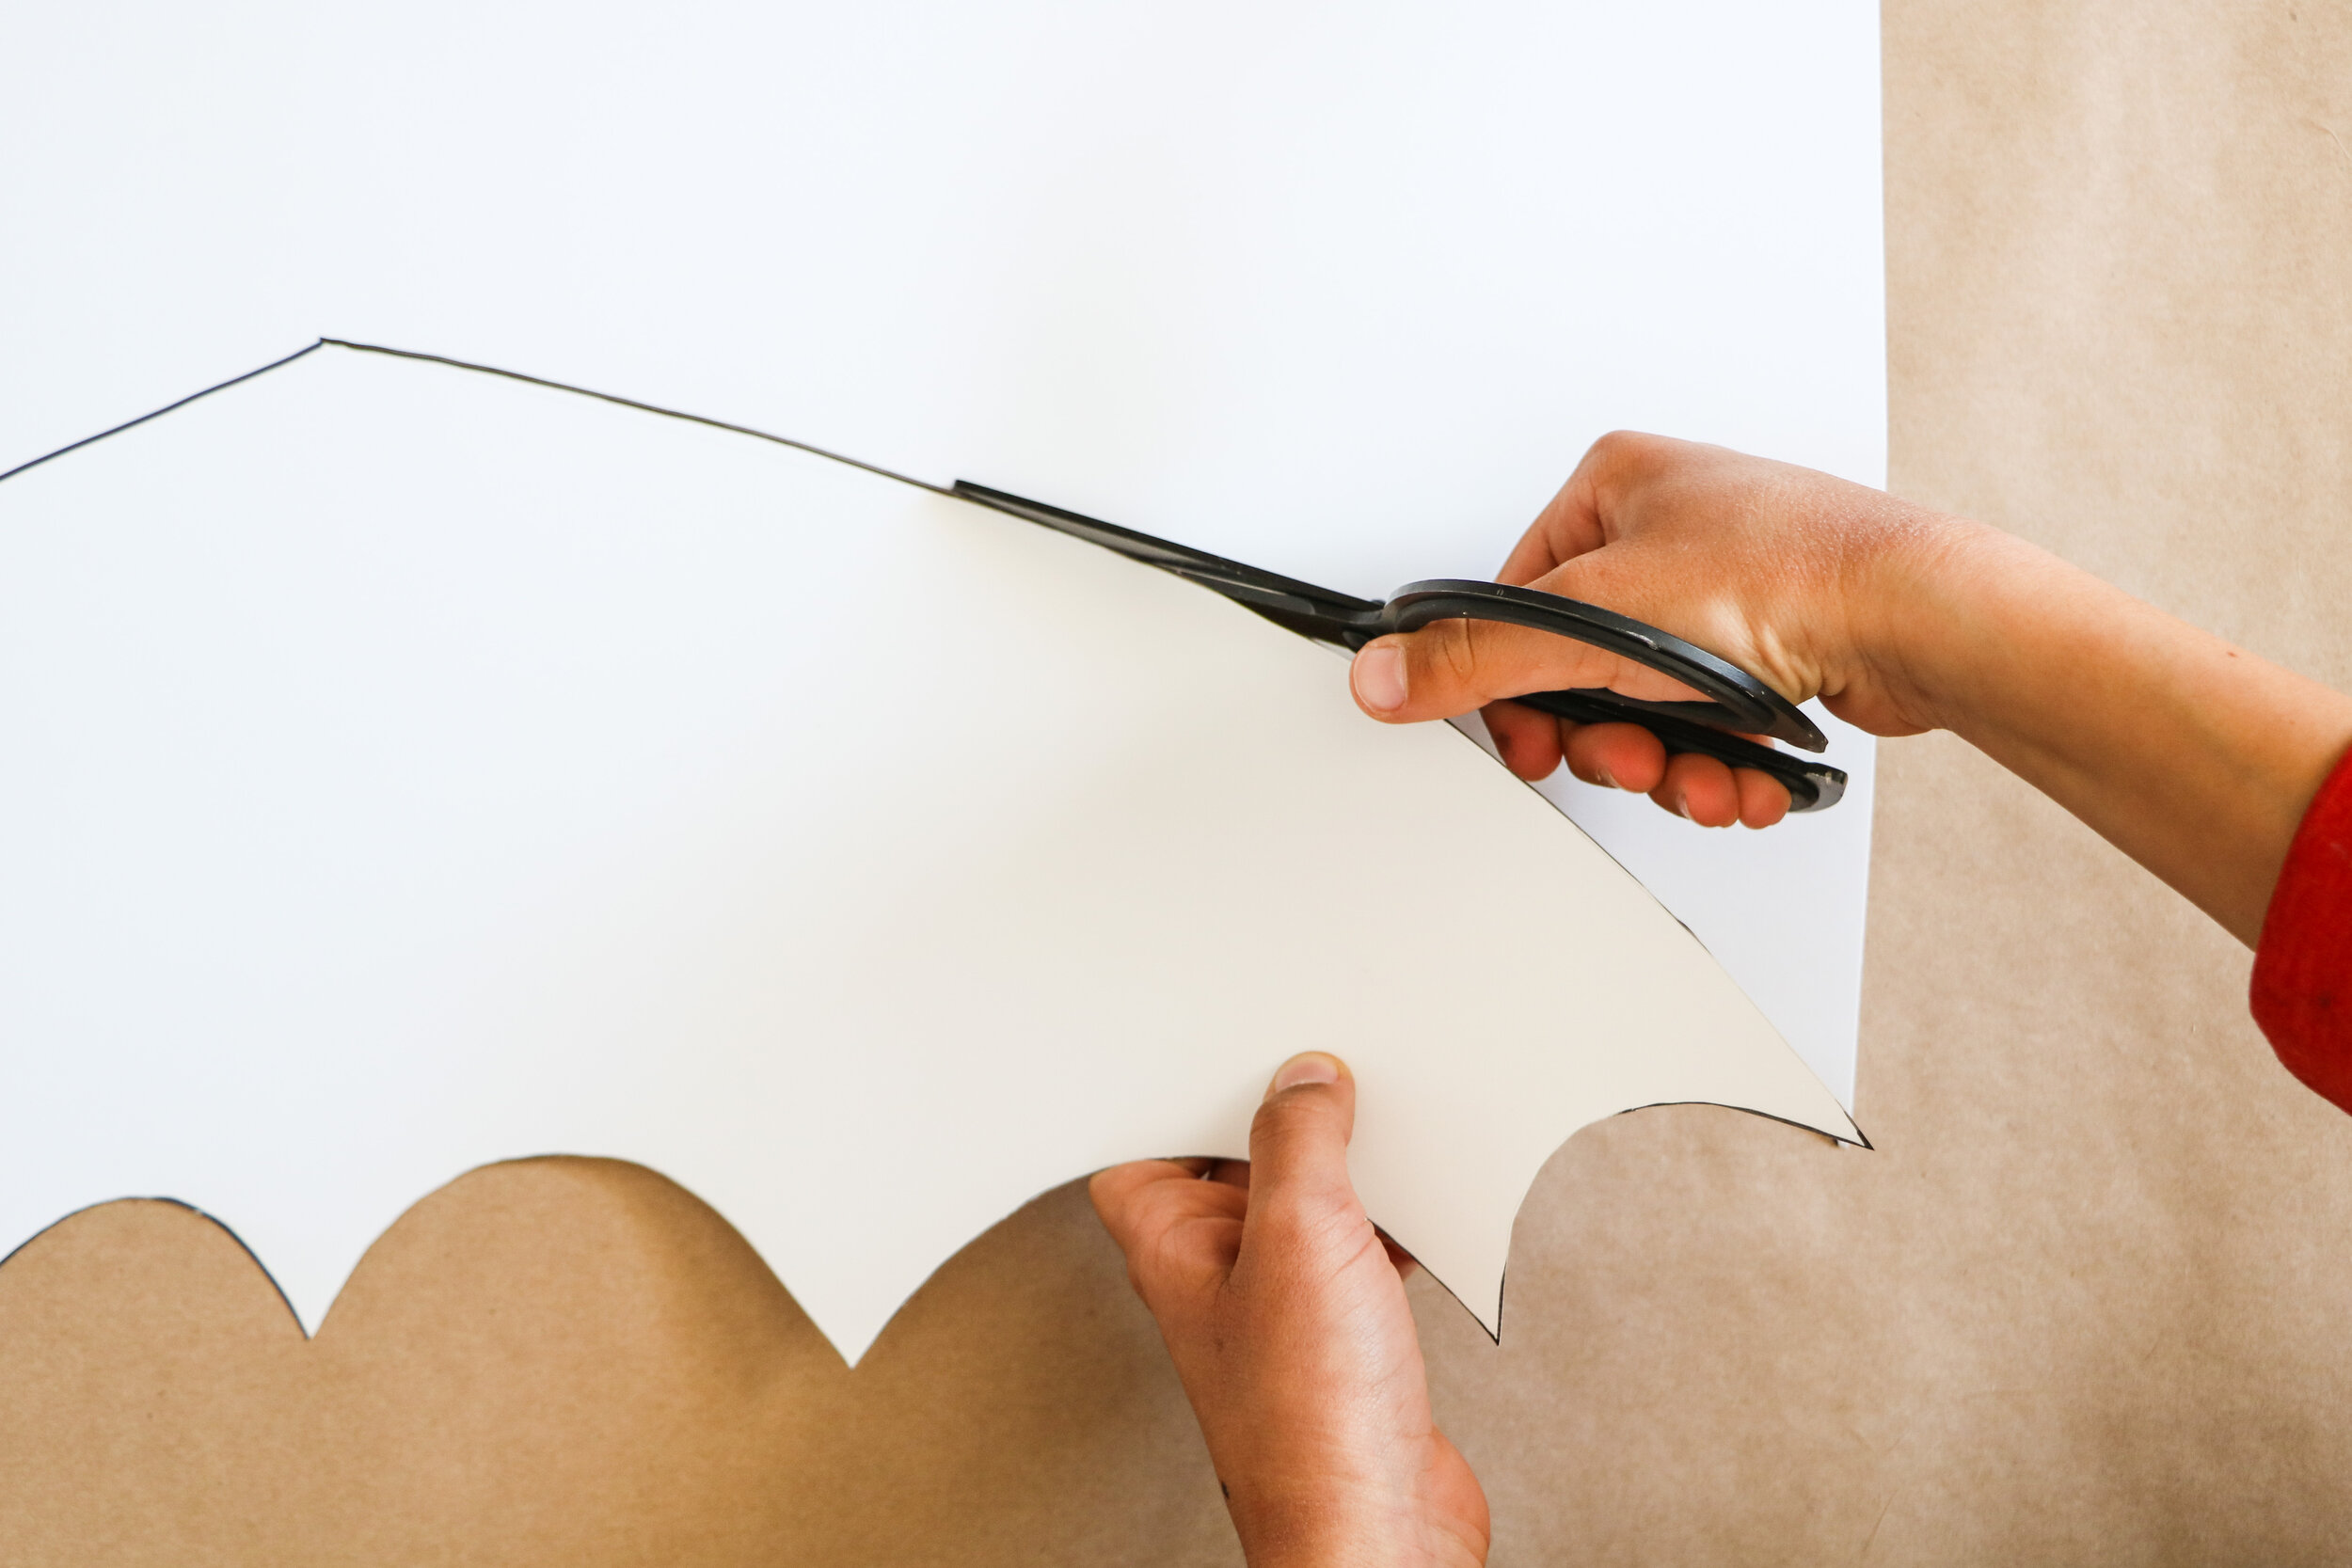
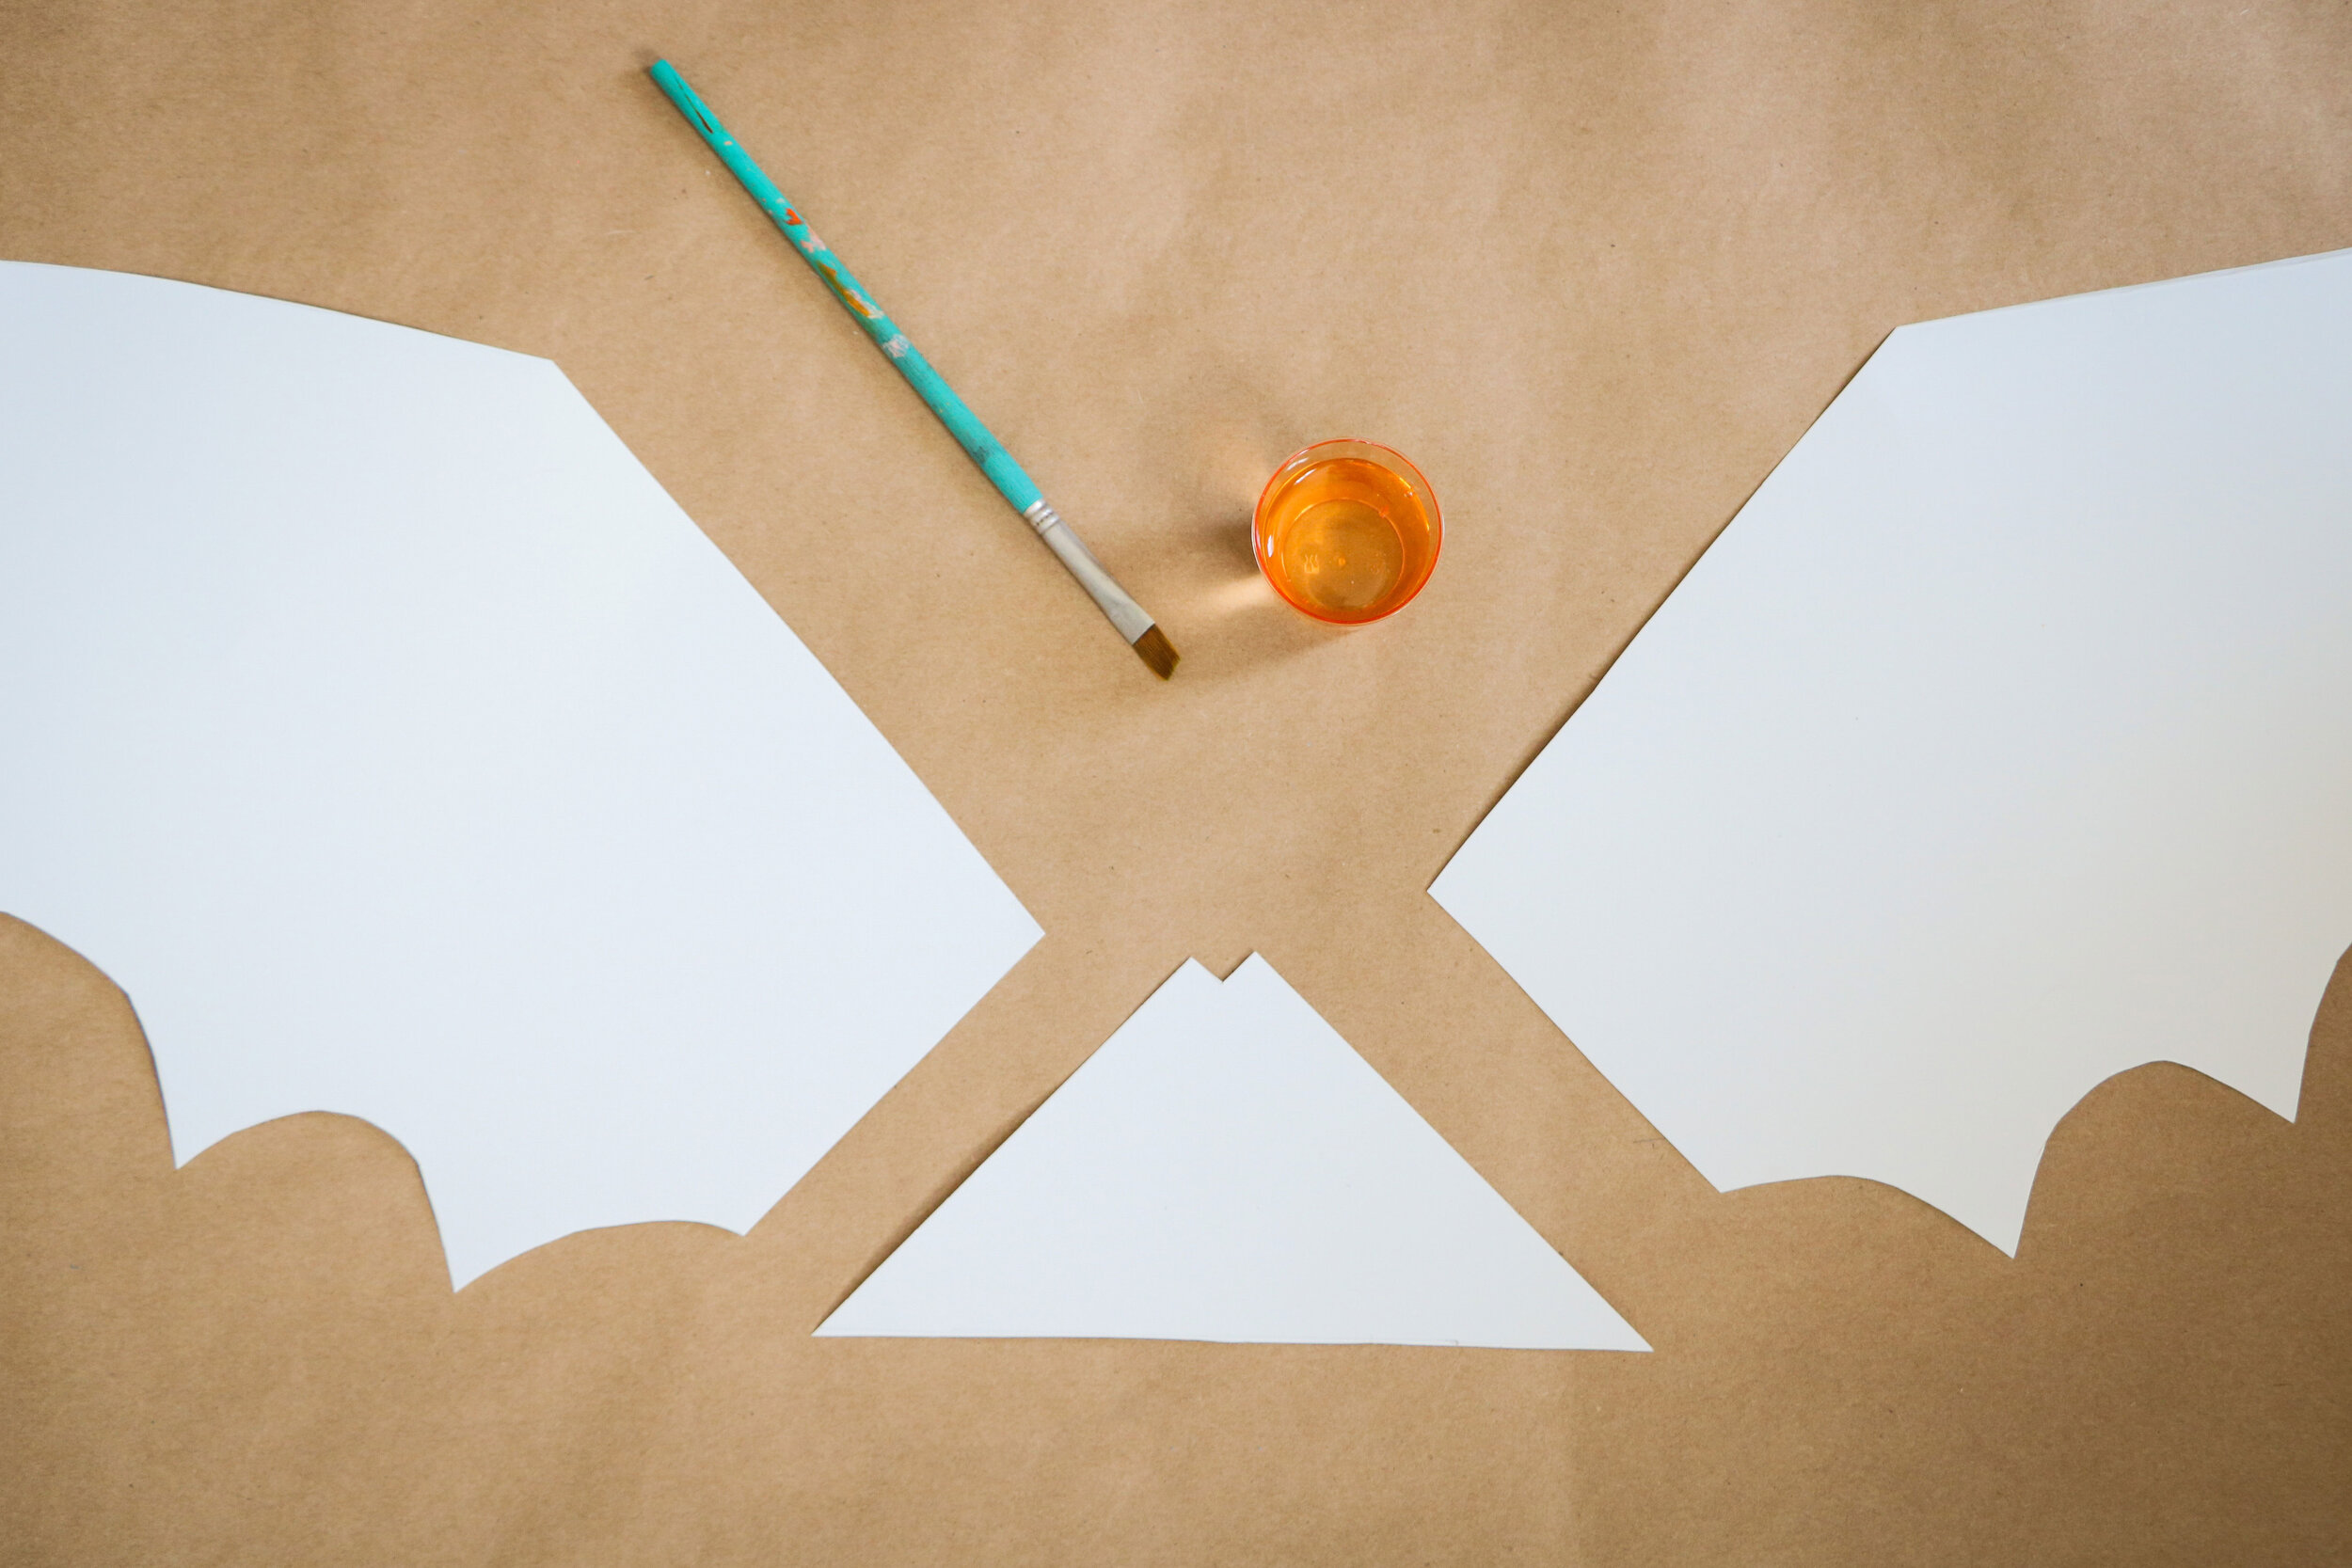
STEP 1: Start with a poster board ours is 28 x 22 inches, this allowed us to make 2 sets of dragon wings (4 wings total). Free hand draw a design for your wings. Feel free to use ours as inspiration or create your own! In this tutorial we worked with two designs for the wings to show variety: one set with more of an edge to the tops and one set was more rounded.
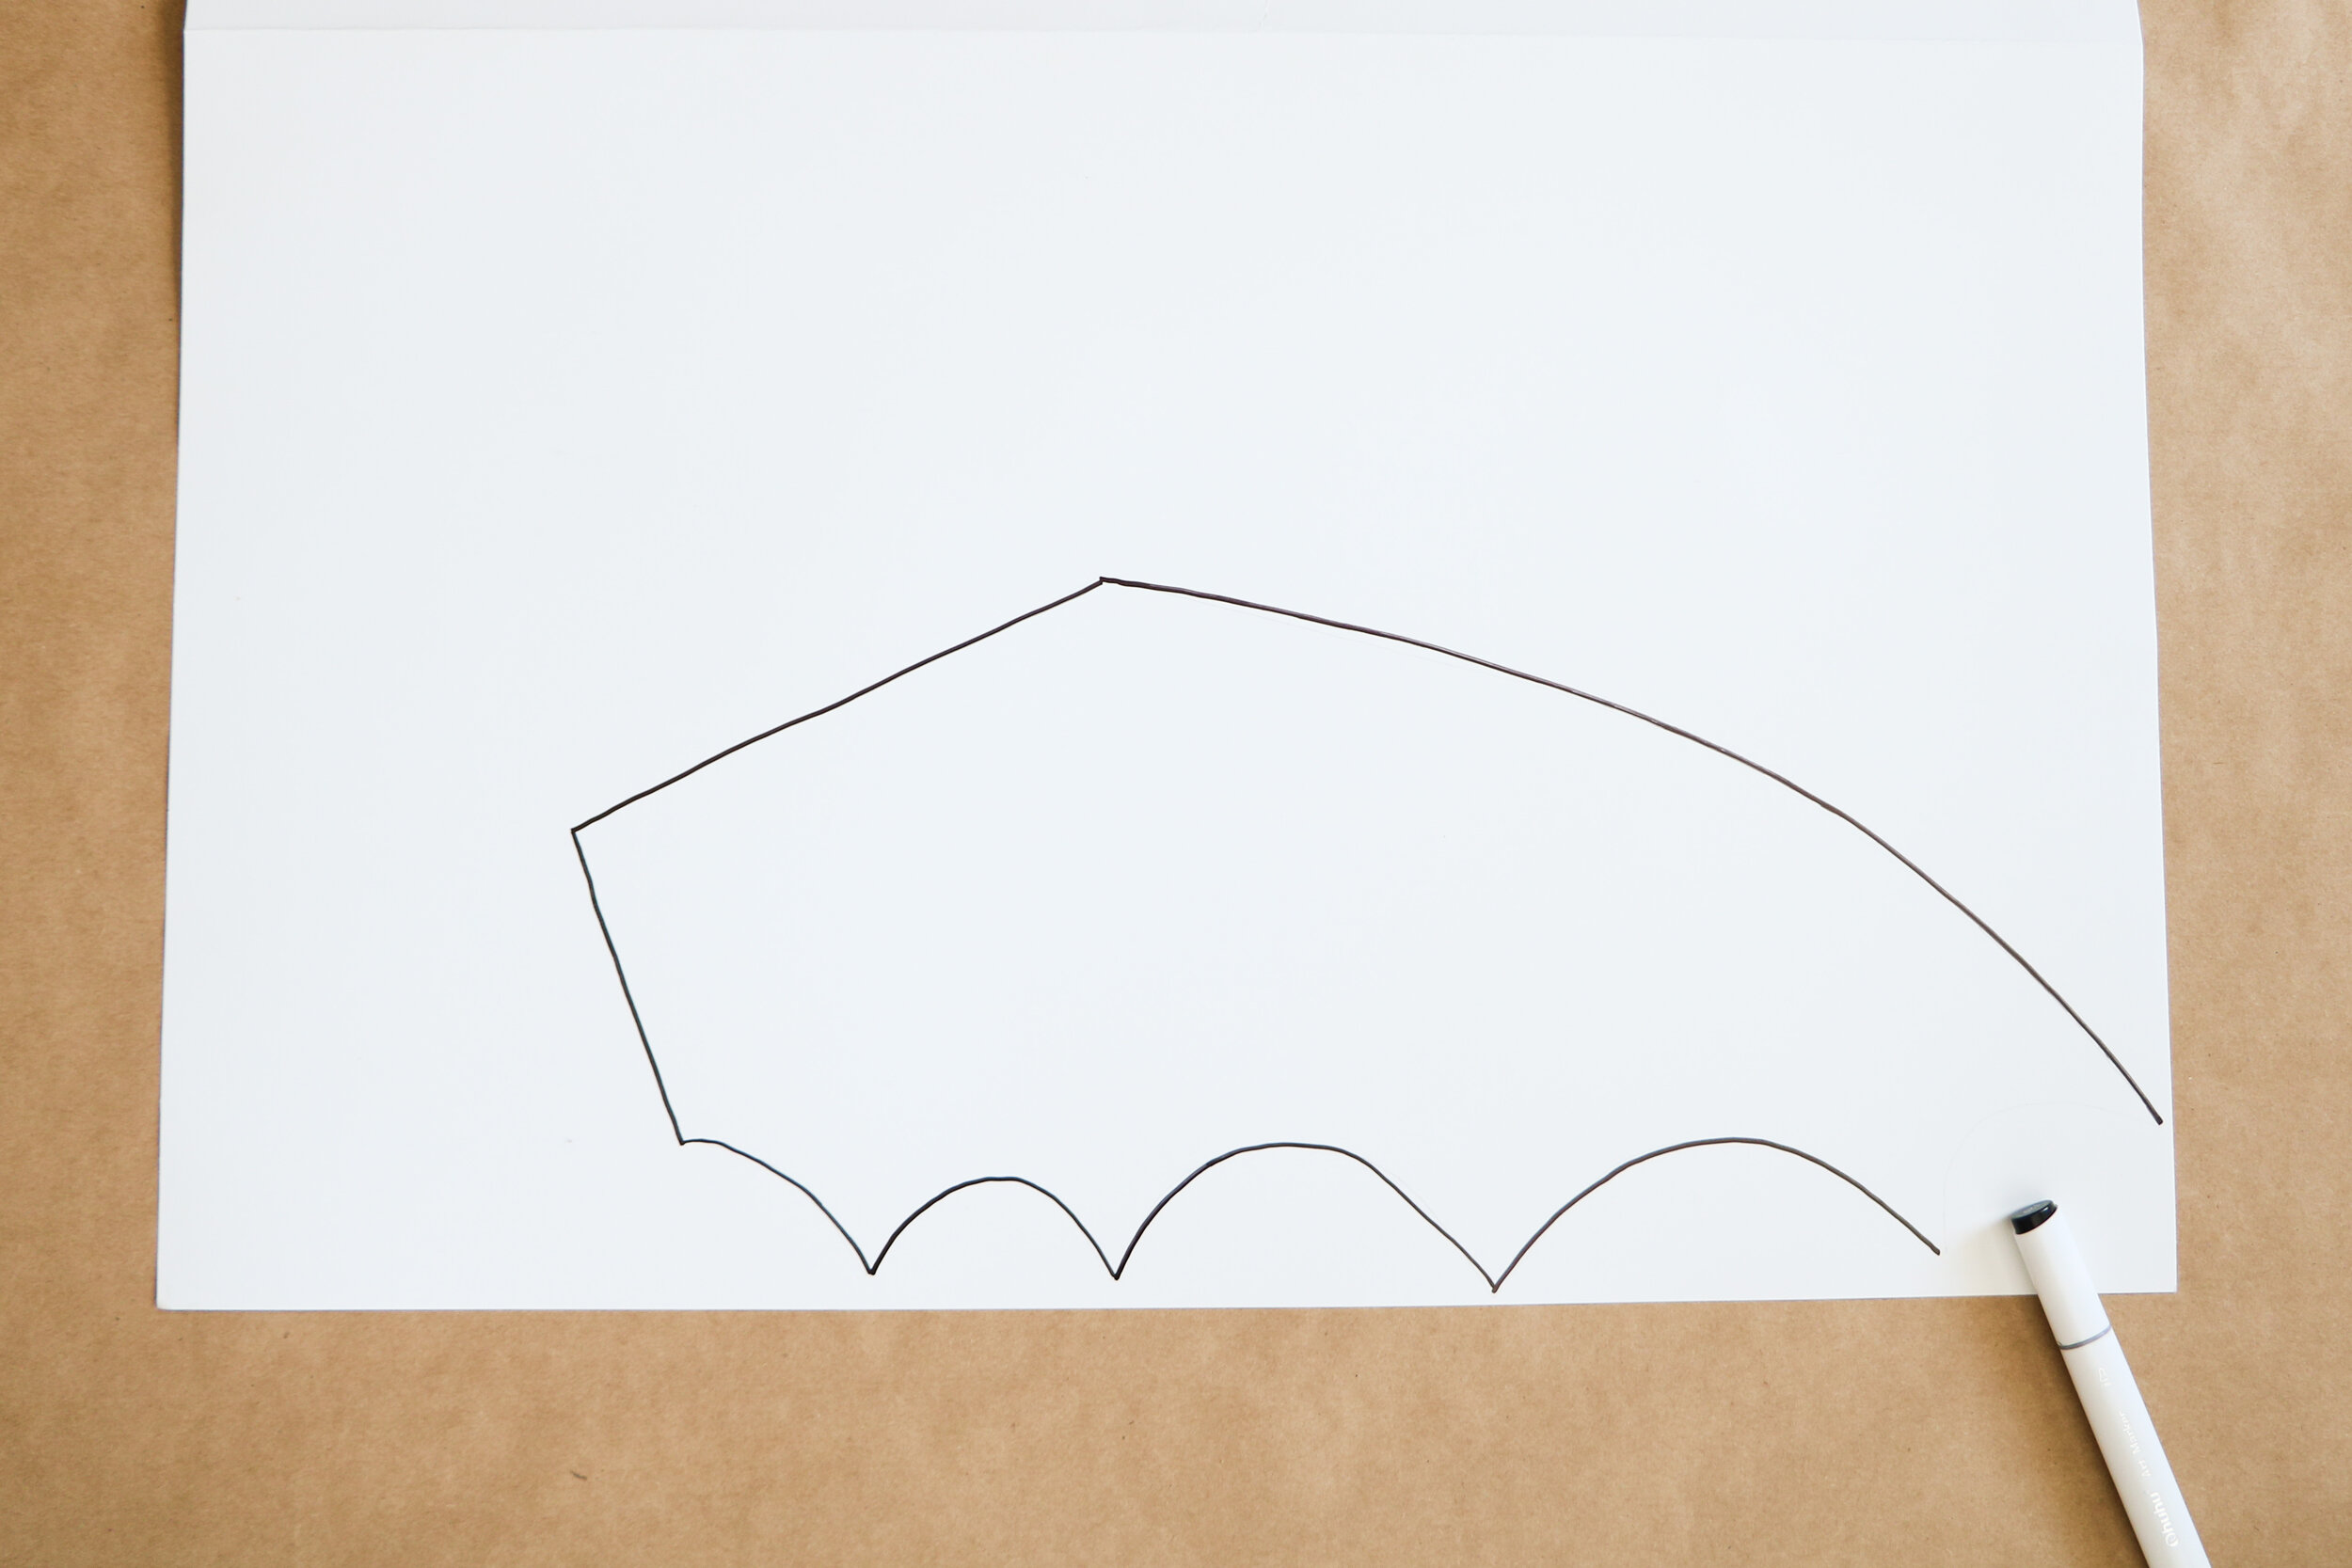
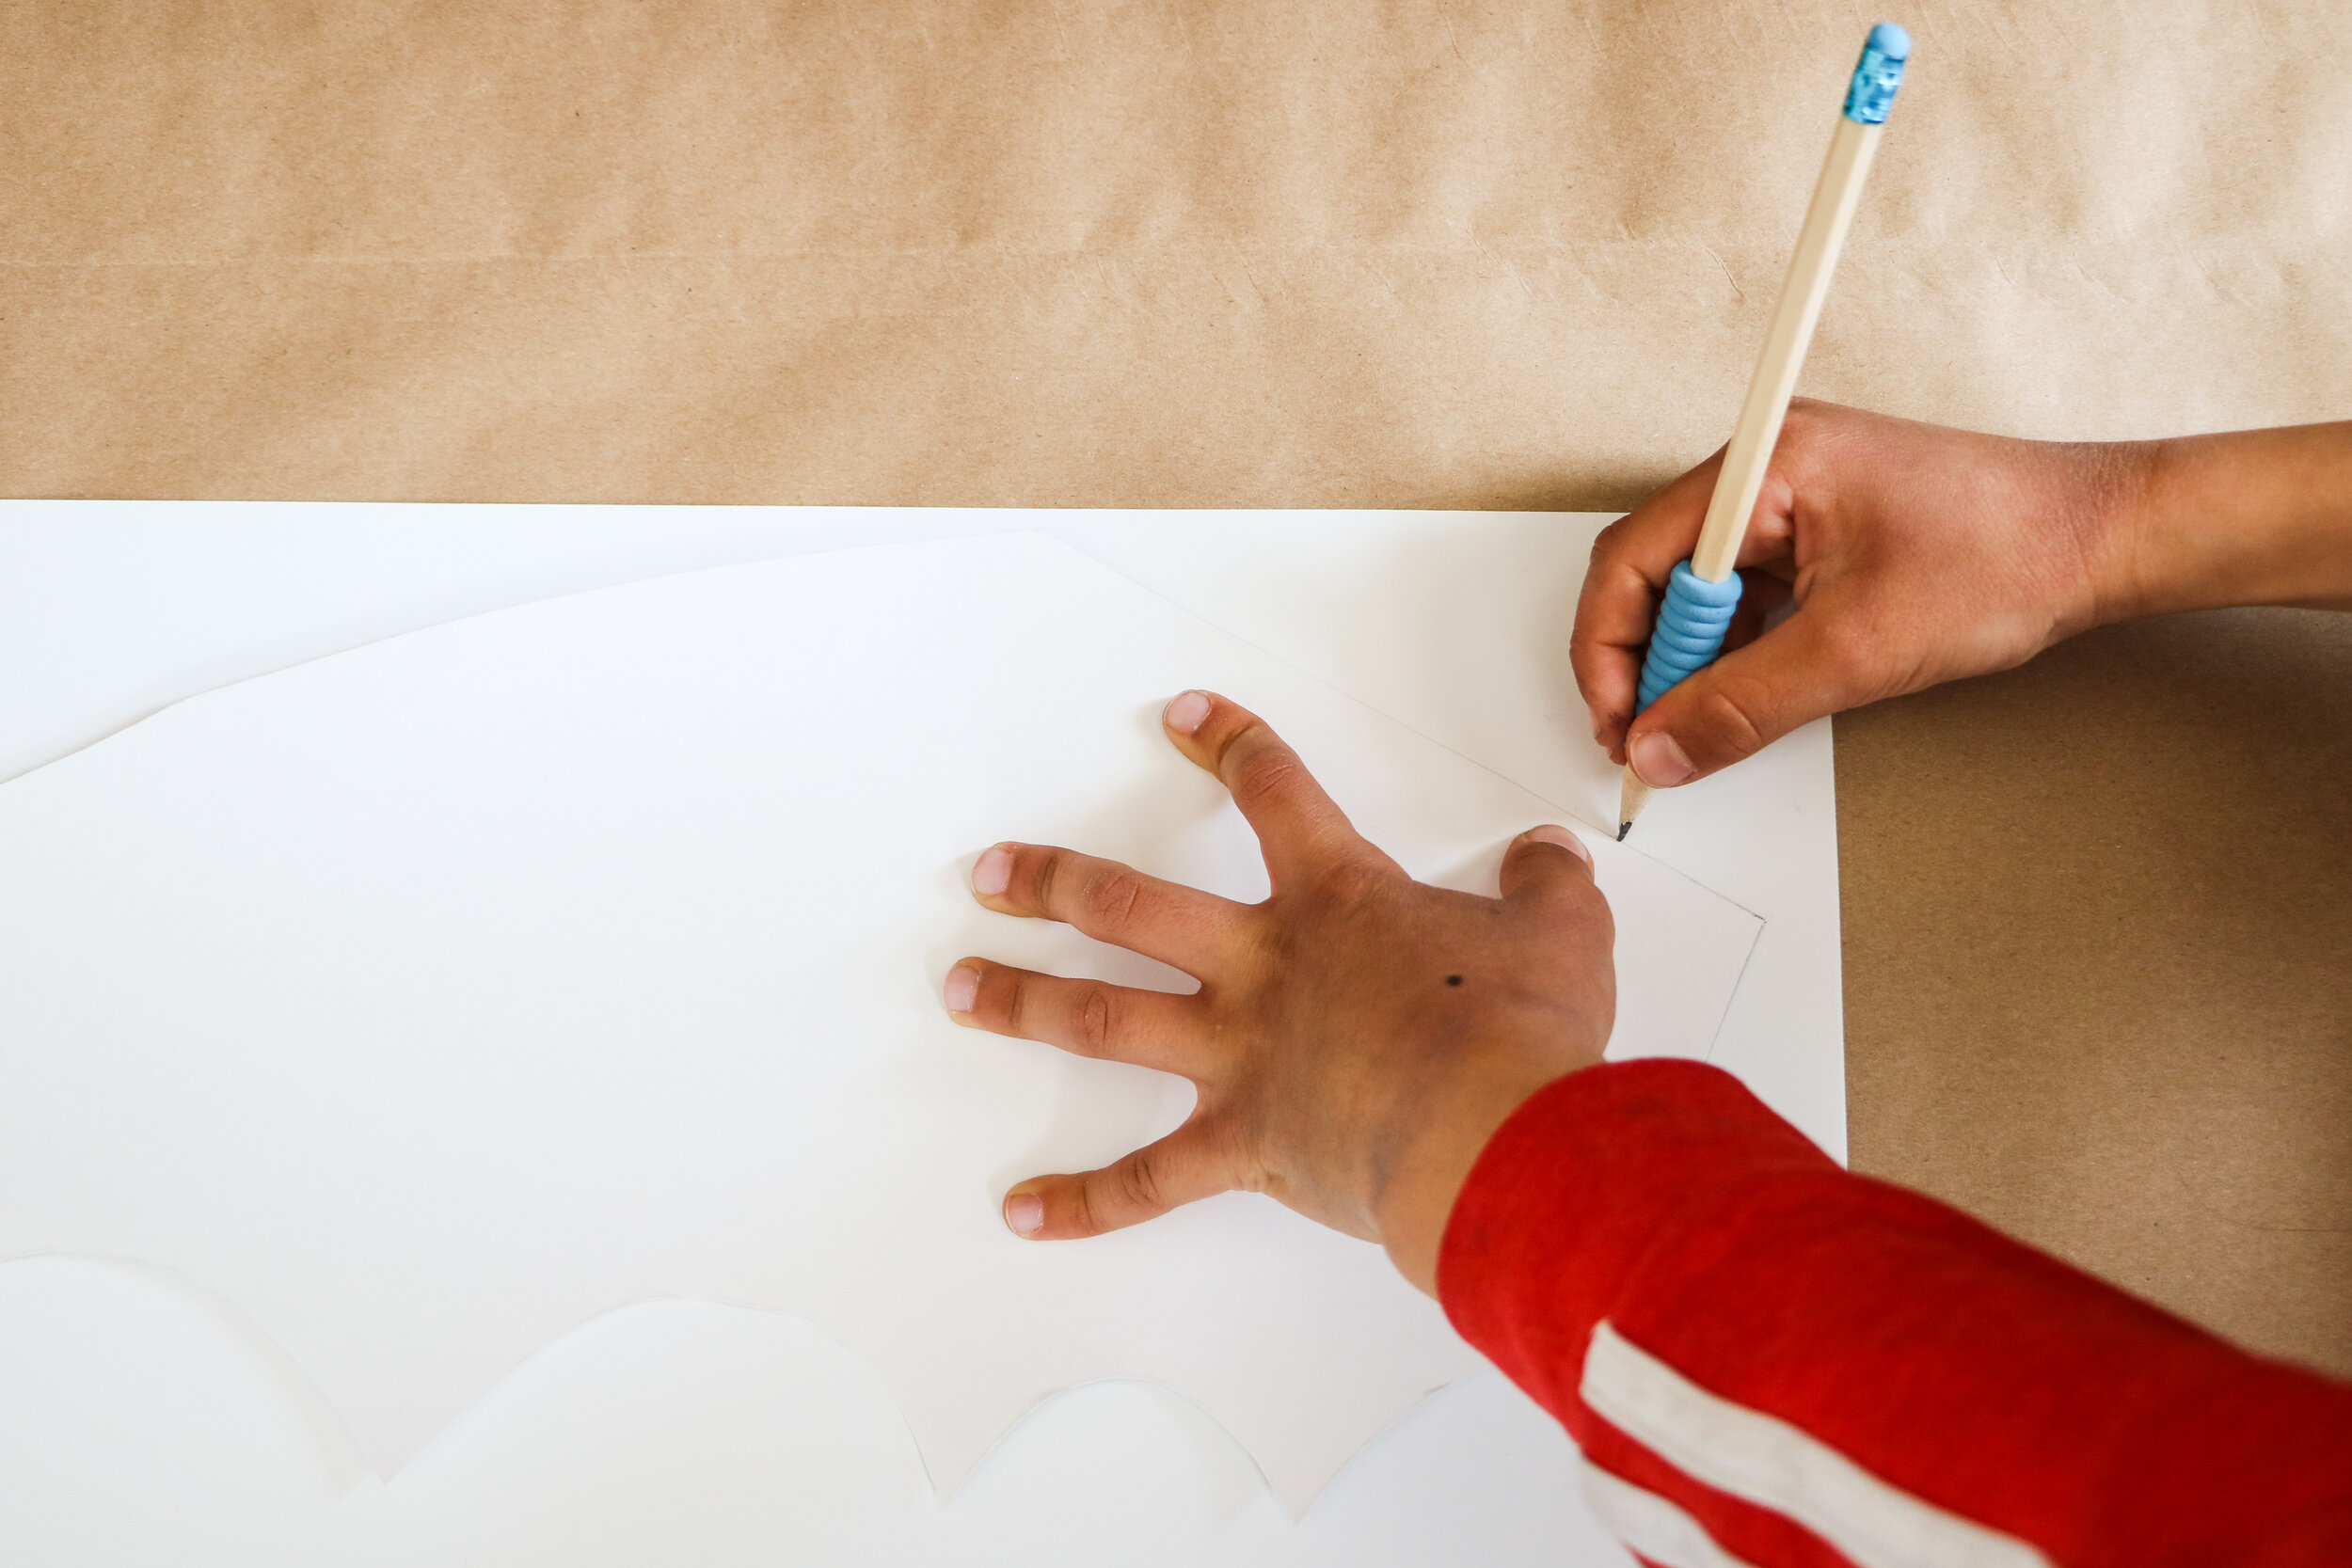
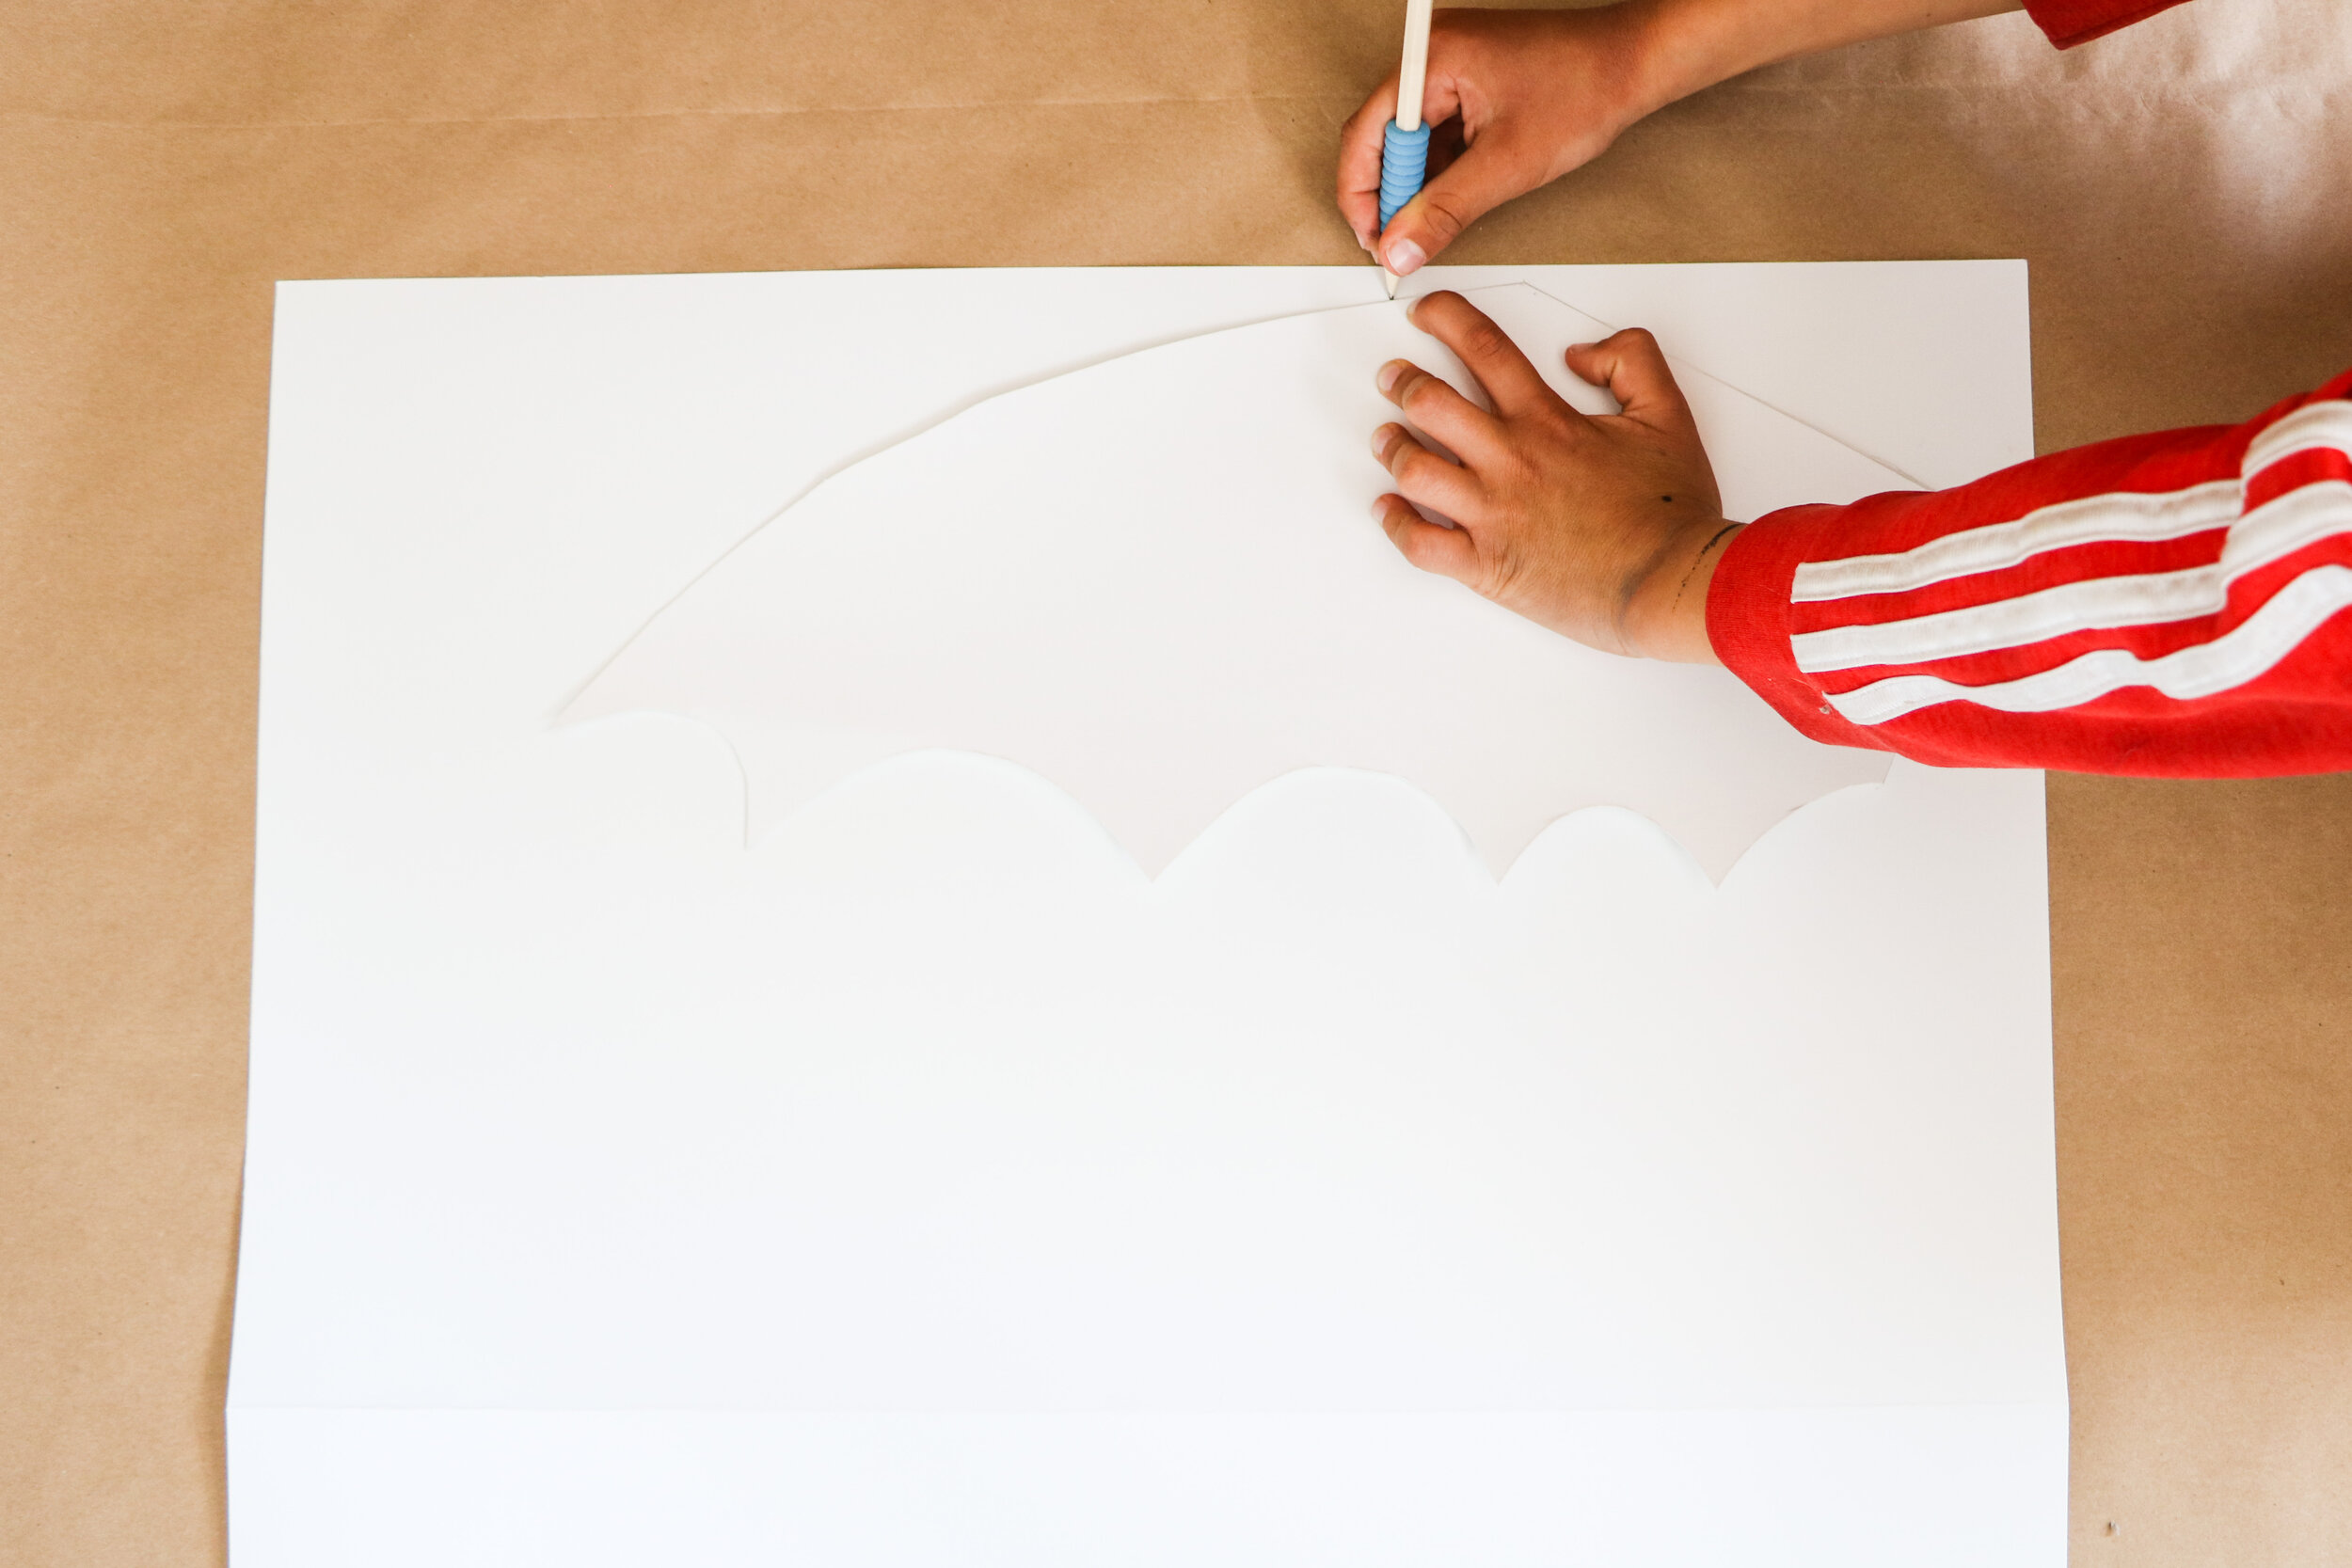
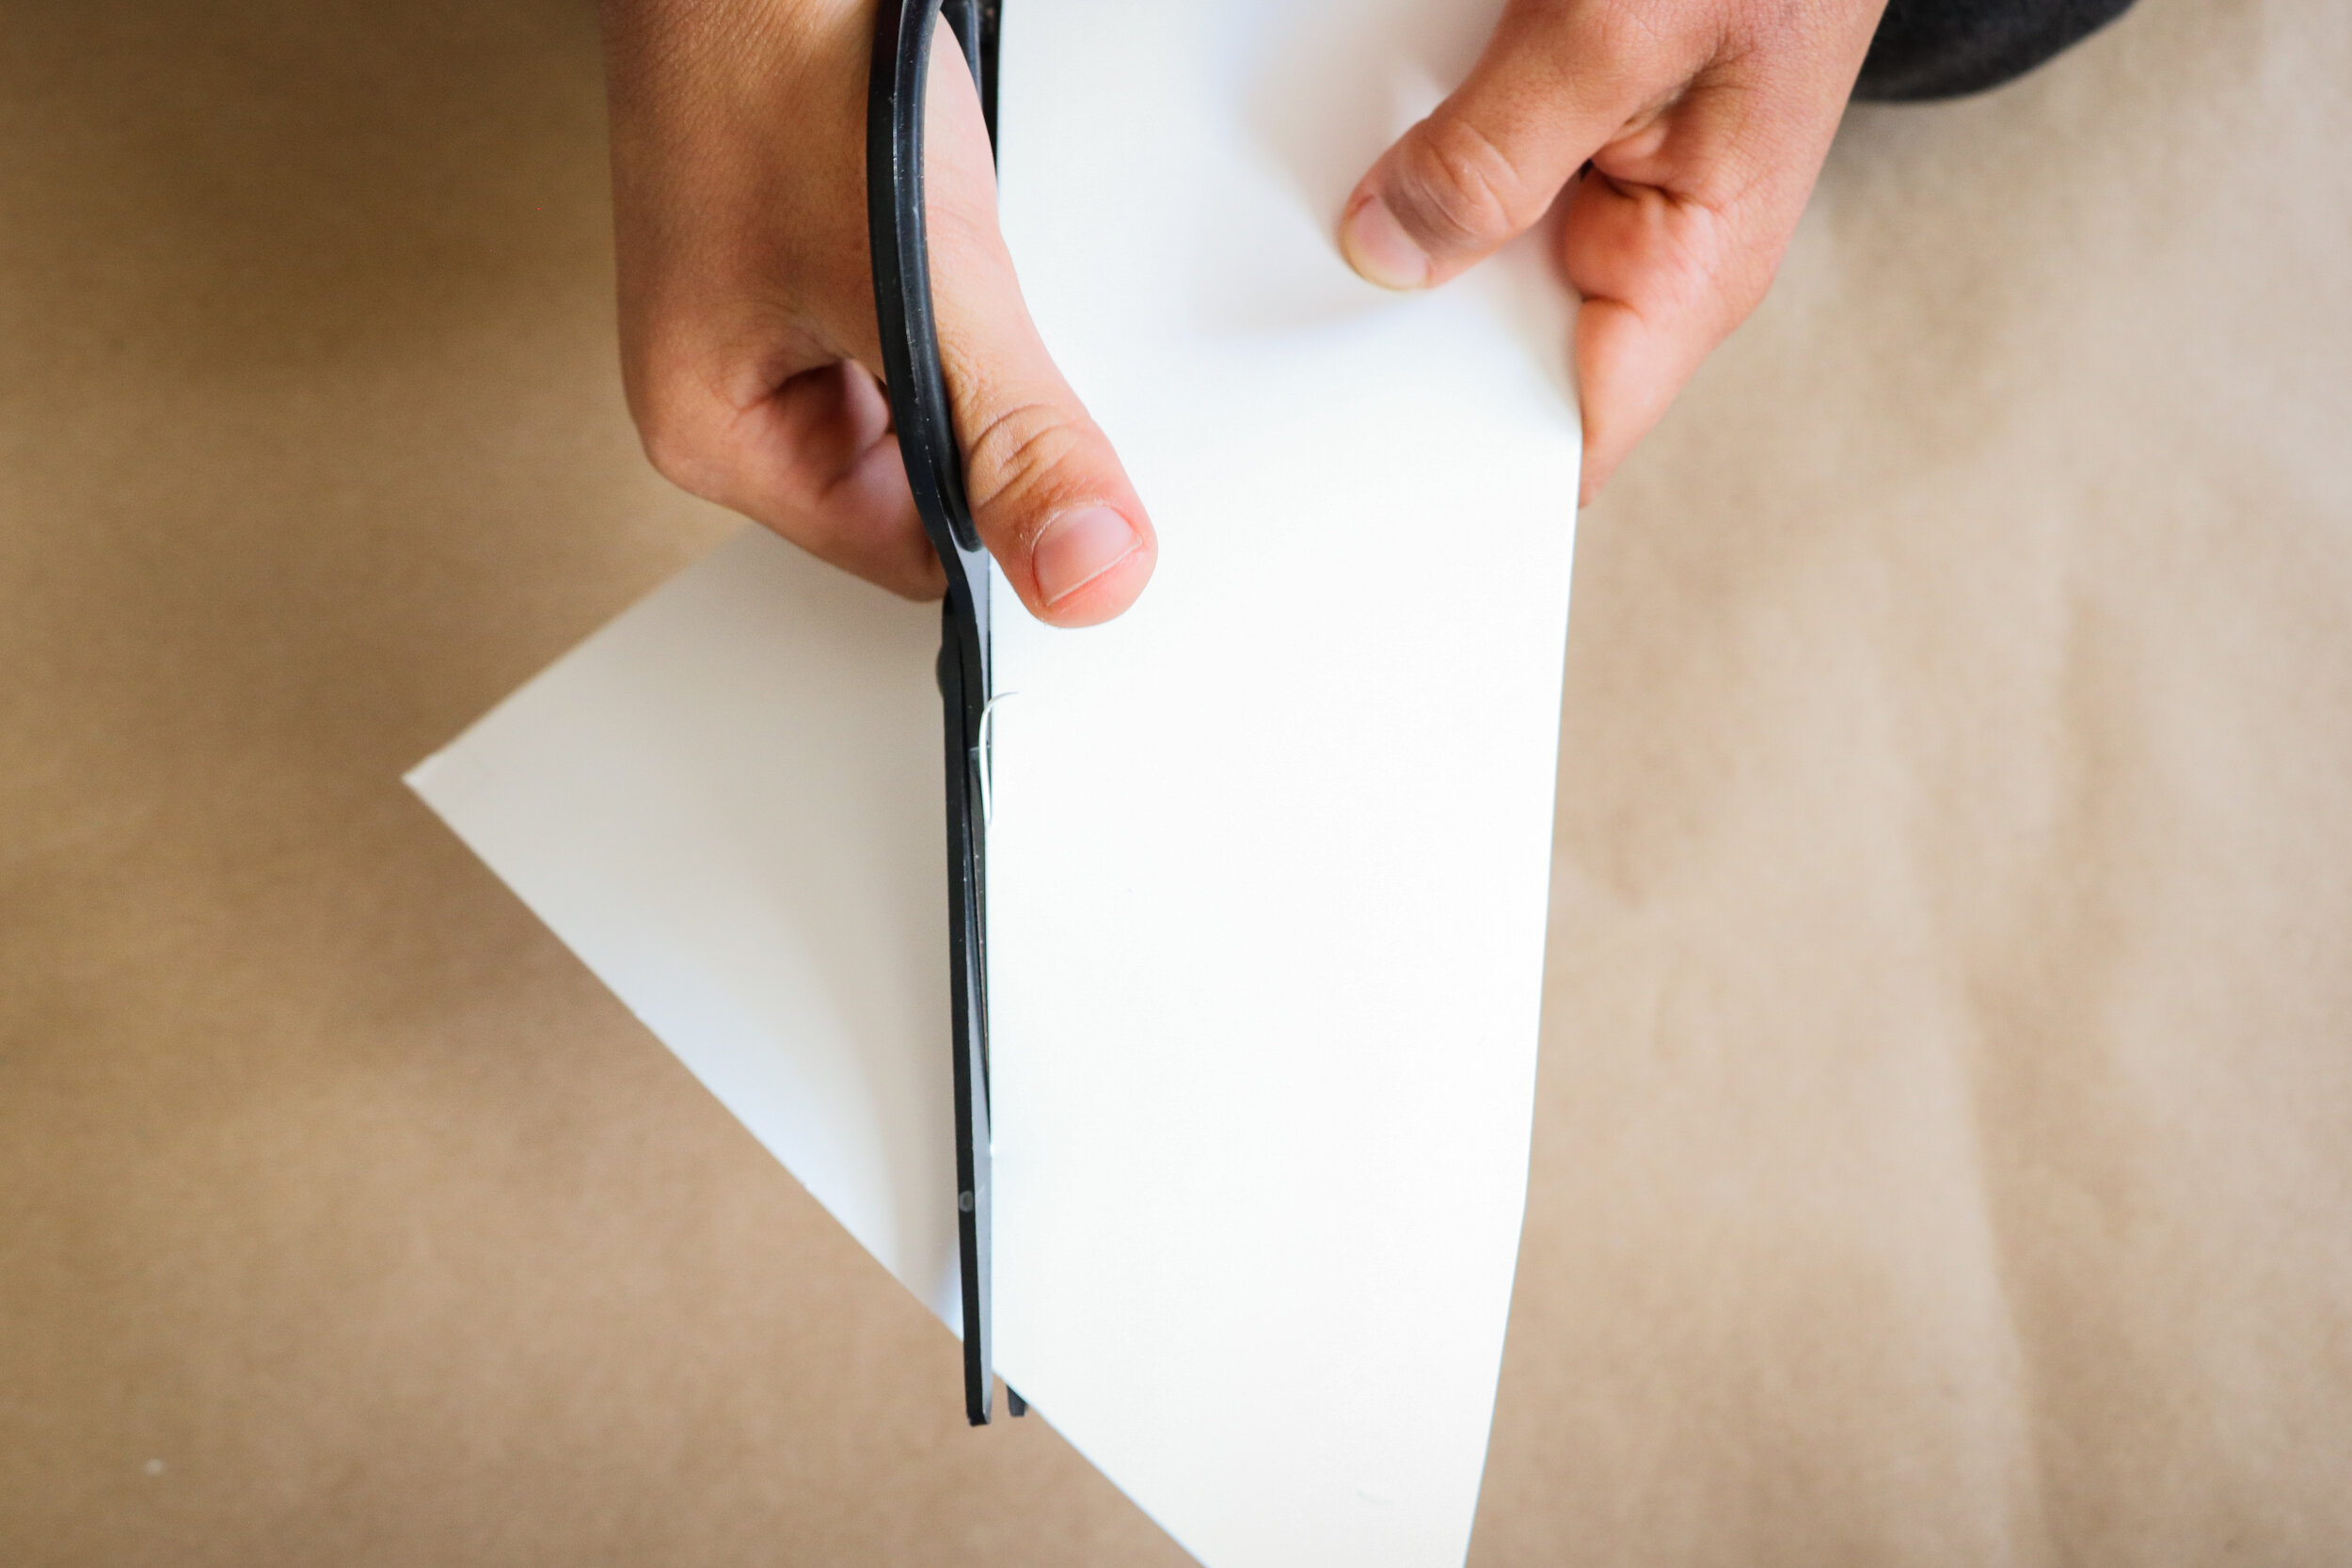
STEP 2: Cut out your first dragon wing and use it to trace and create your 2nd dragon wing.
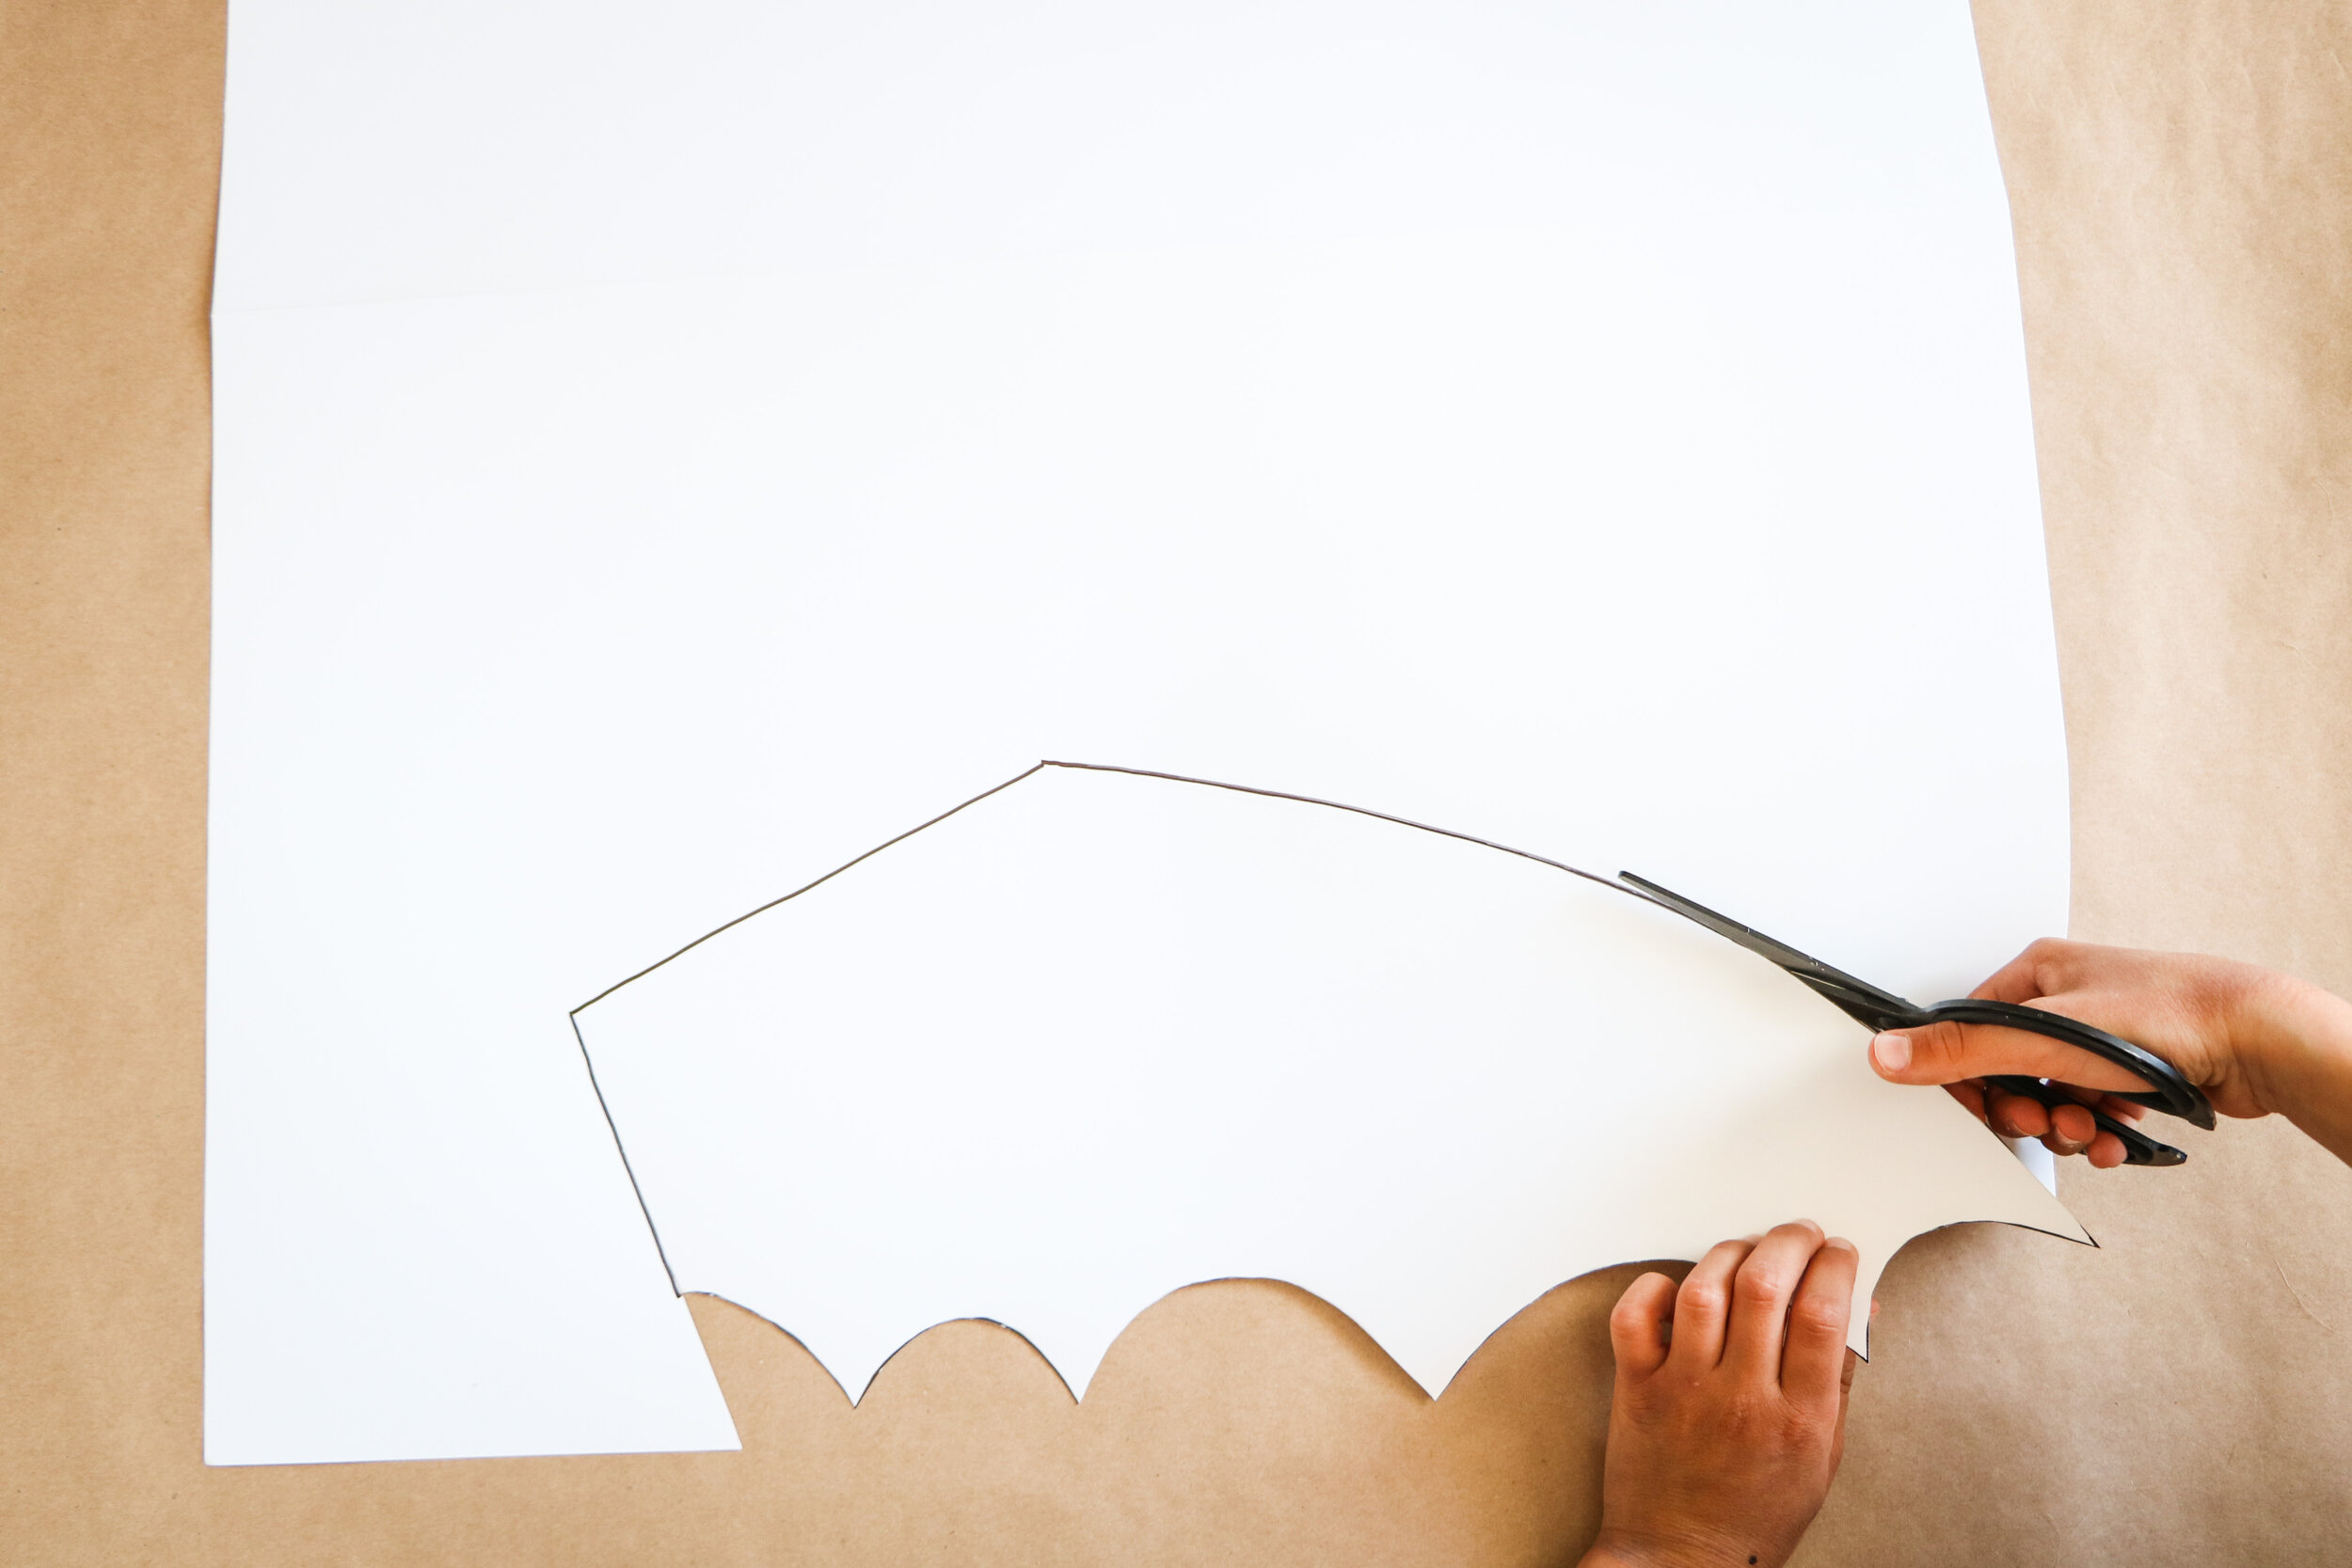
STEP 3: If you are making more than one set (2 wings) this is a good time to trace all the wings you’re wanting to create and cut them out.

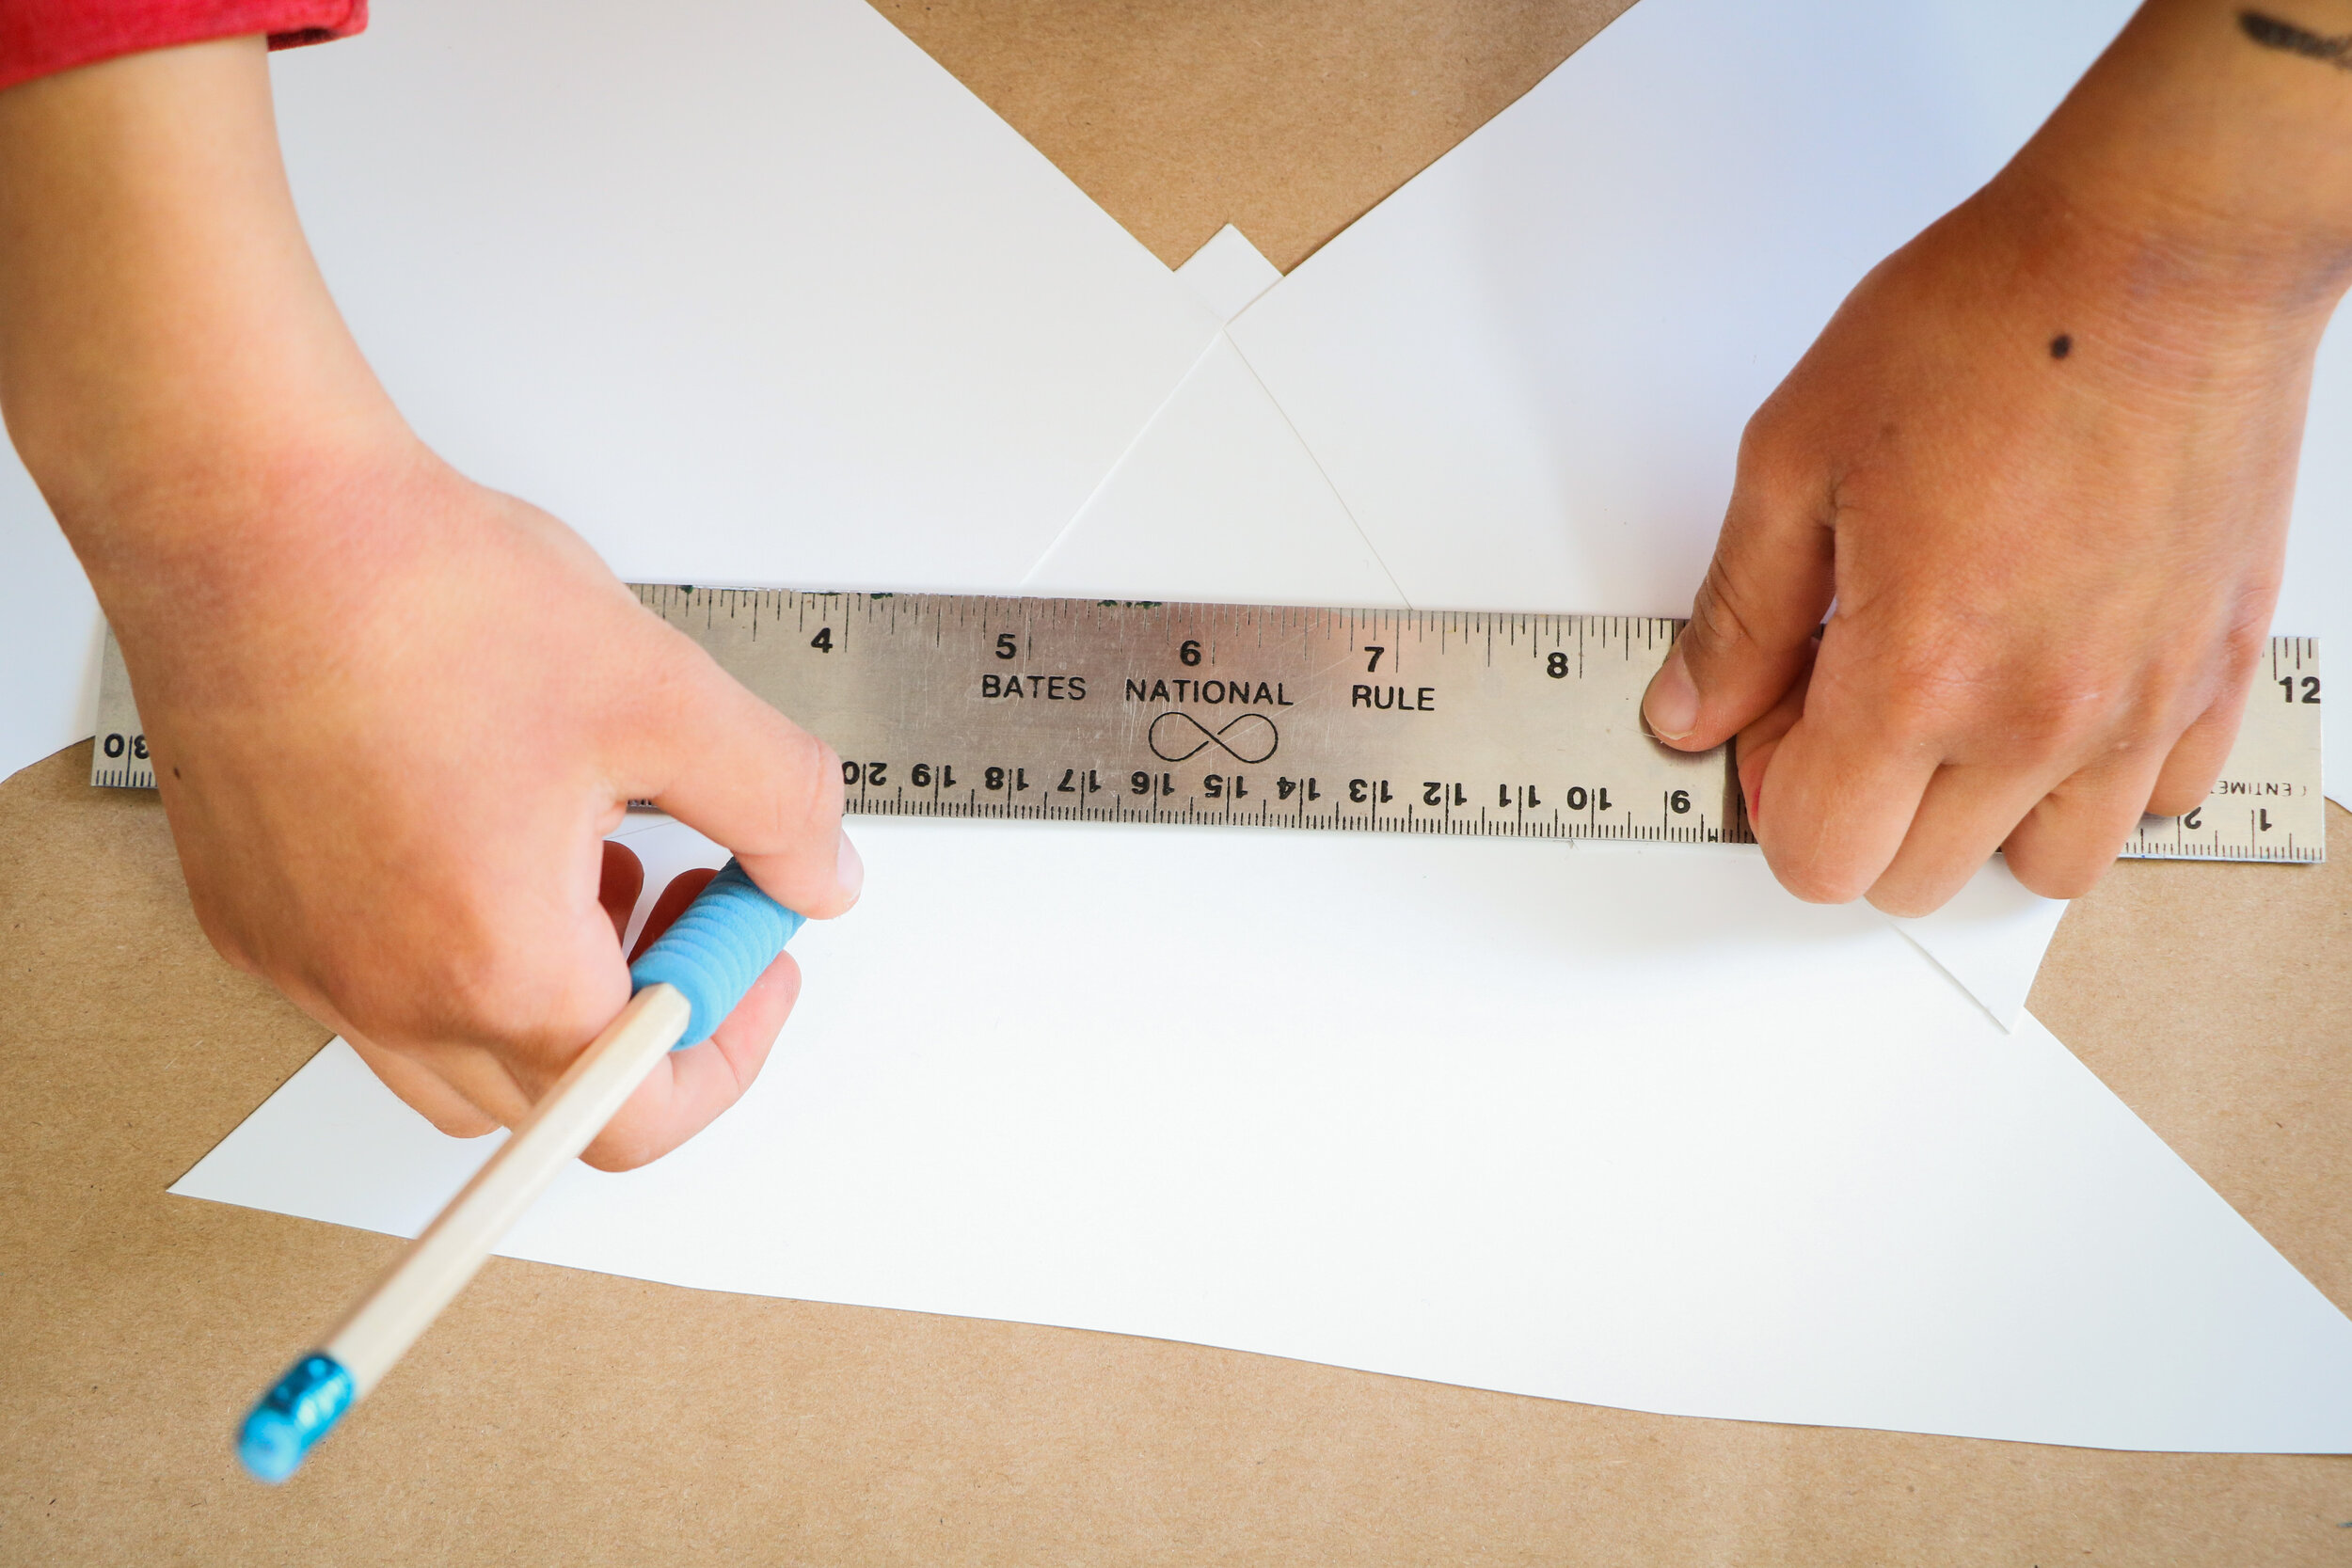
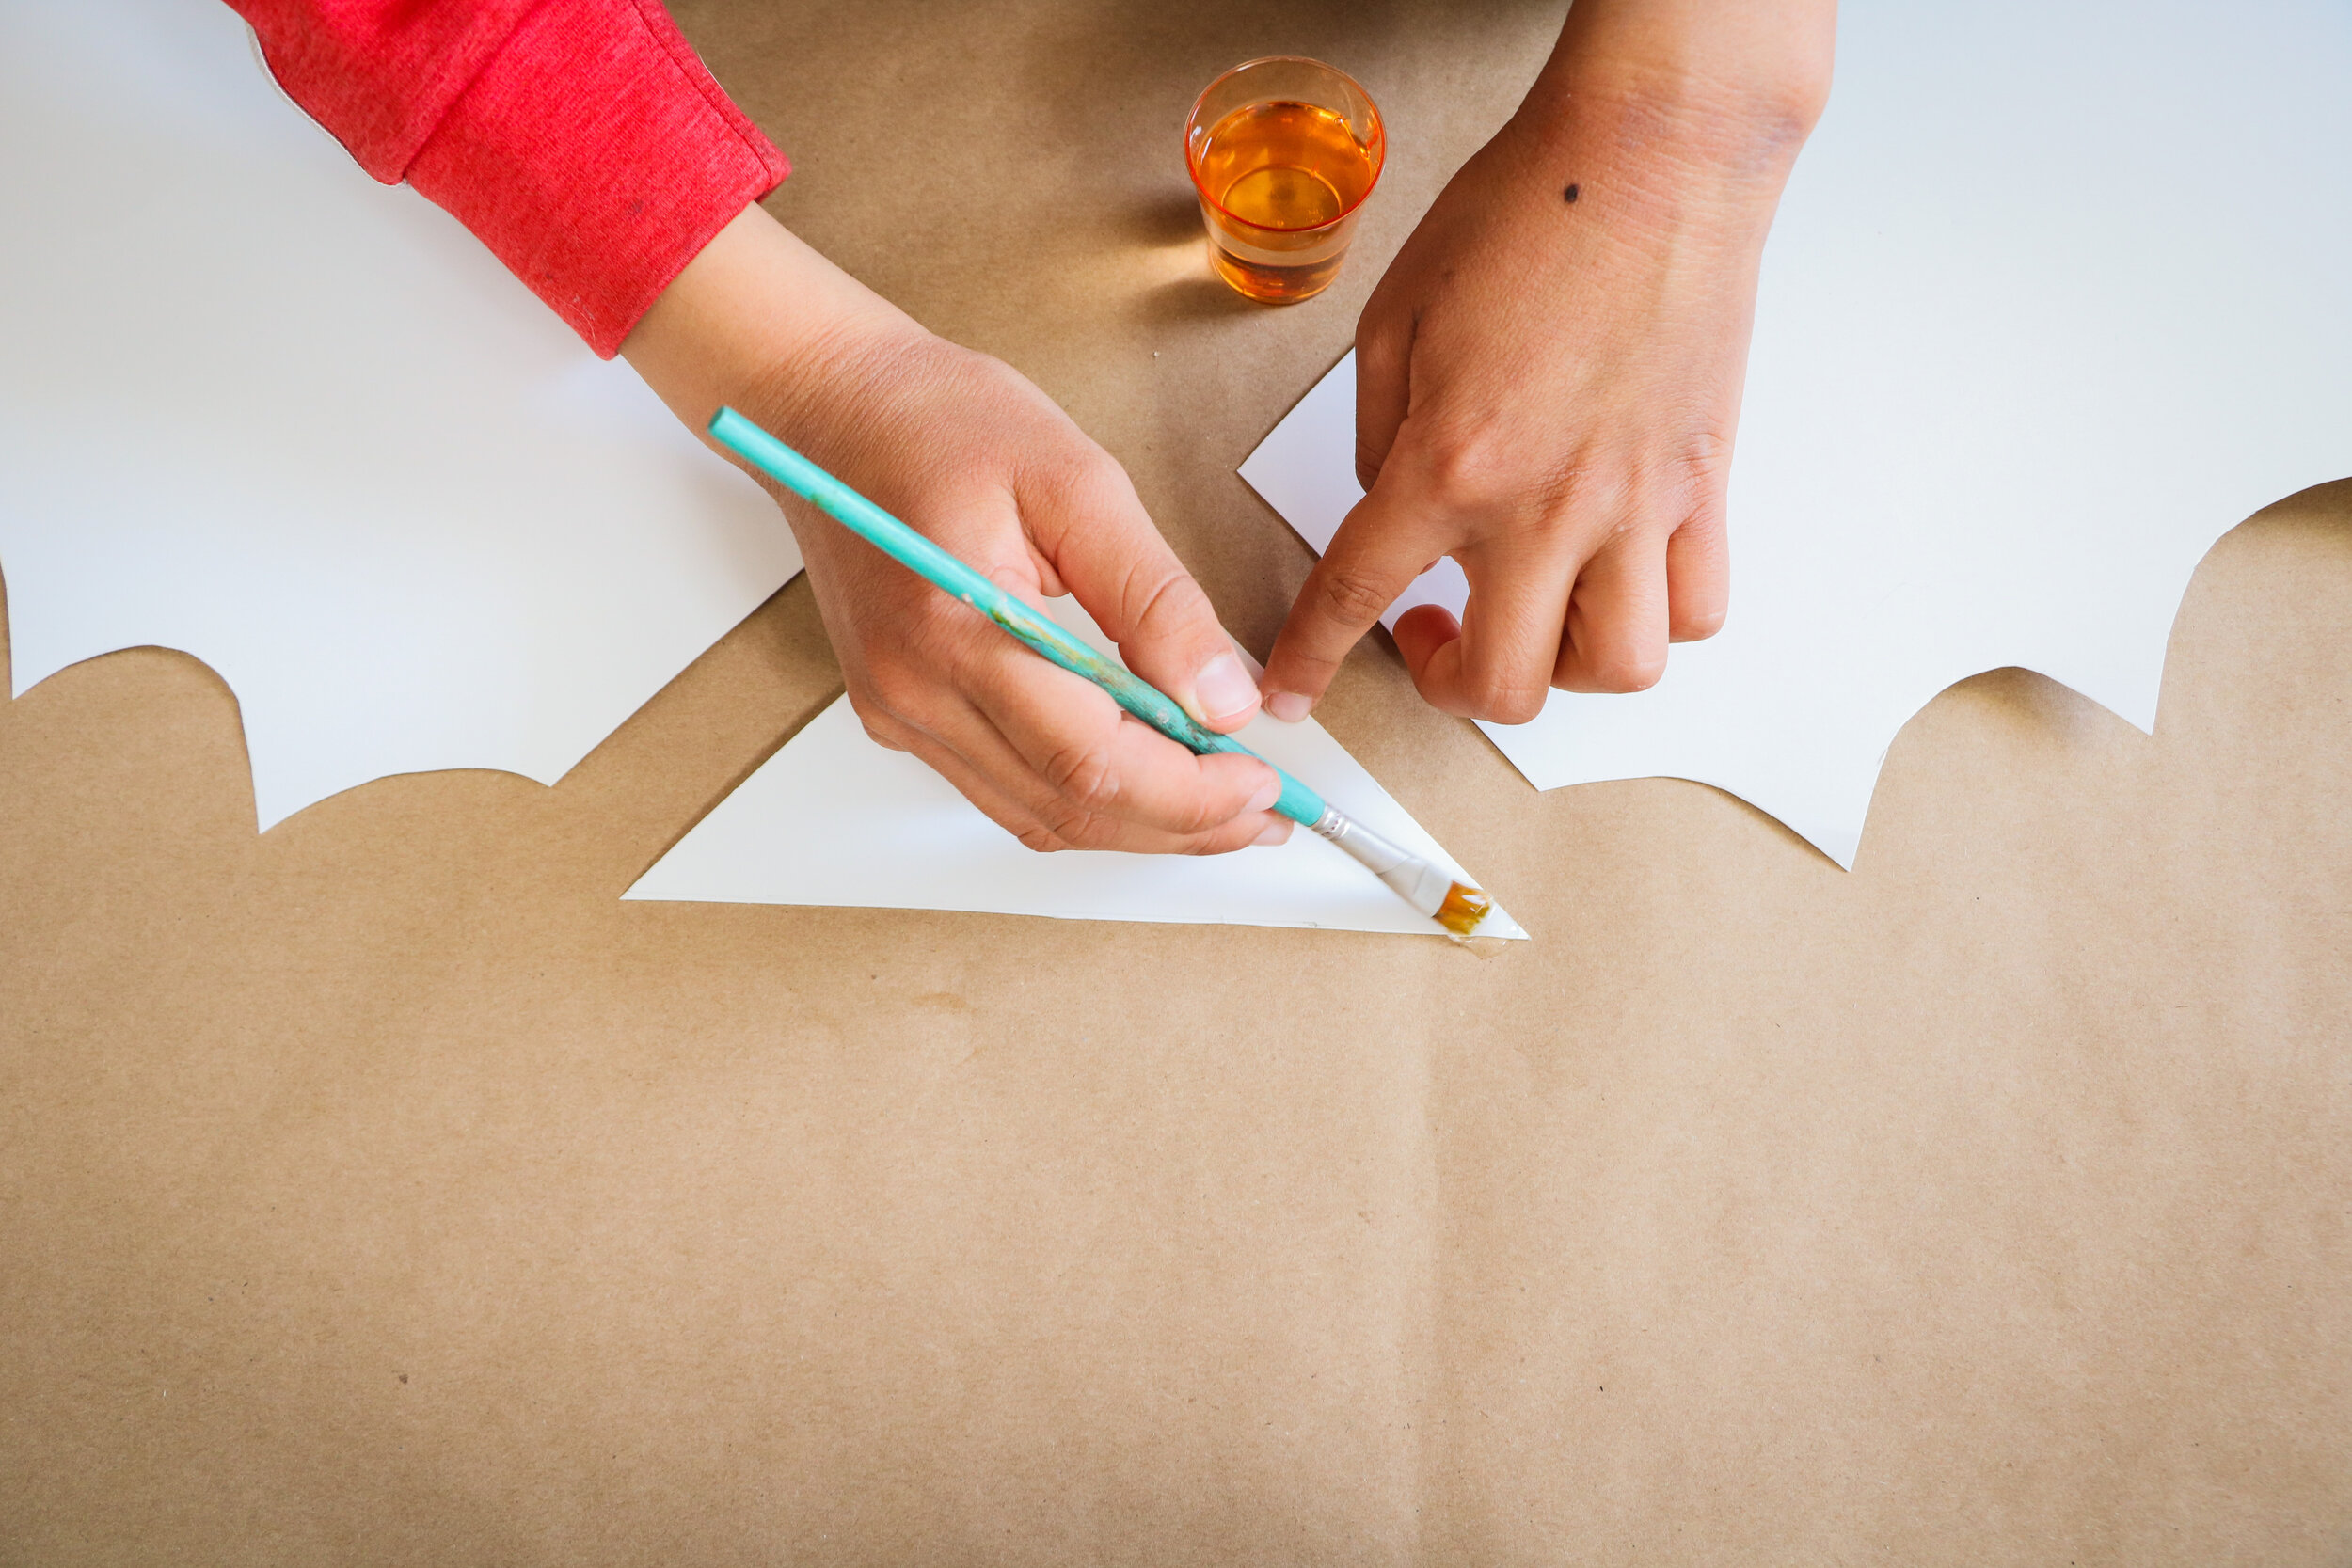
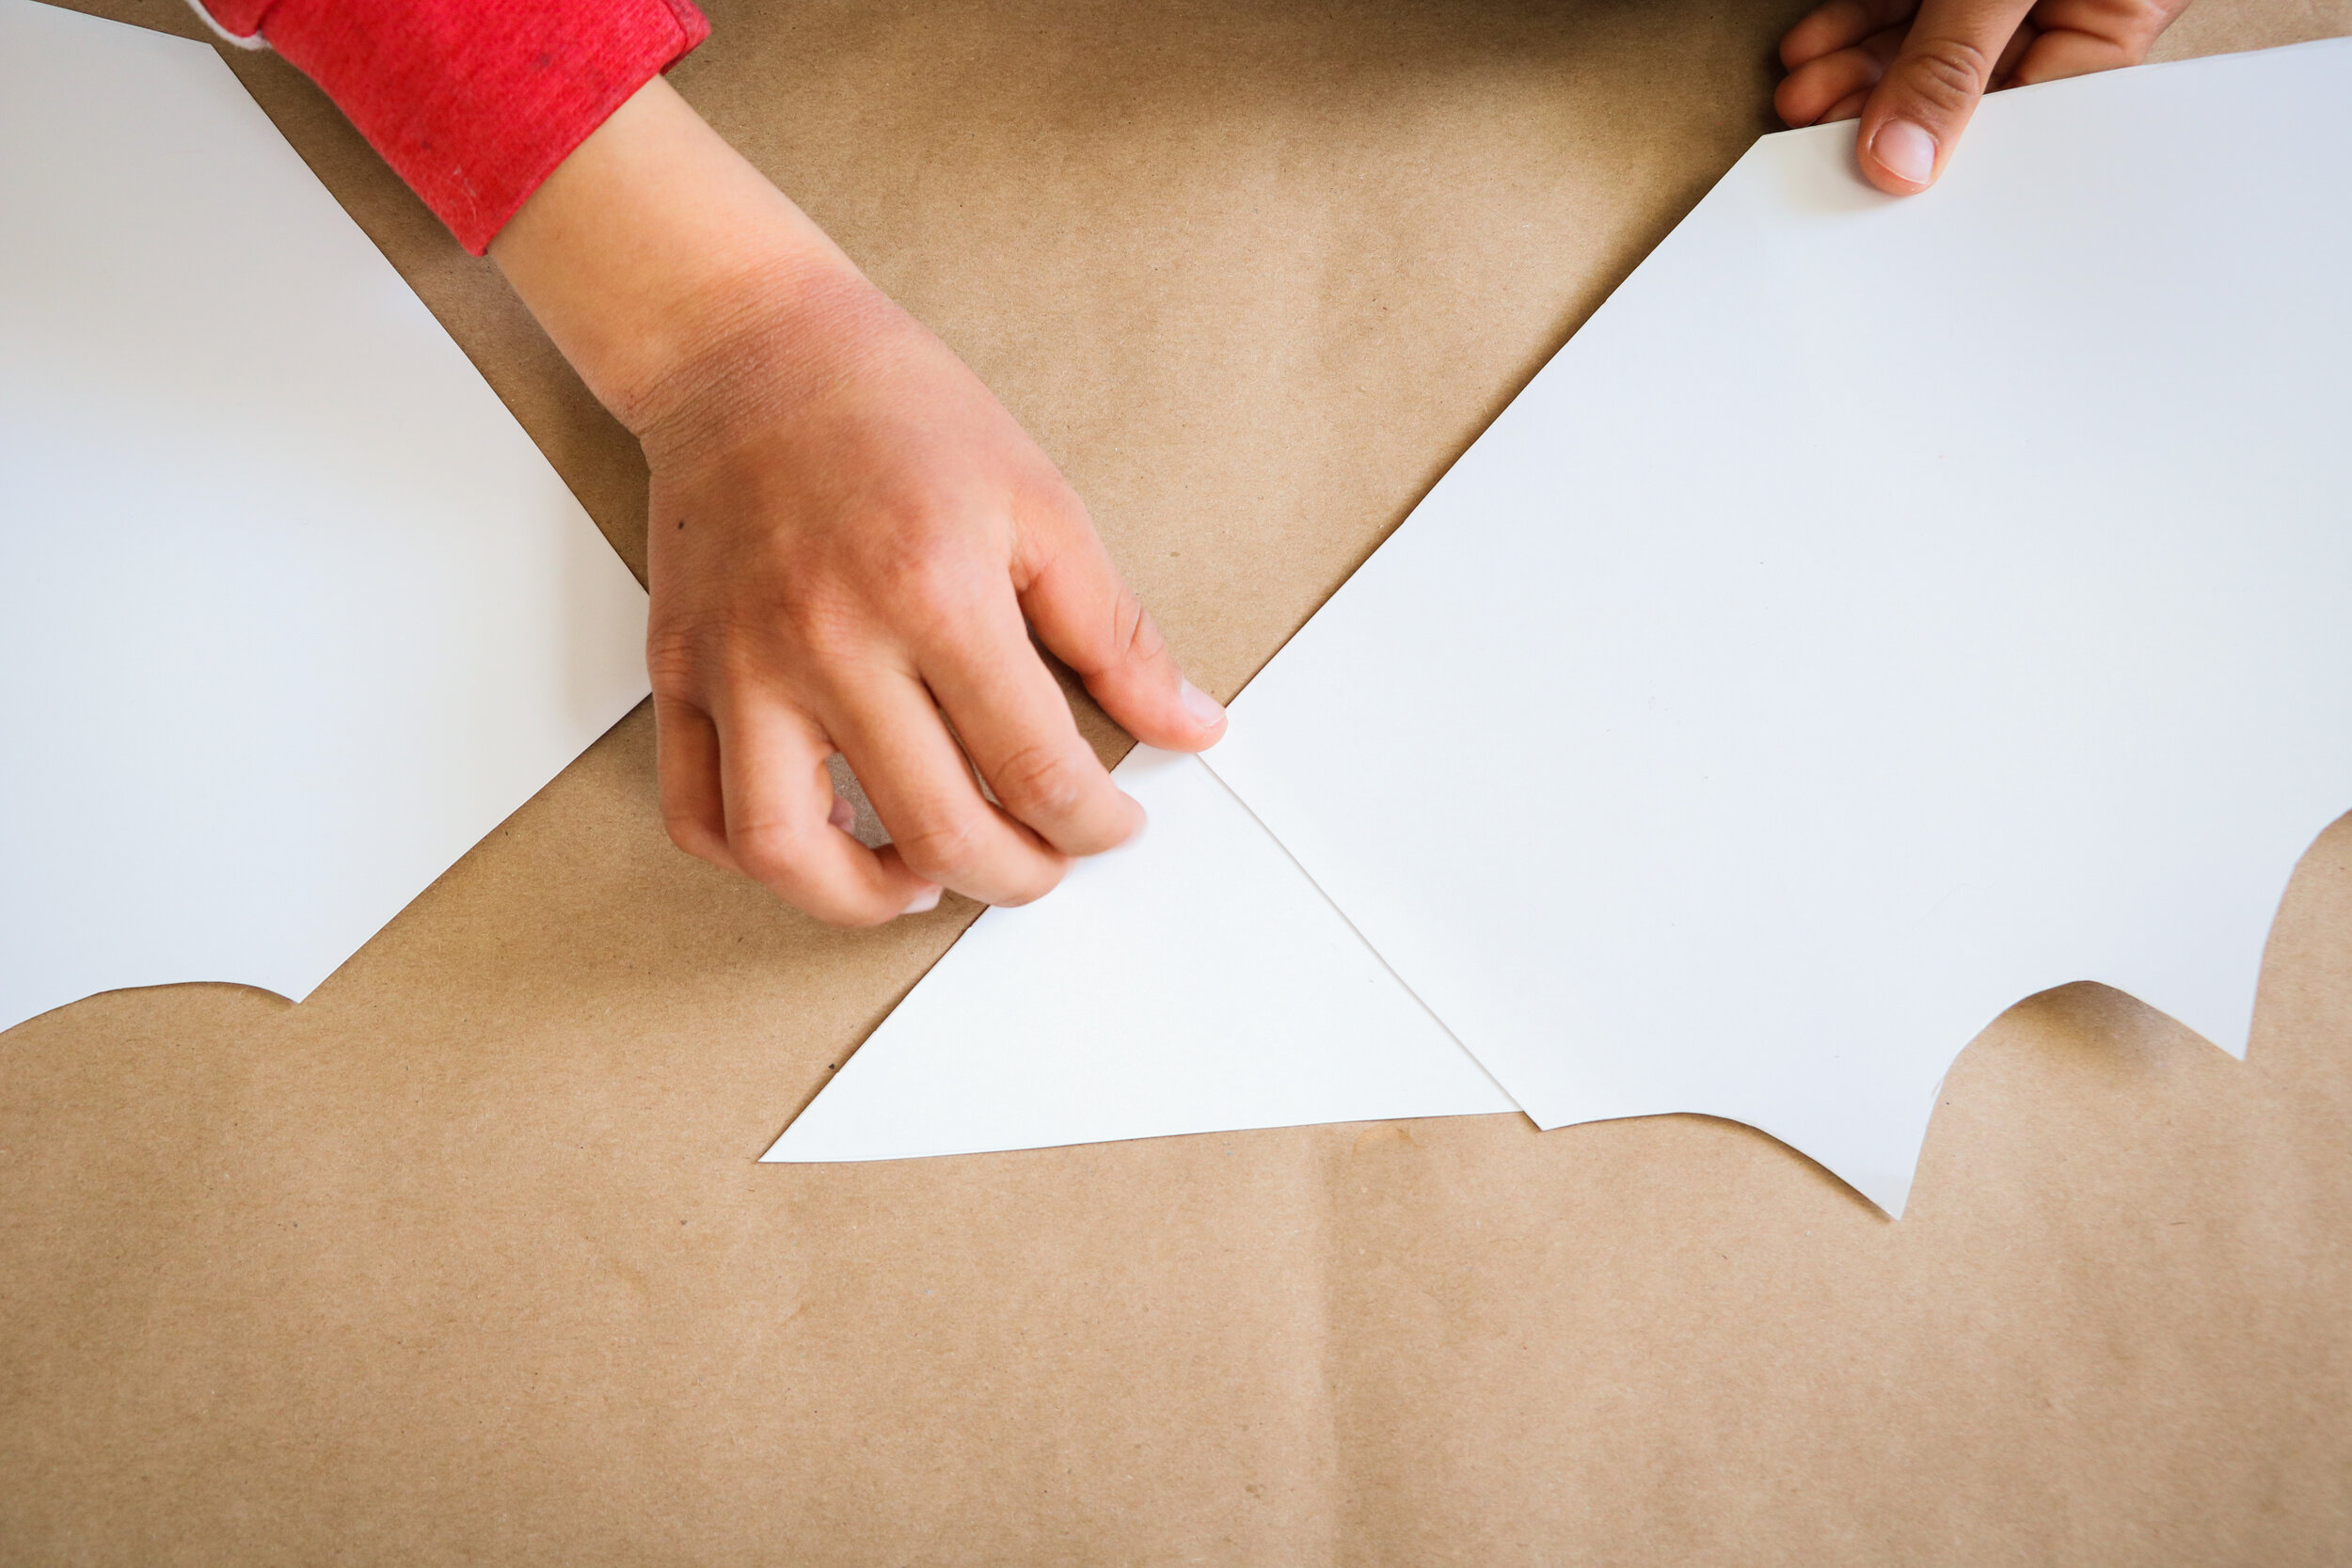
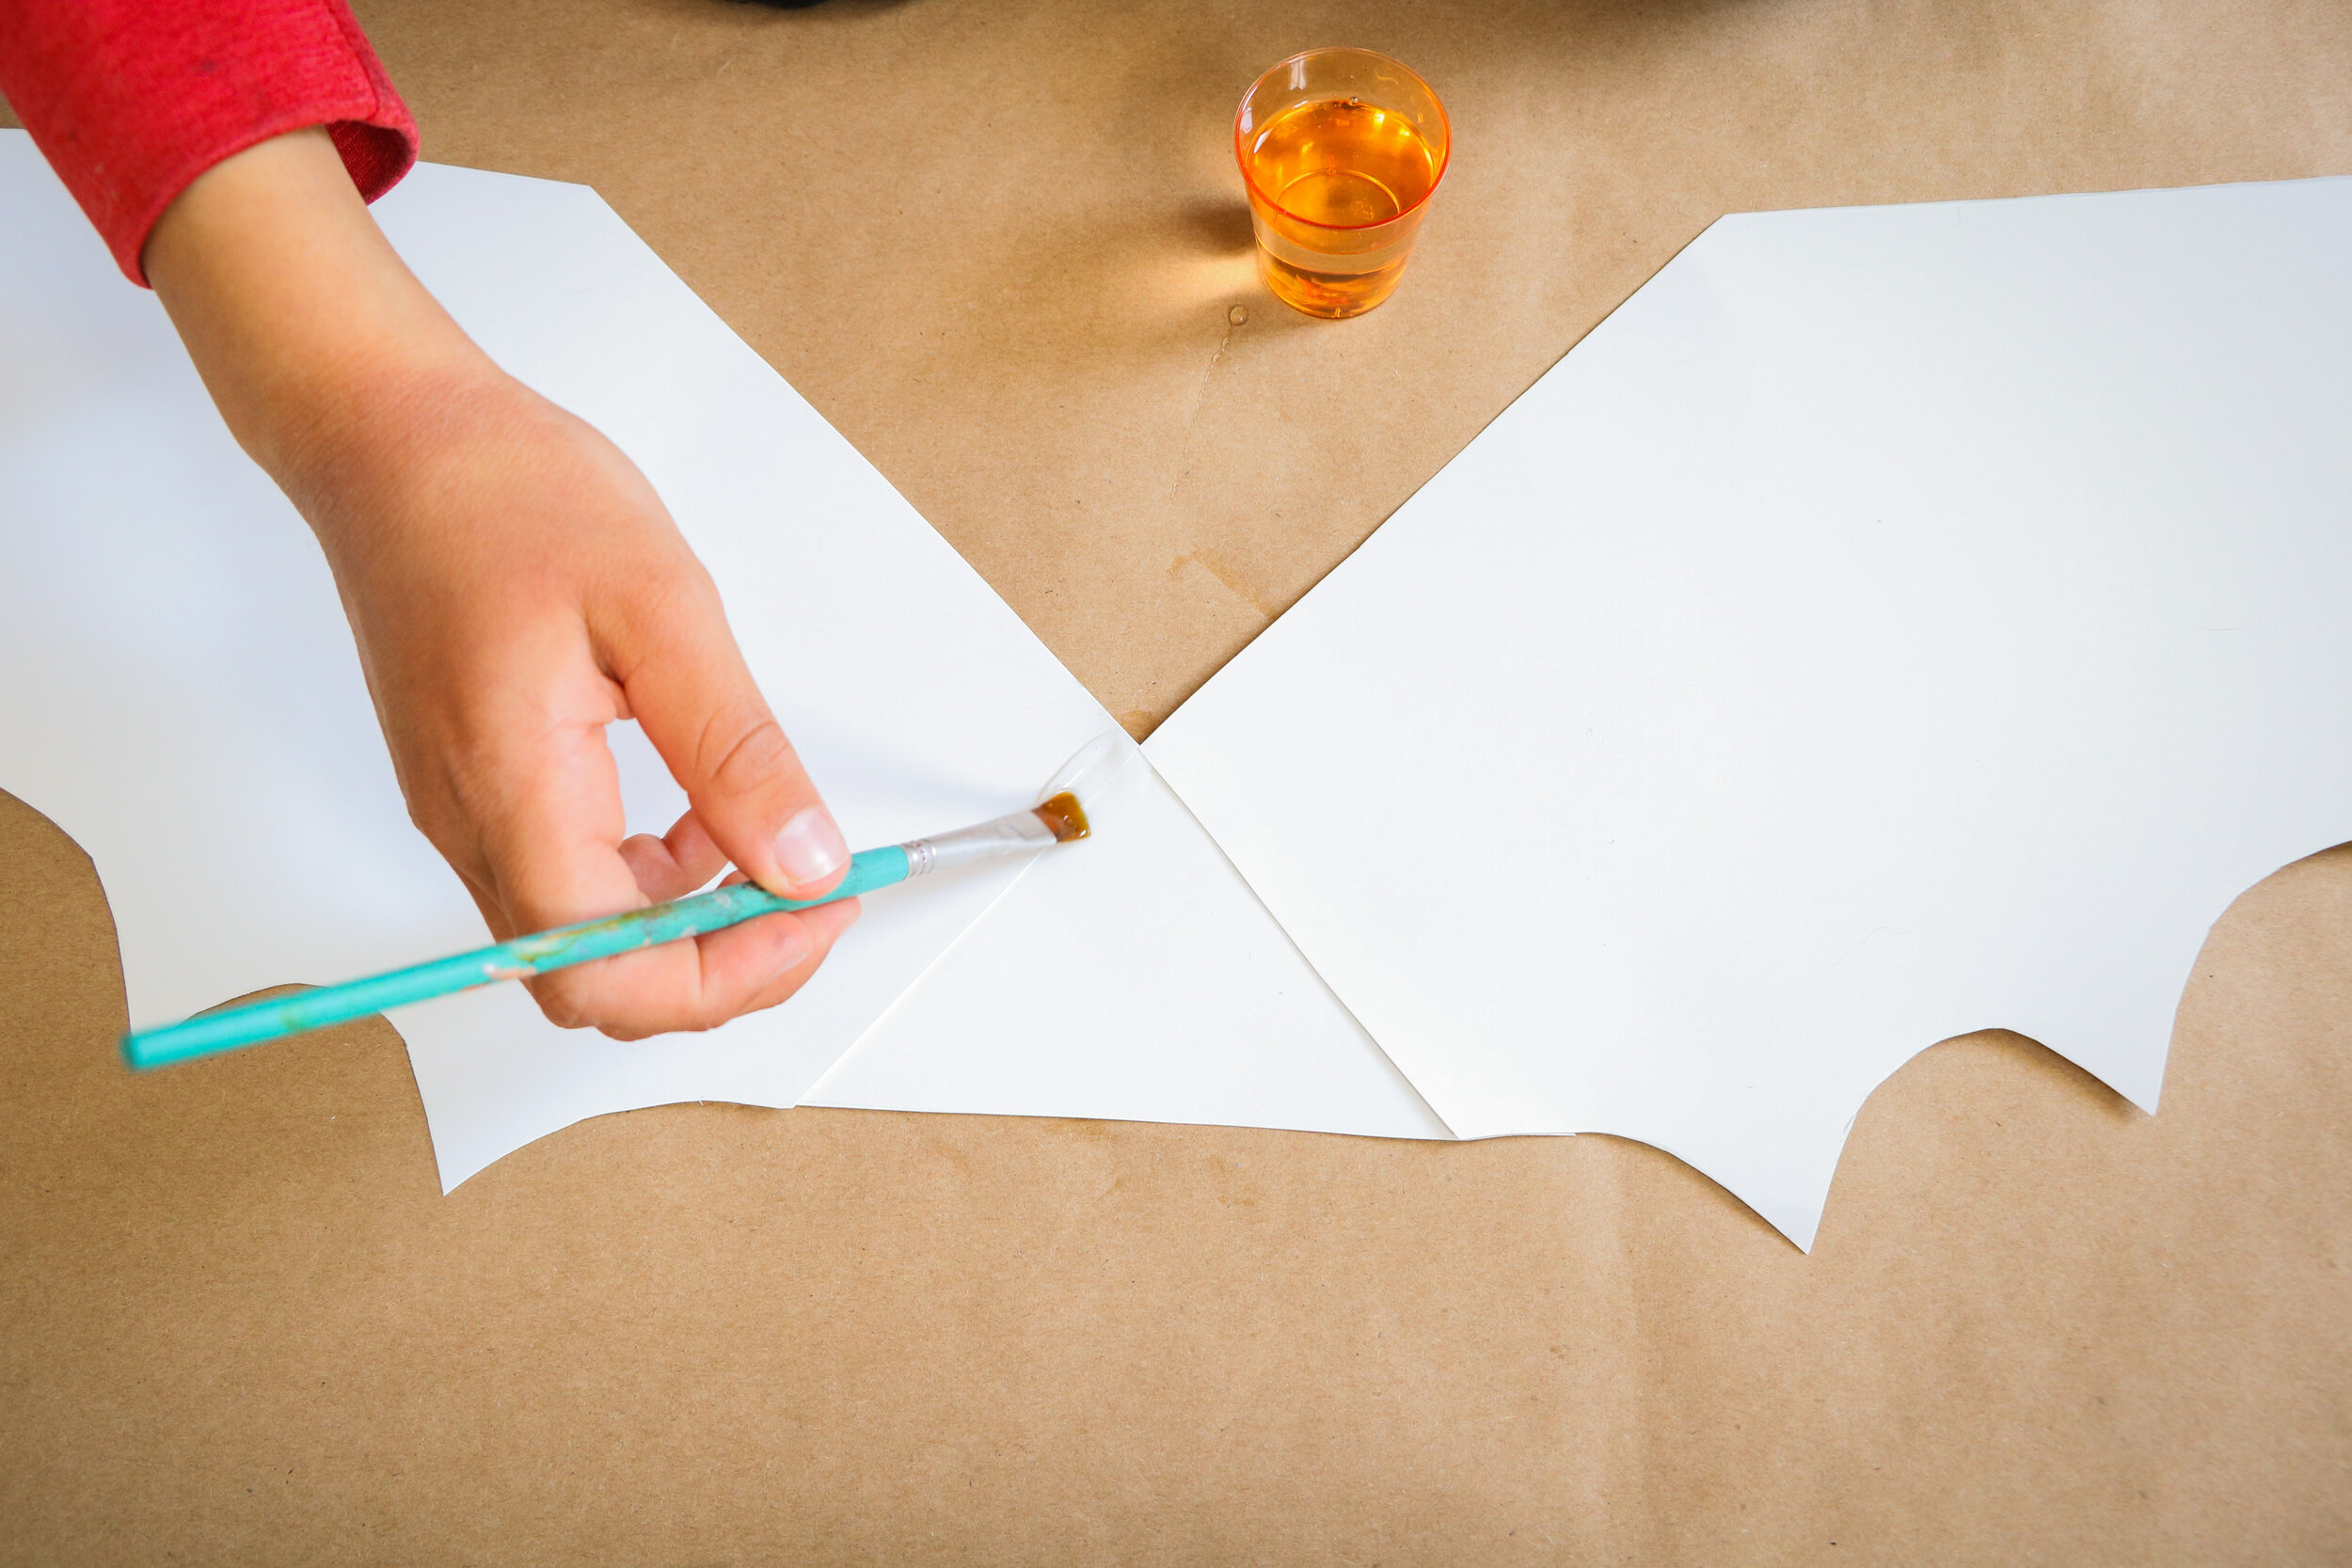
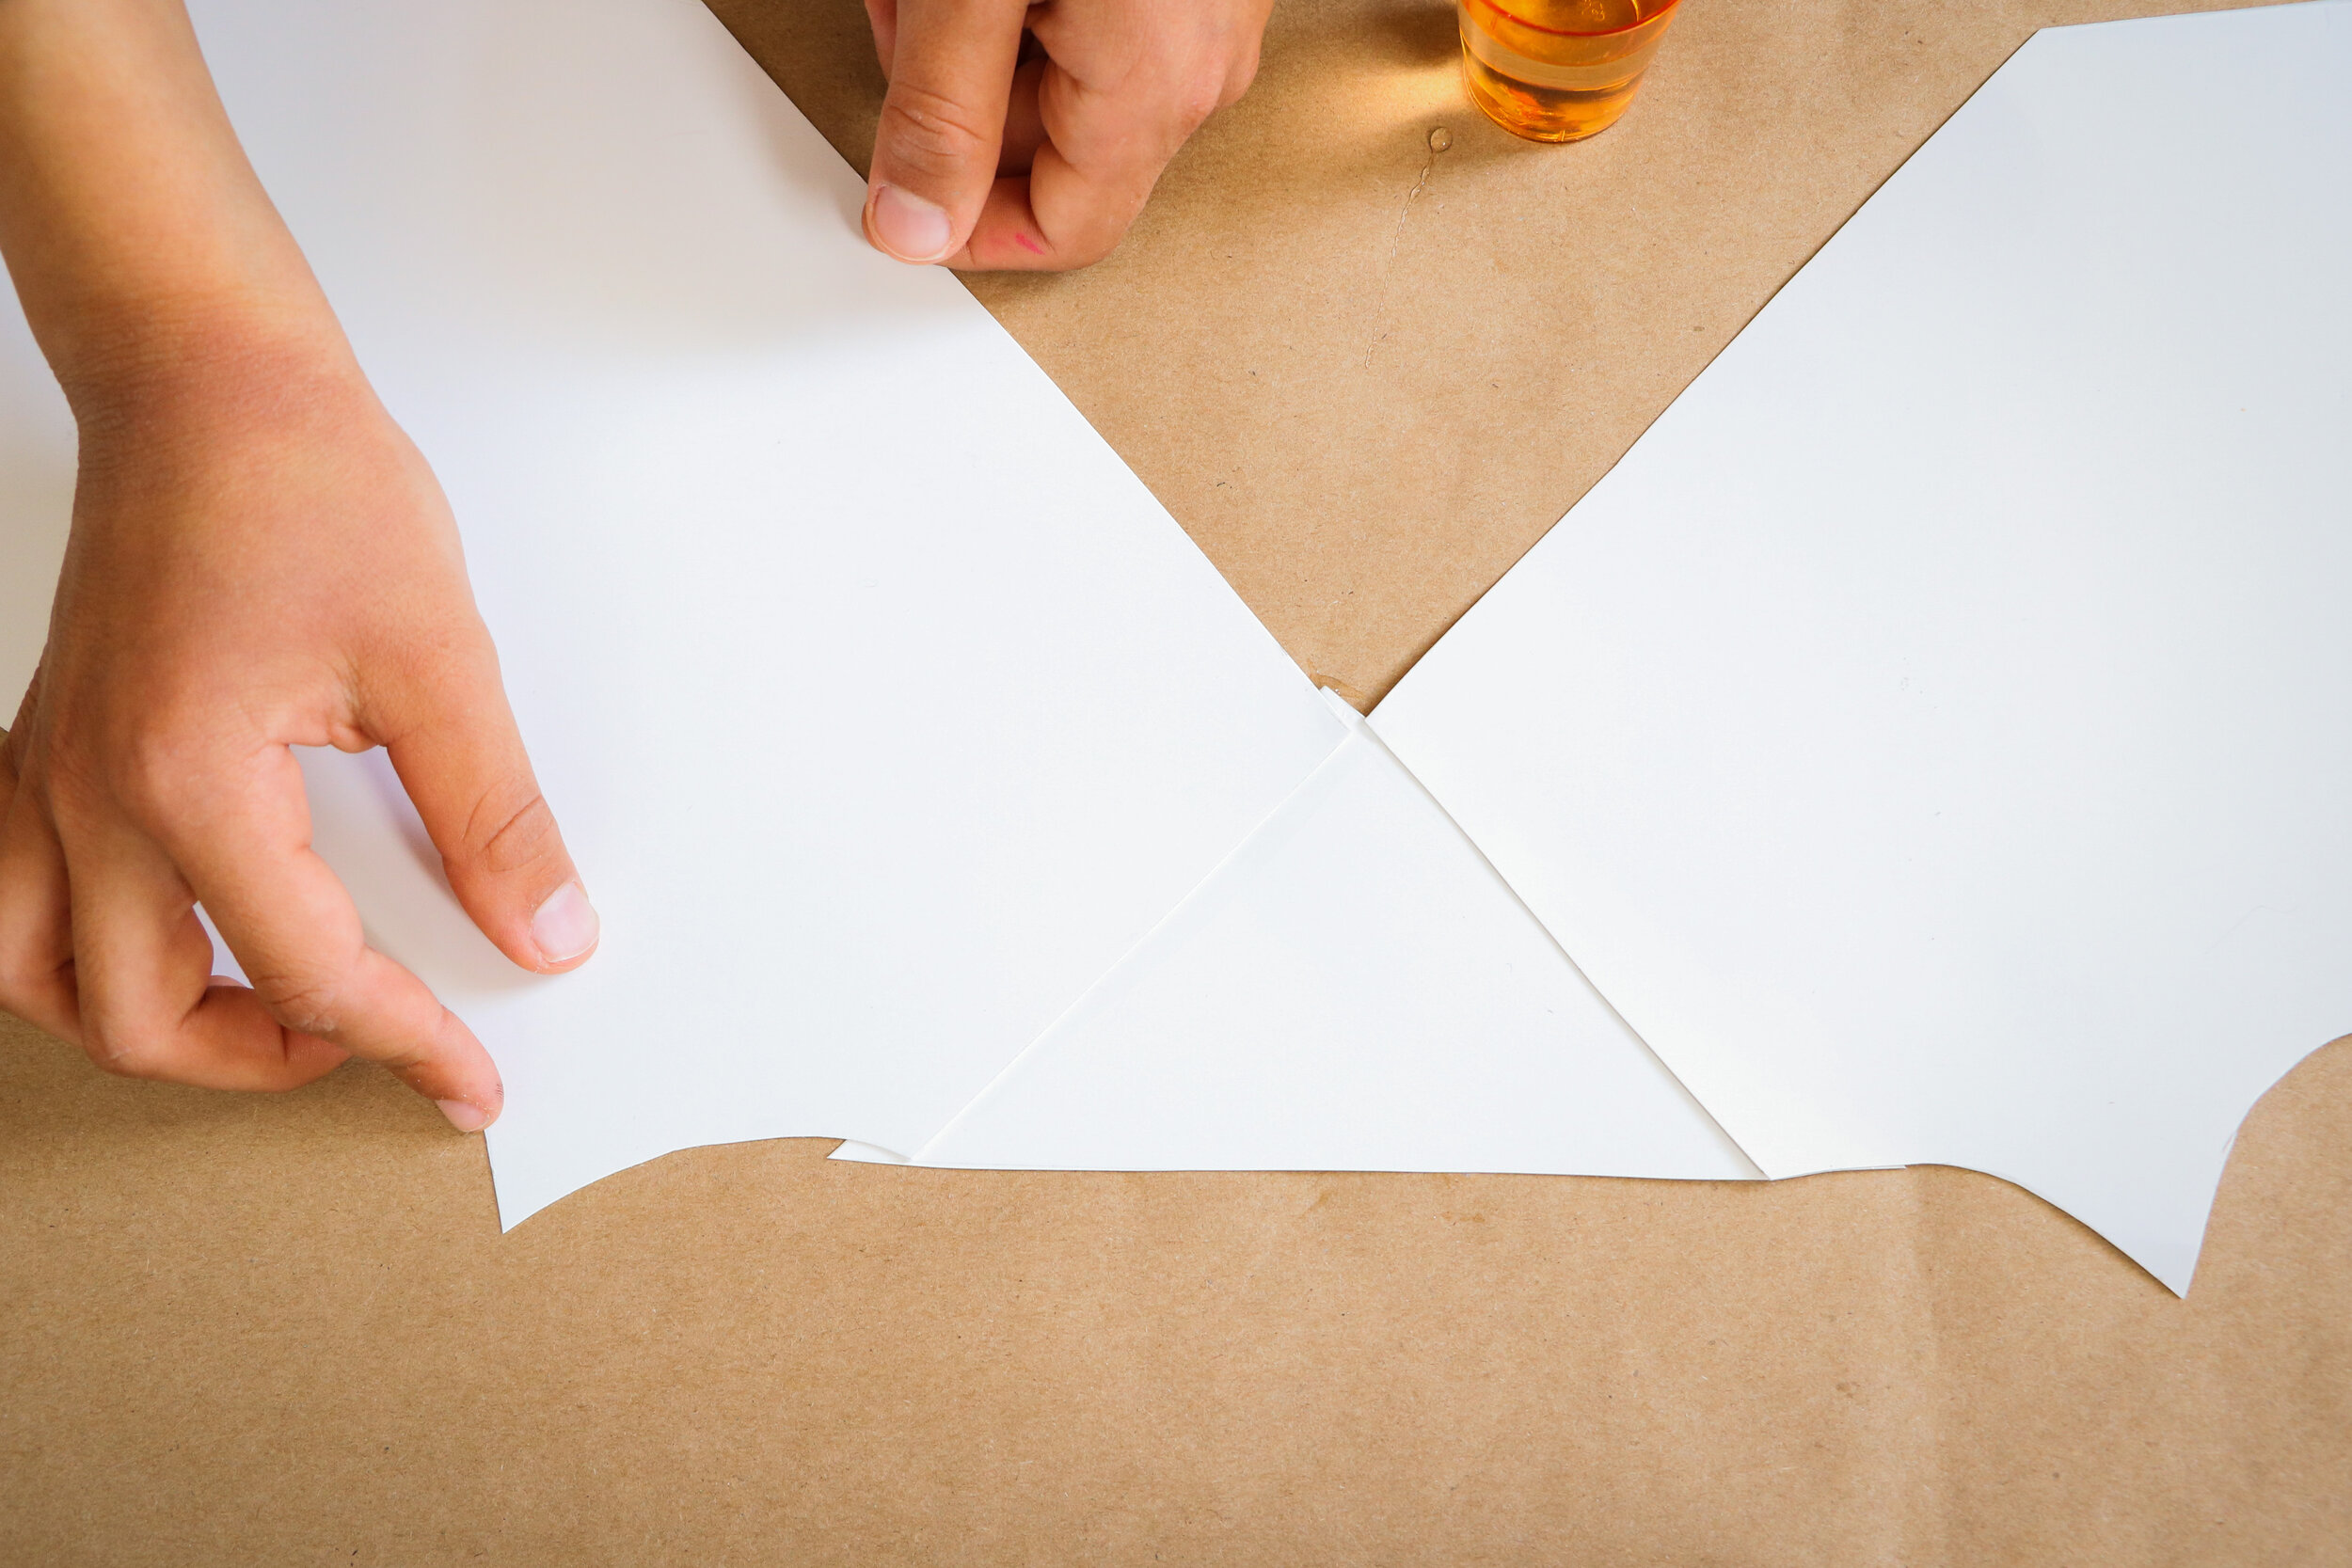
STEP 4: We created a triangle shape to attach the wings to each other and to center the wings on your littles back. You can do this by using one of the scraps from your poster board and measuring from one side of your wings to the other, using a ruler to trace nice lines. Cut this shape out and then glue your wings to it. Let dry and then apply a layer of glue to the backside of your wings to re-in force and secure the wings. Let dry.
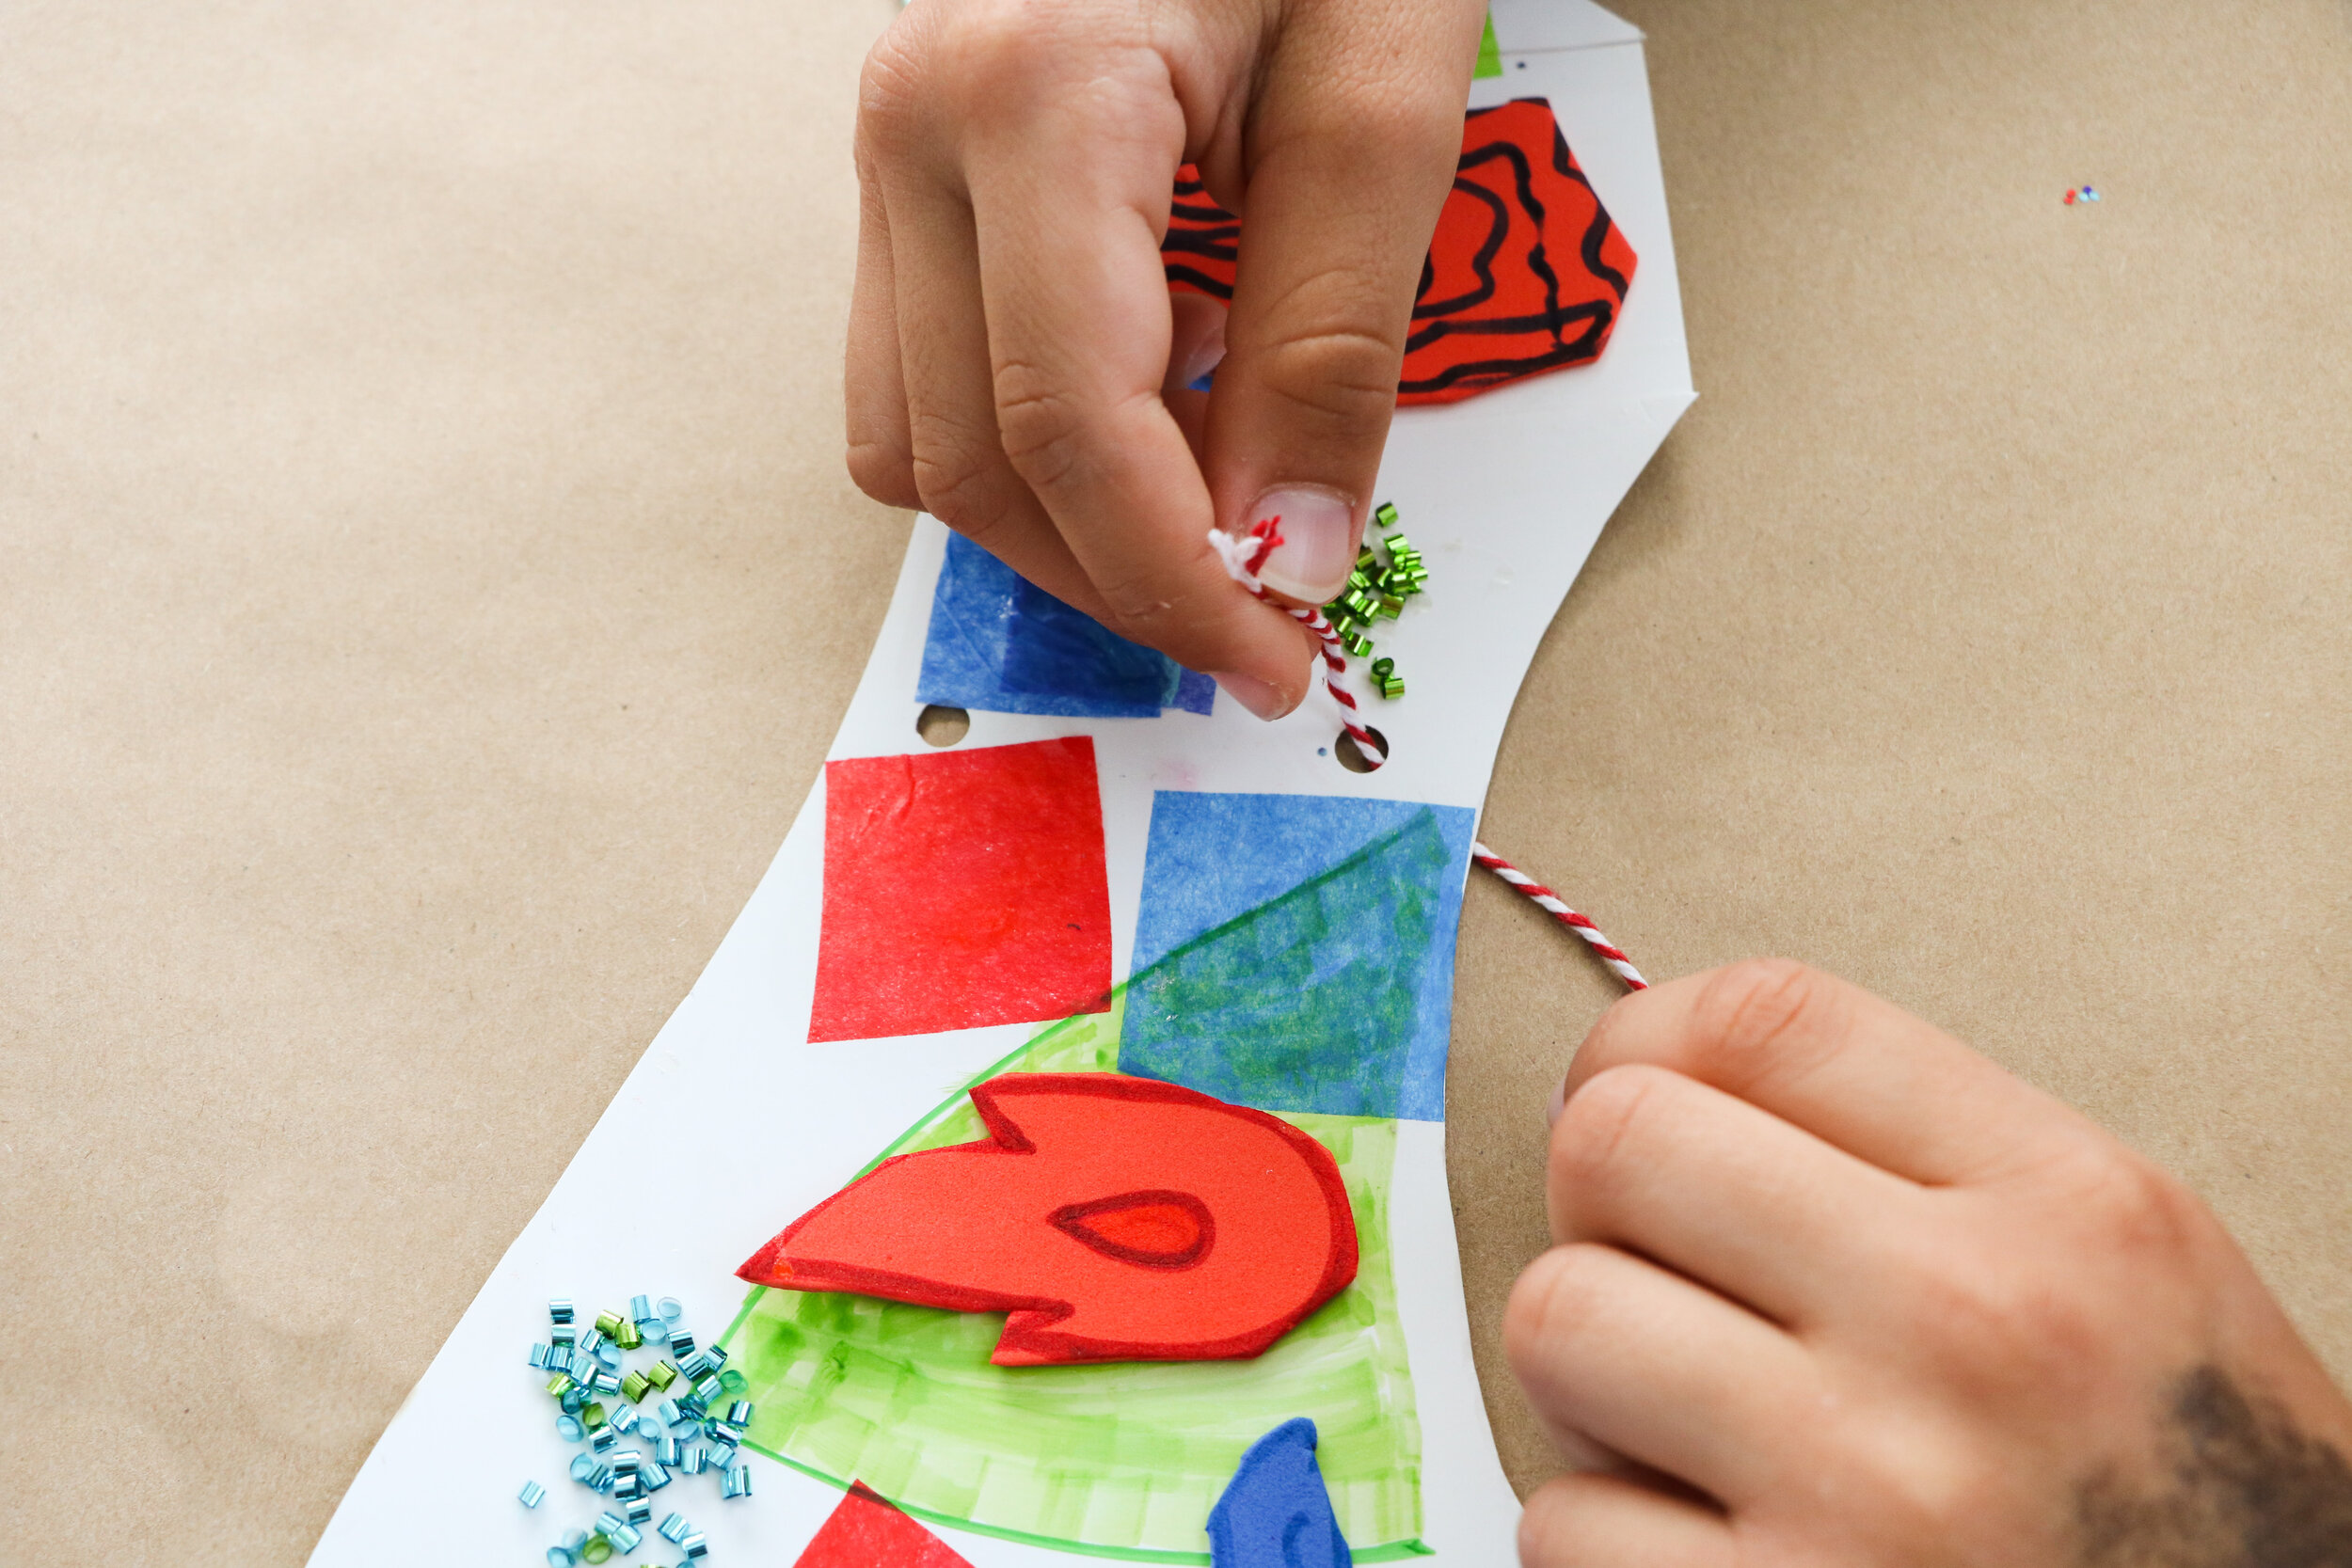
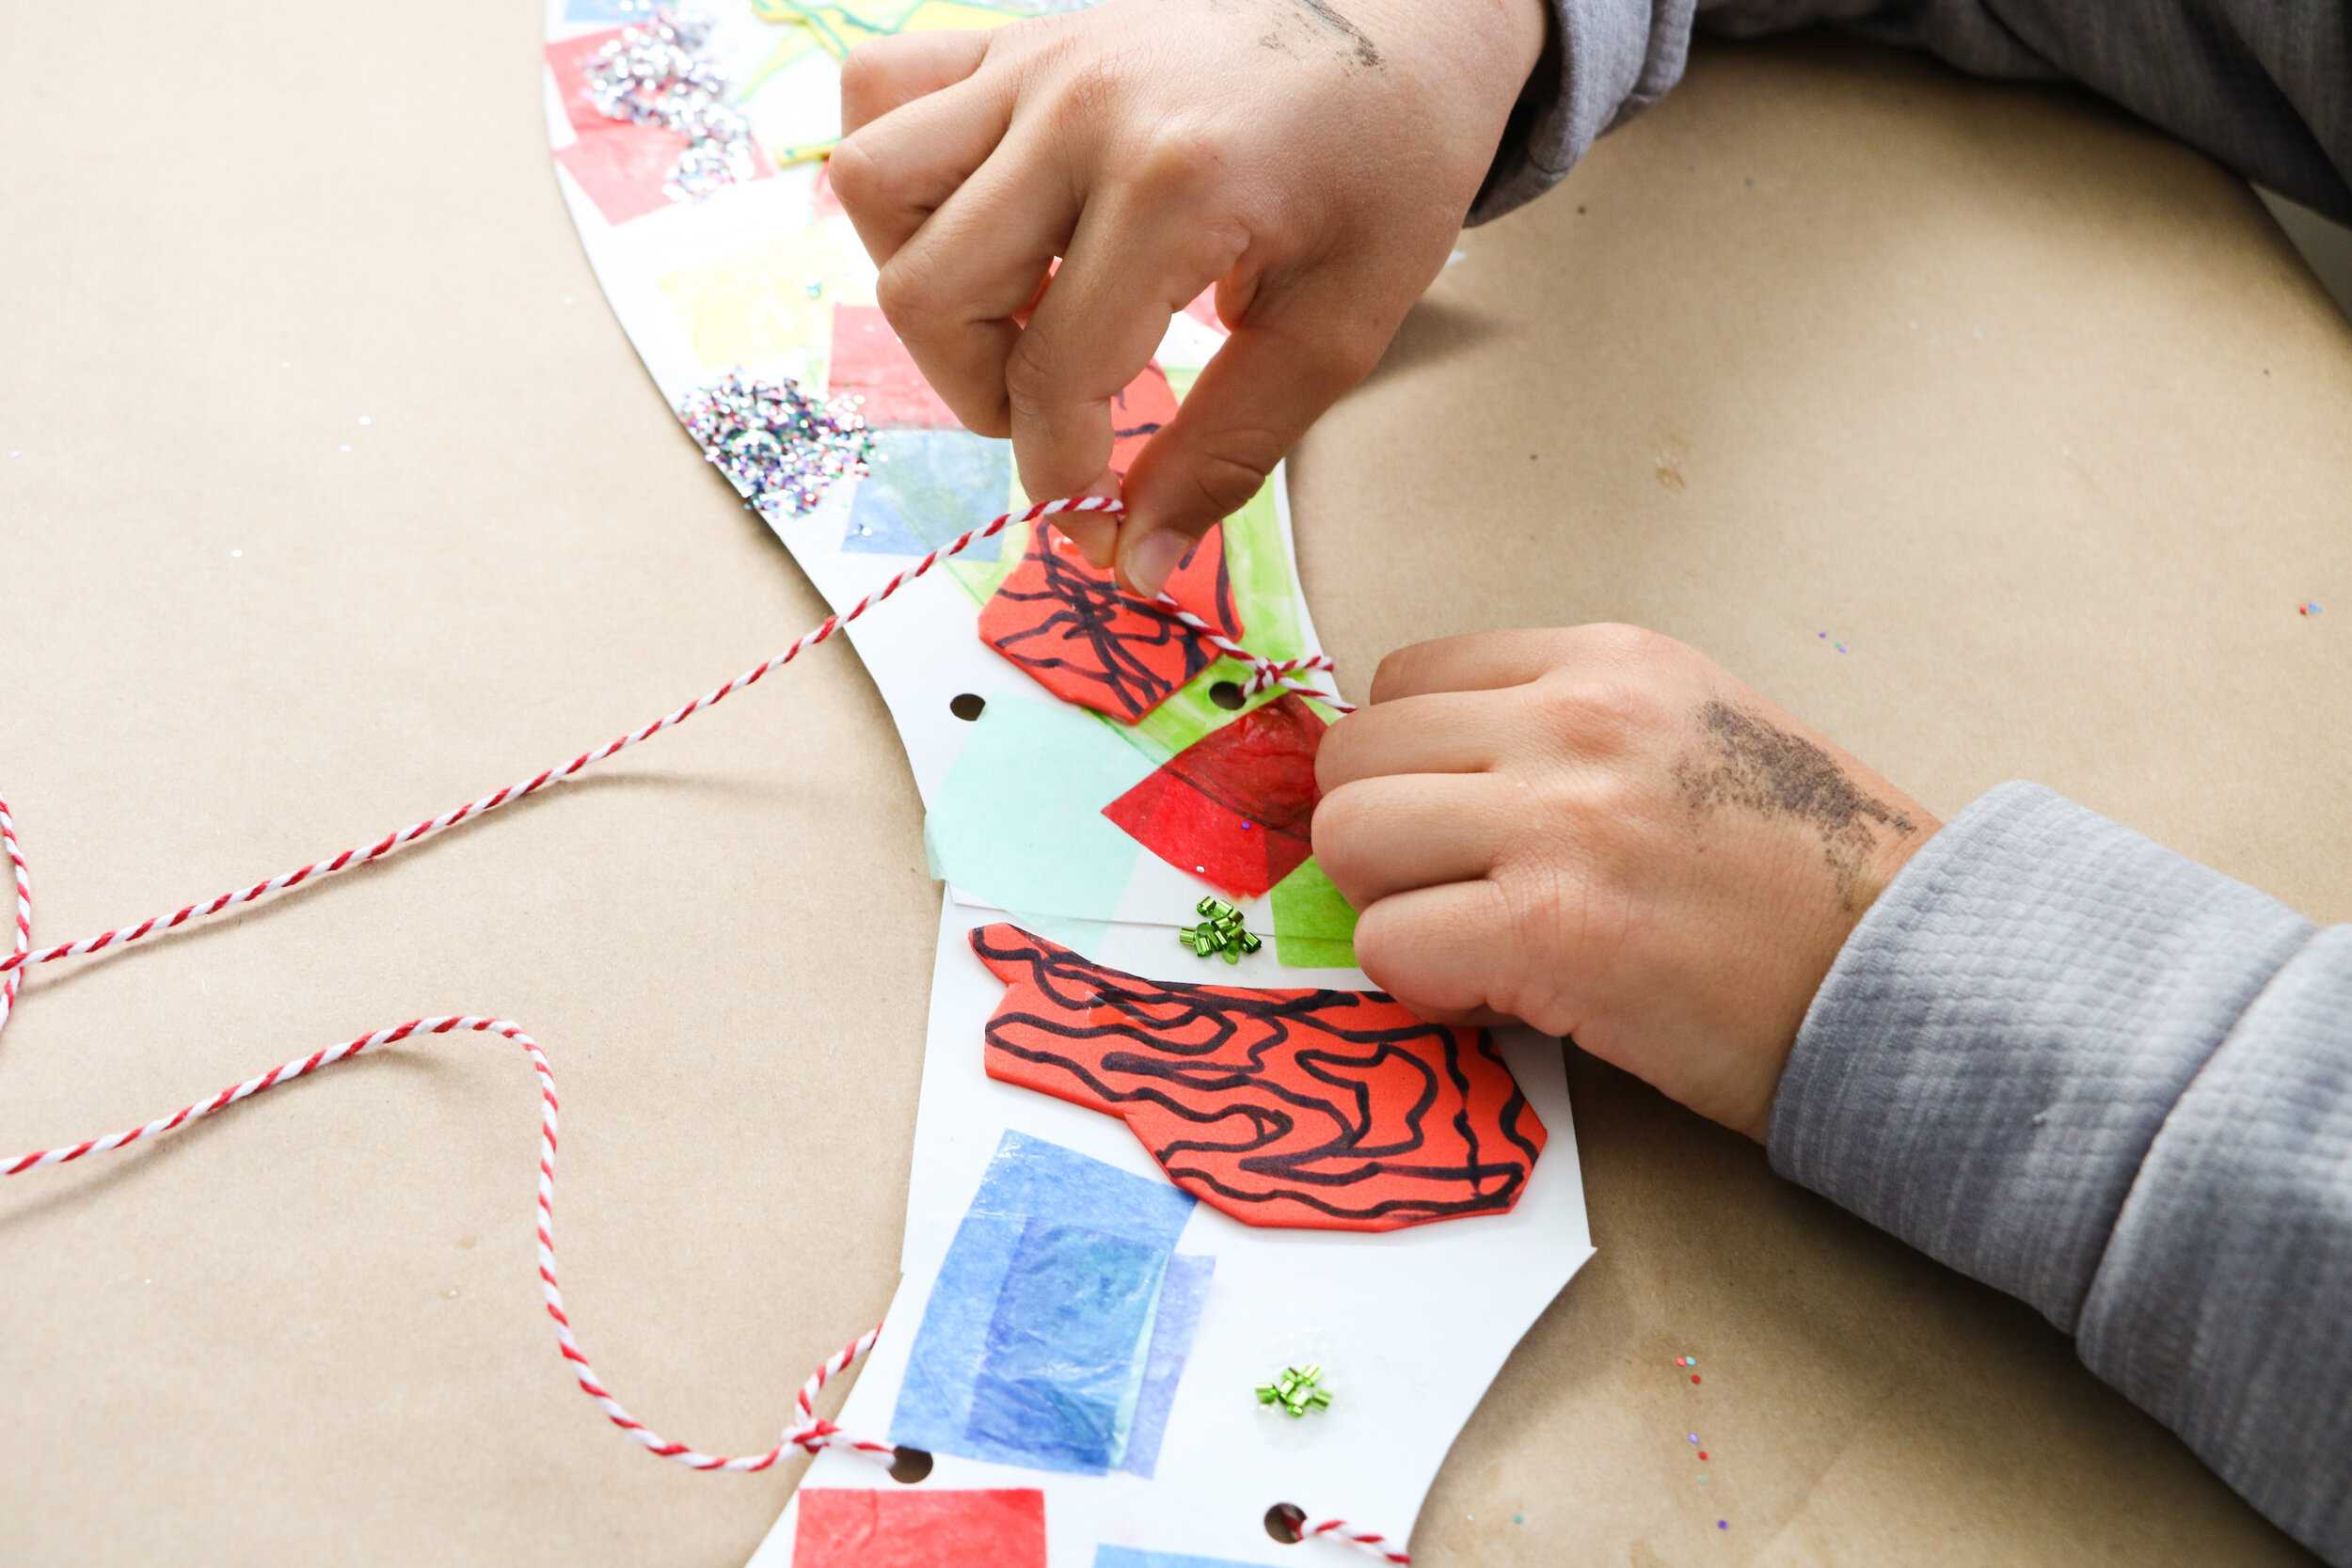
STEP 5: Hole punch 2 holes on either sides of your wings. We hole punched ours 2 inches away from the center on each side.

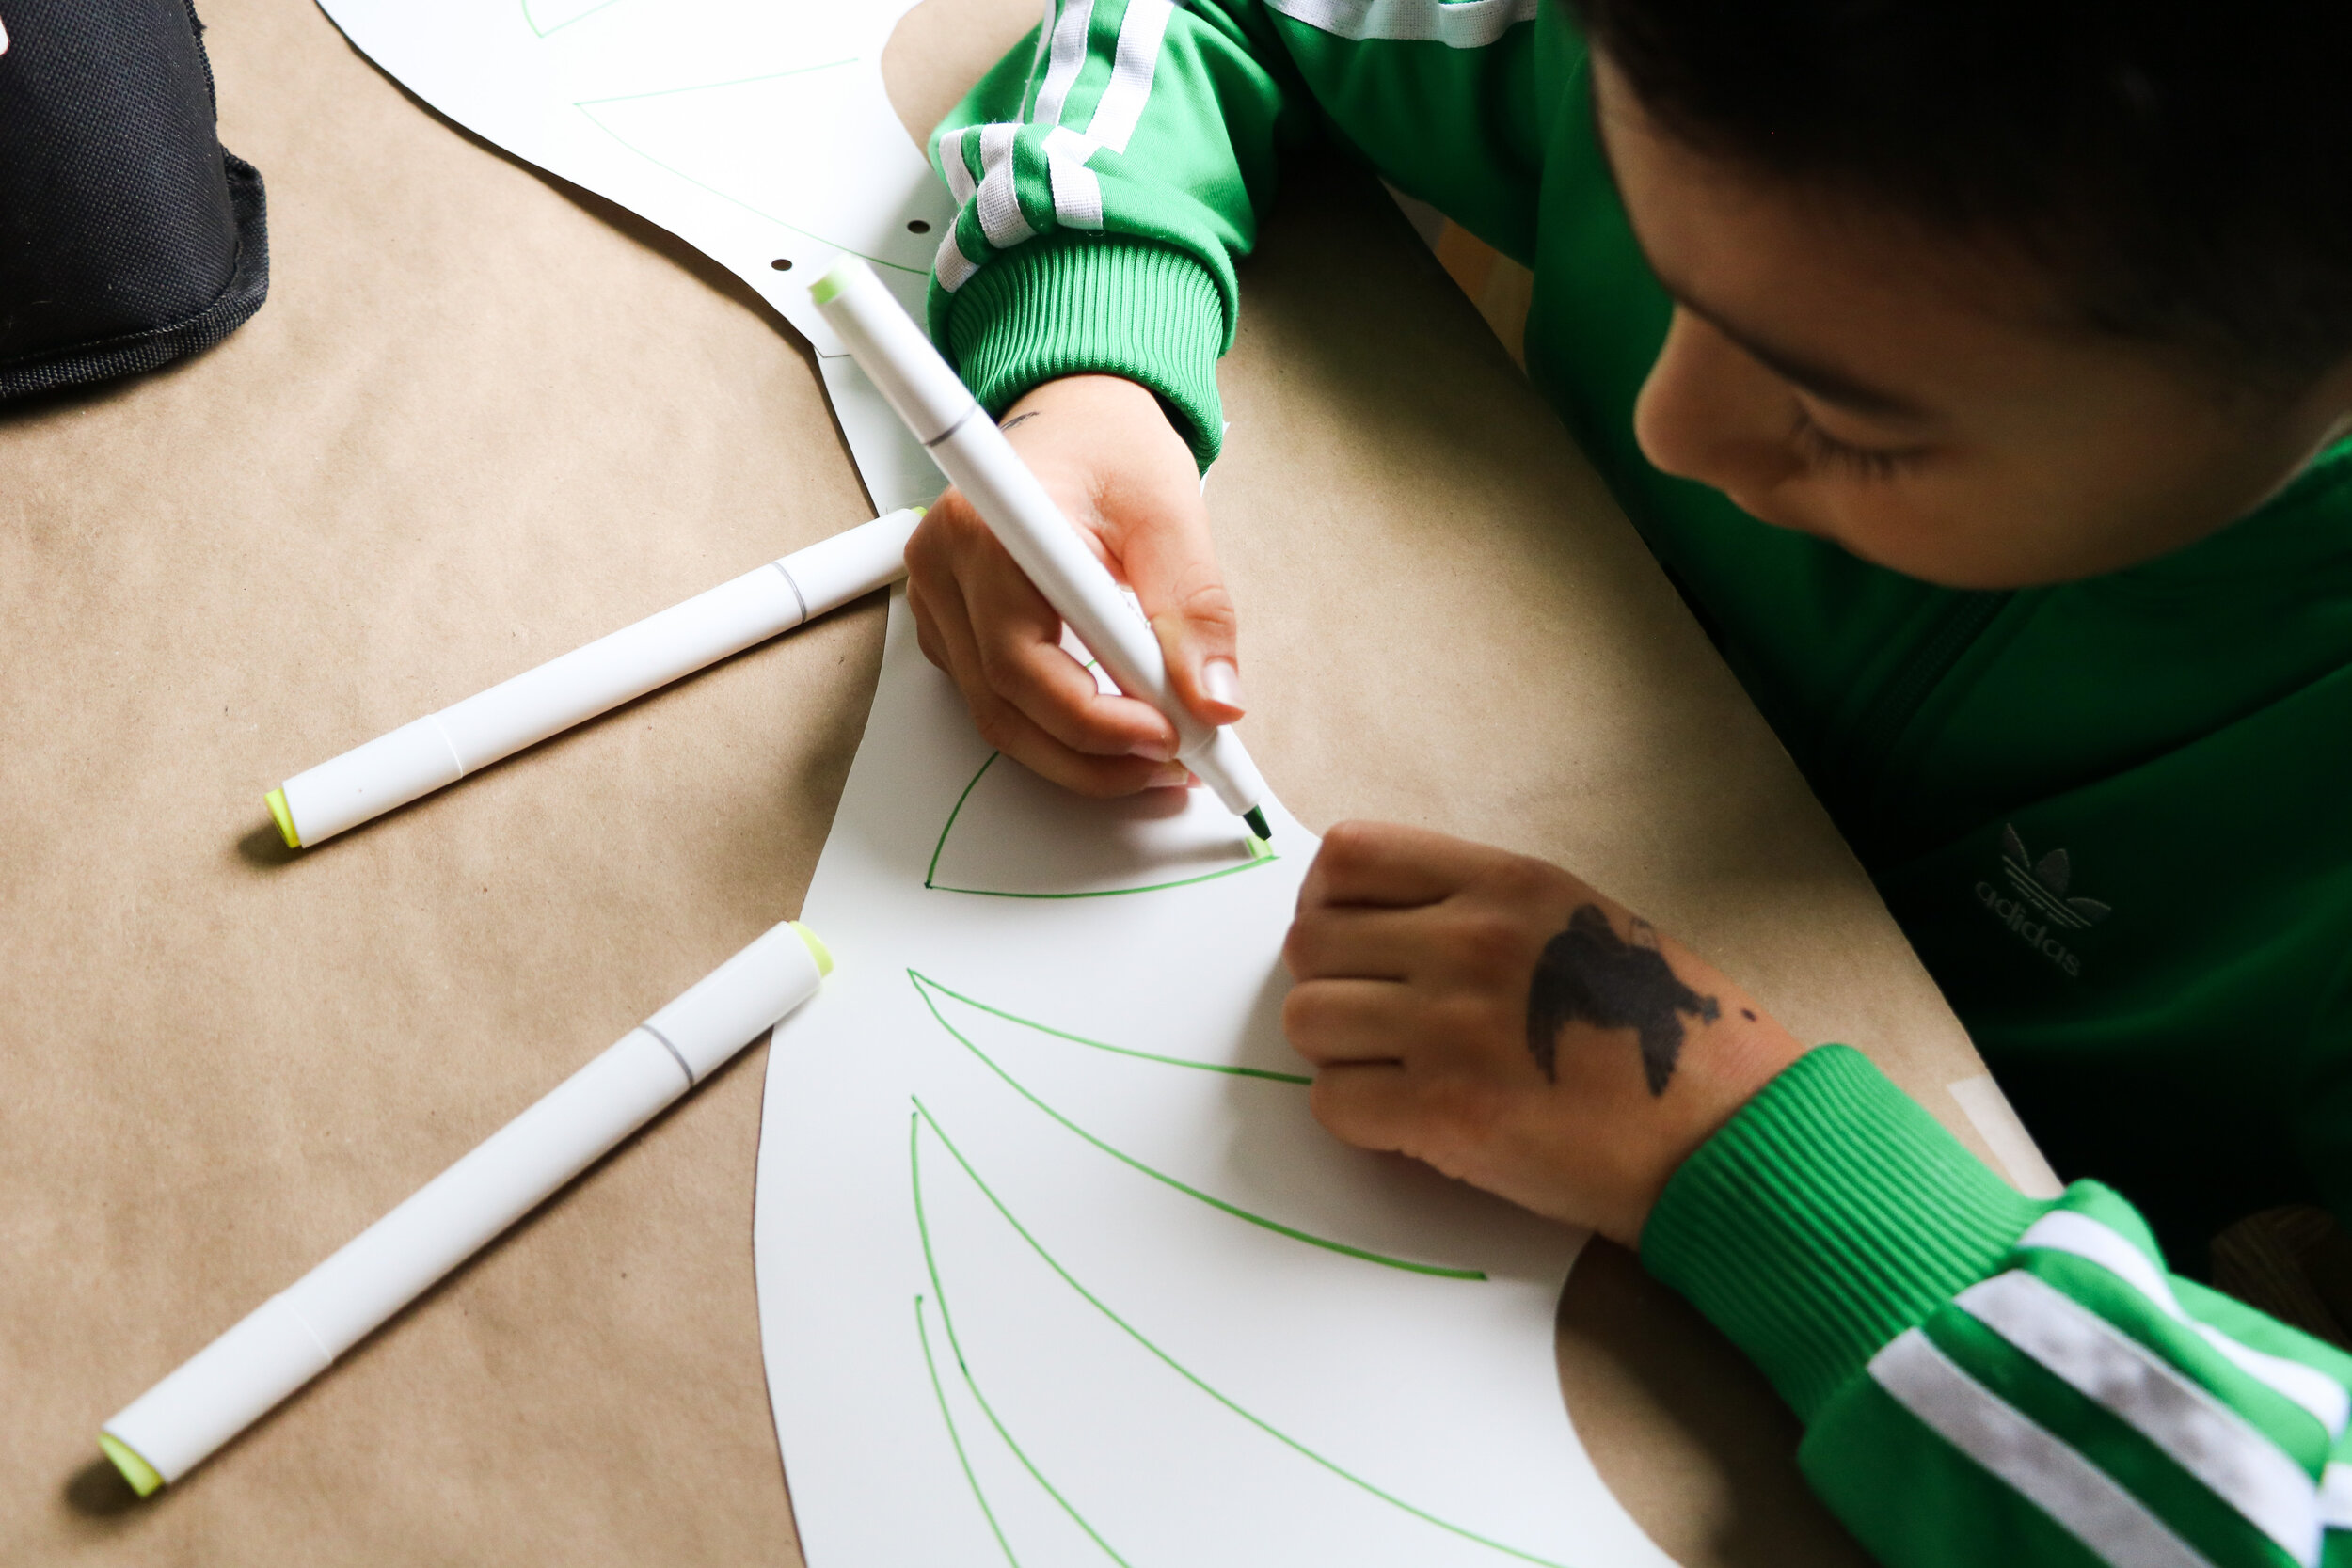
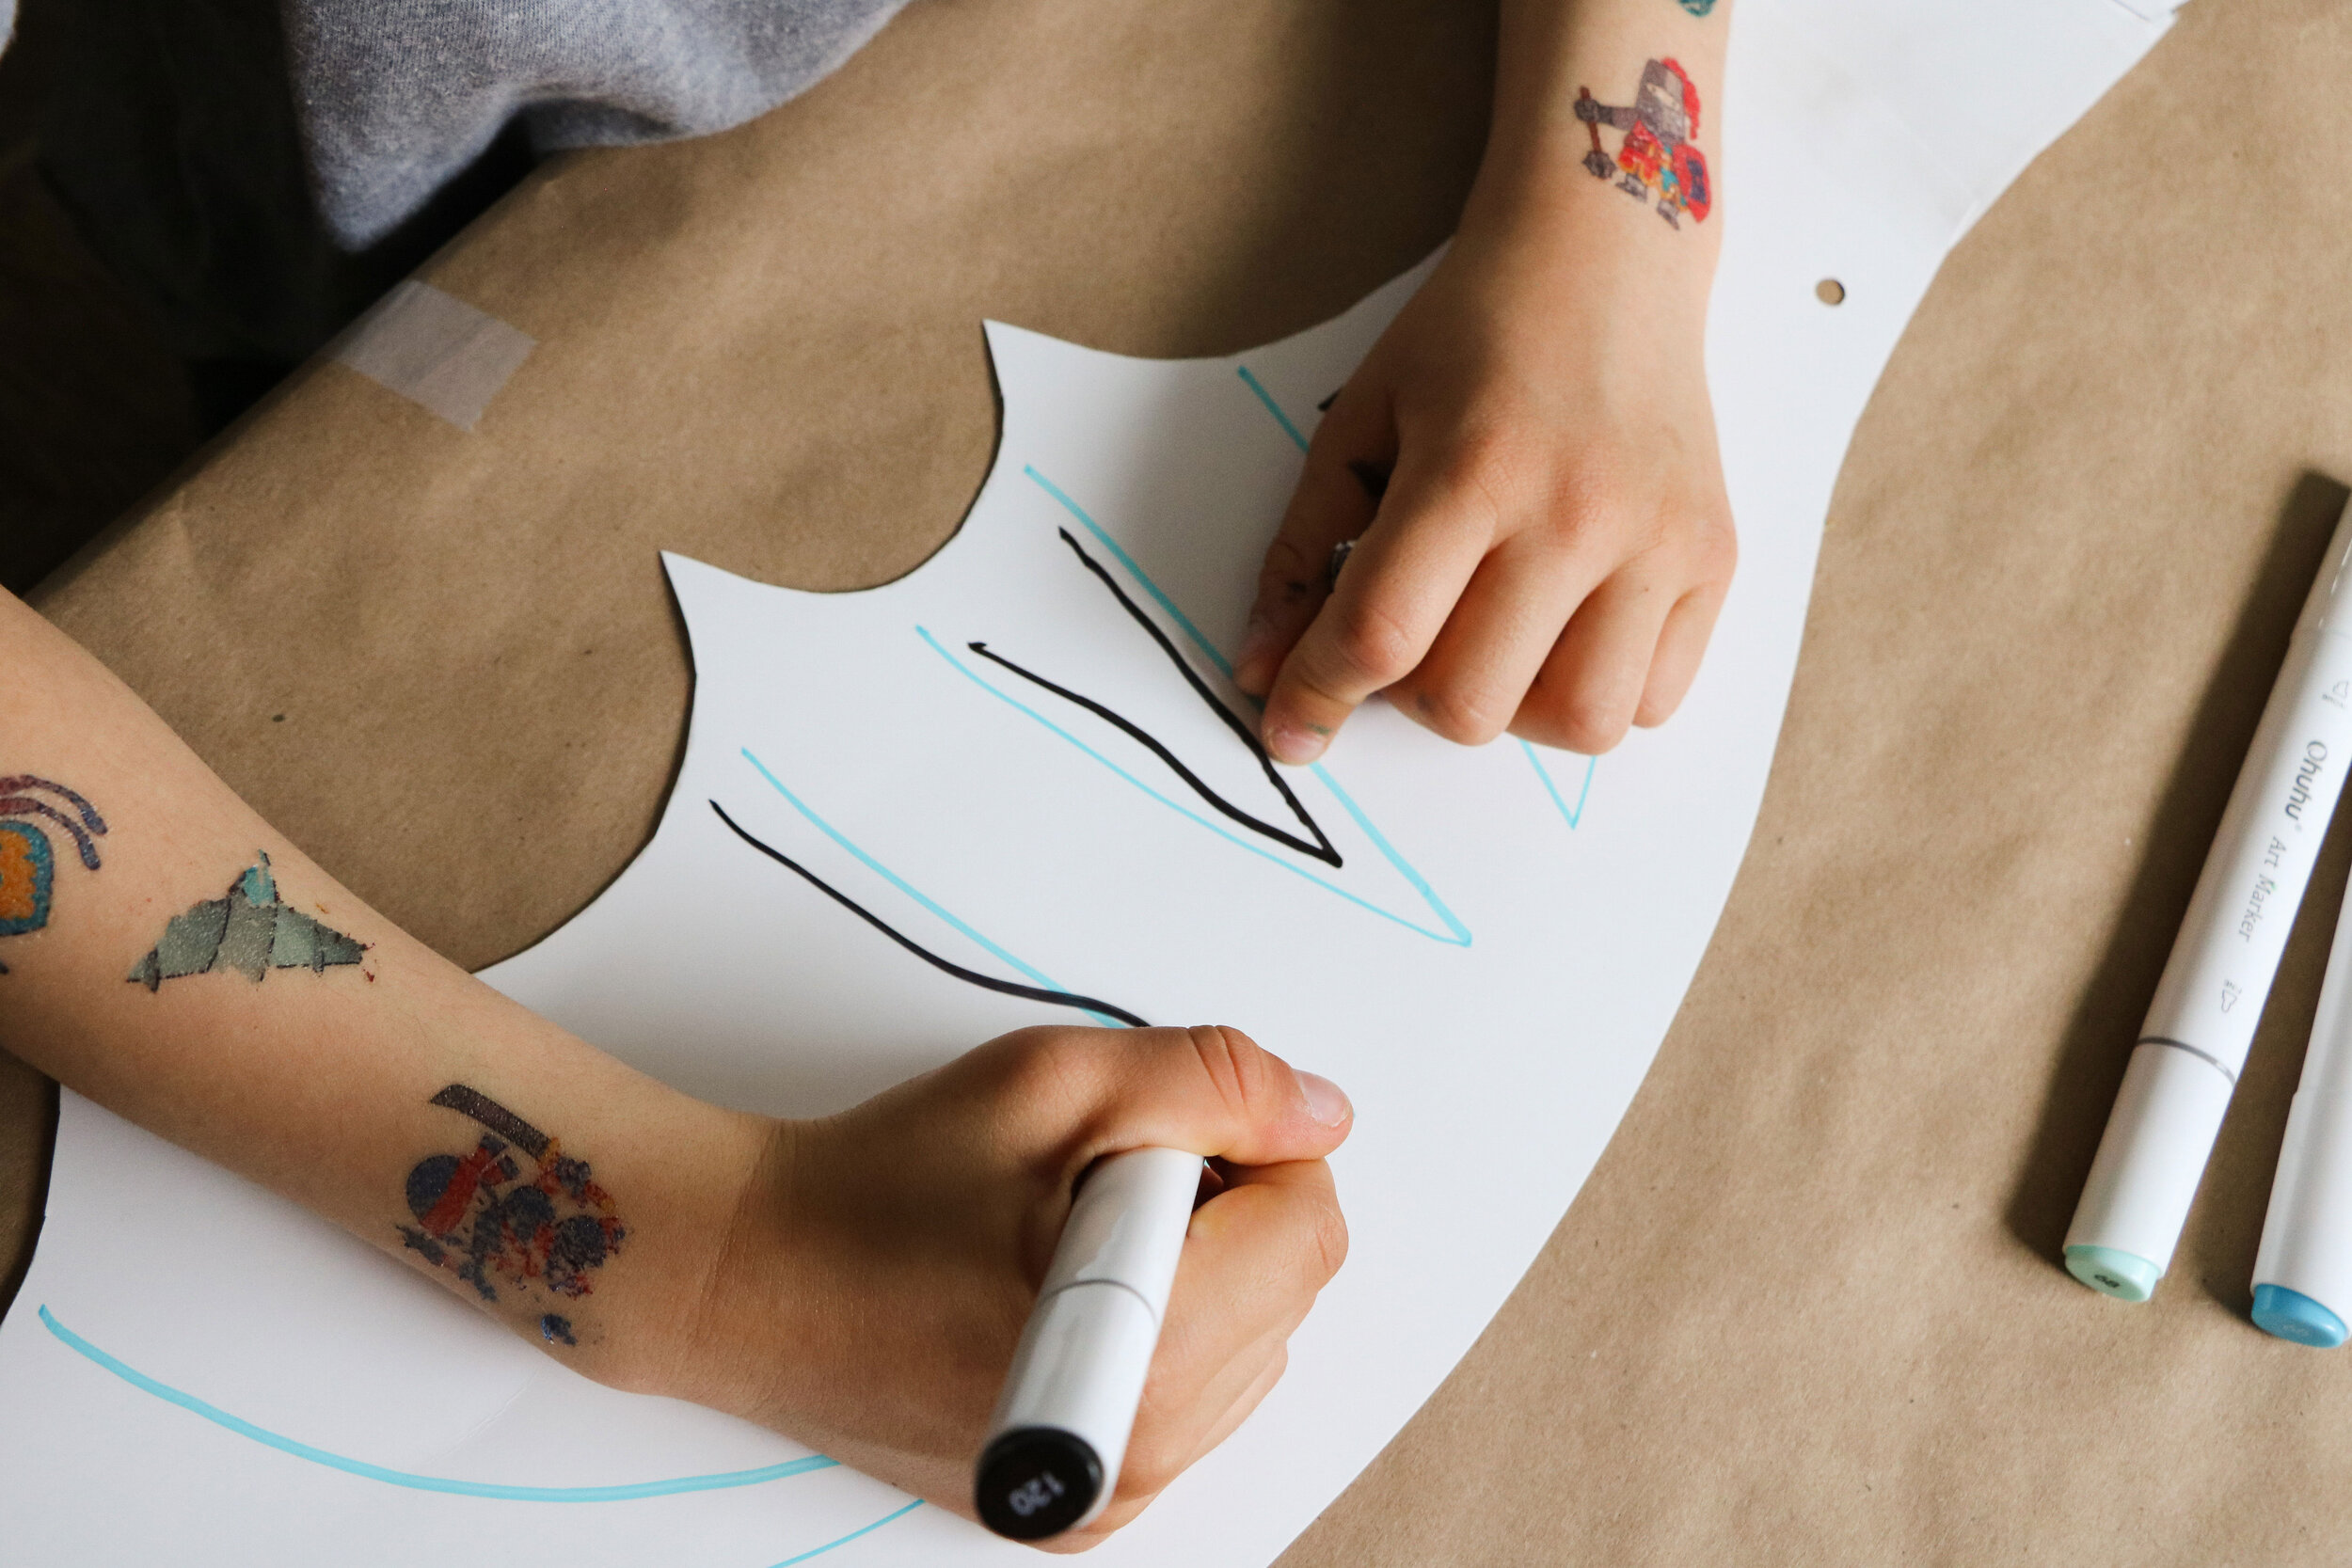
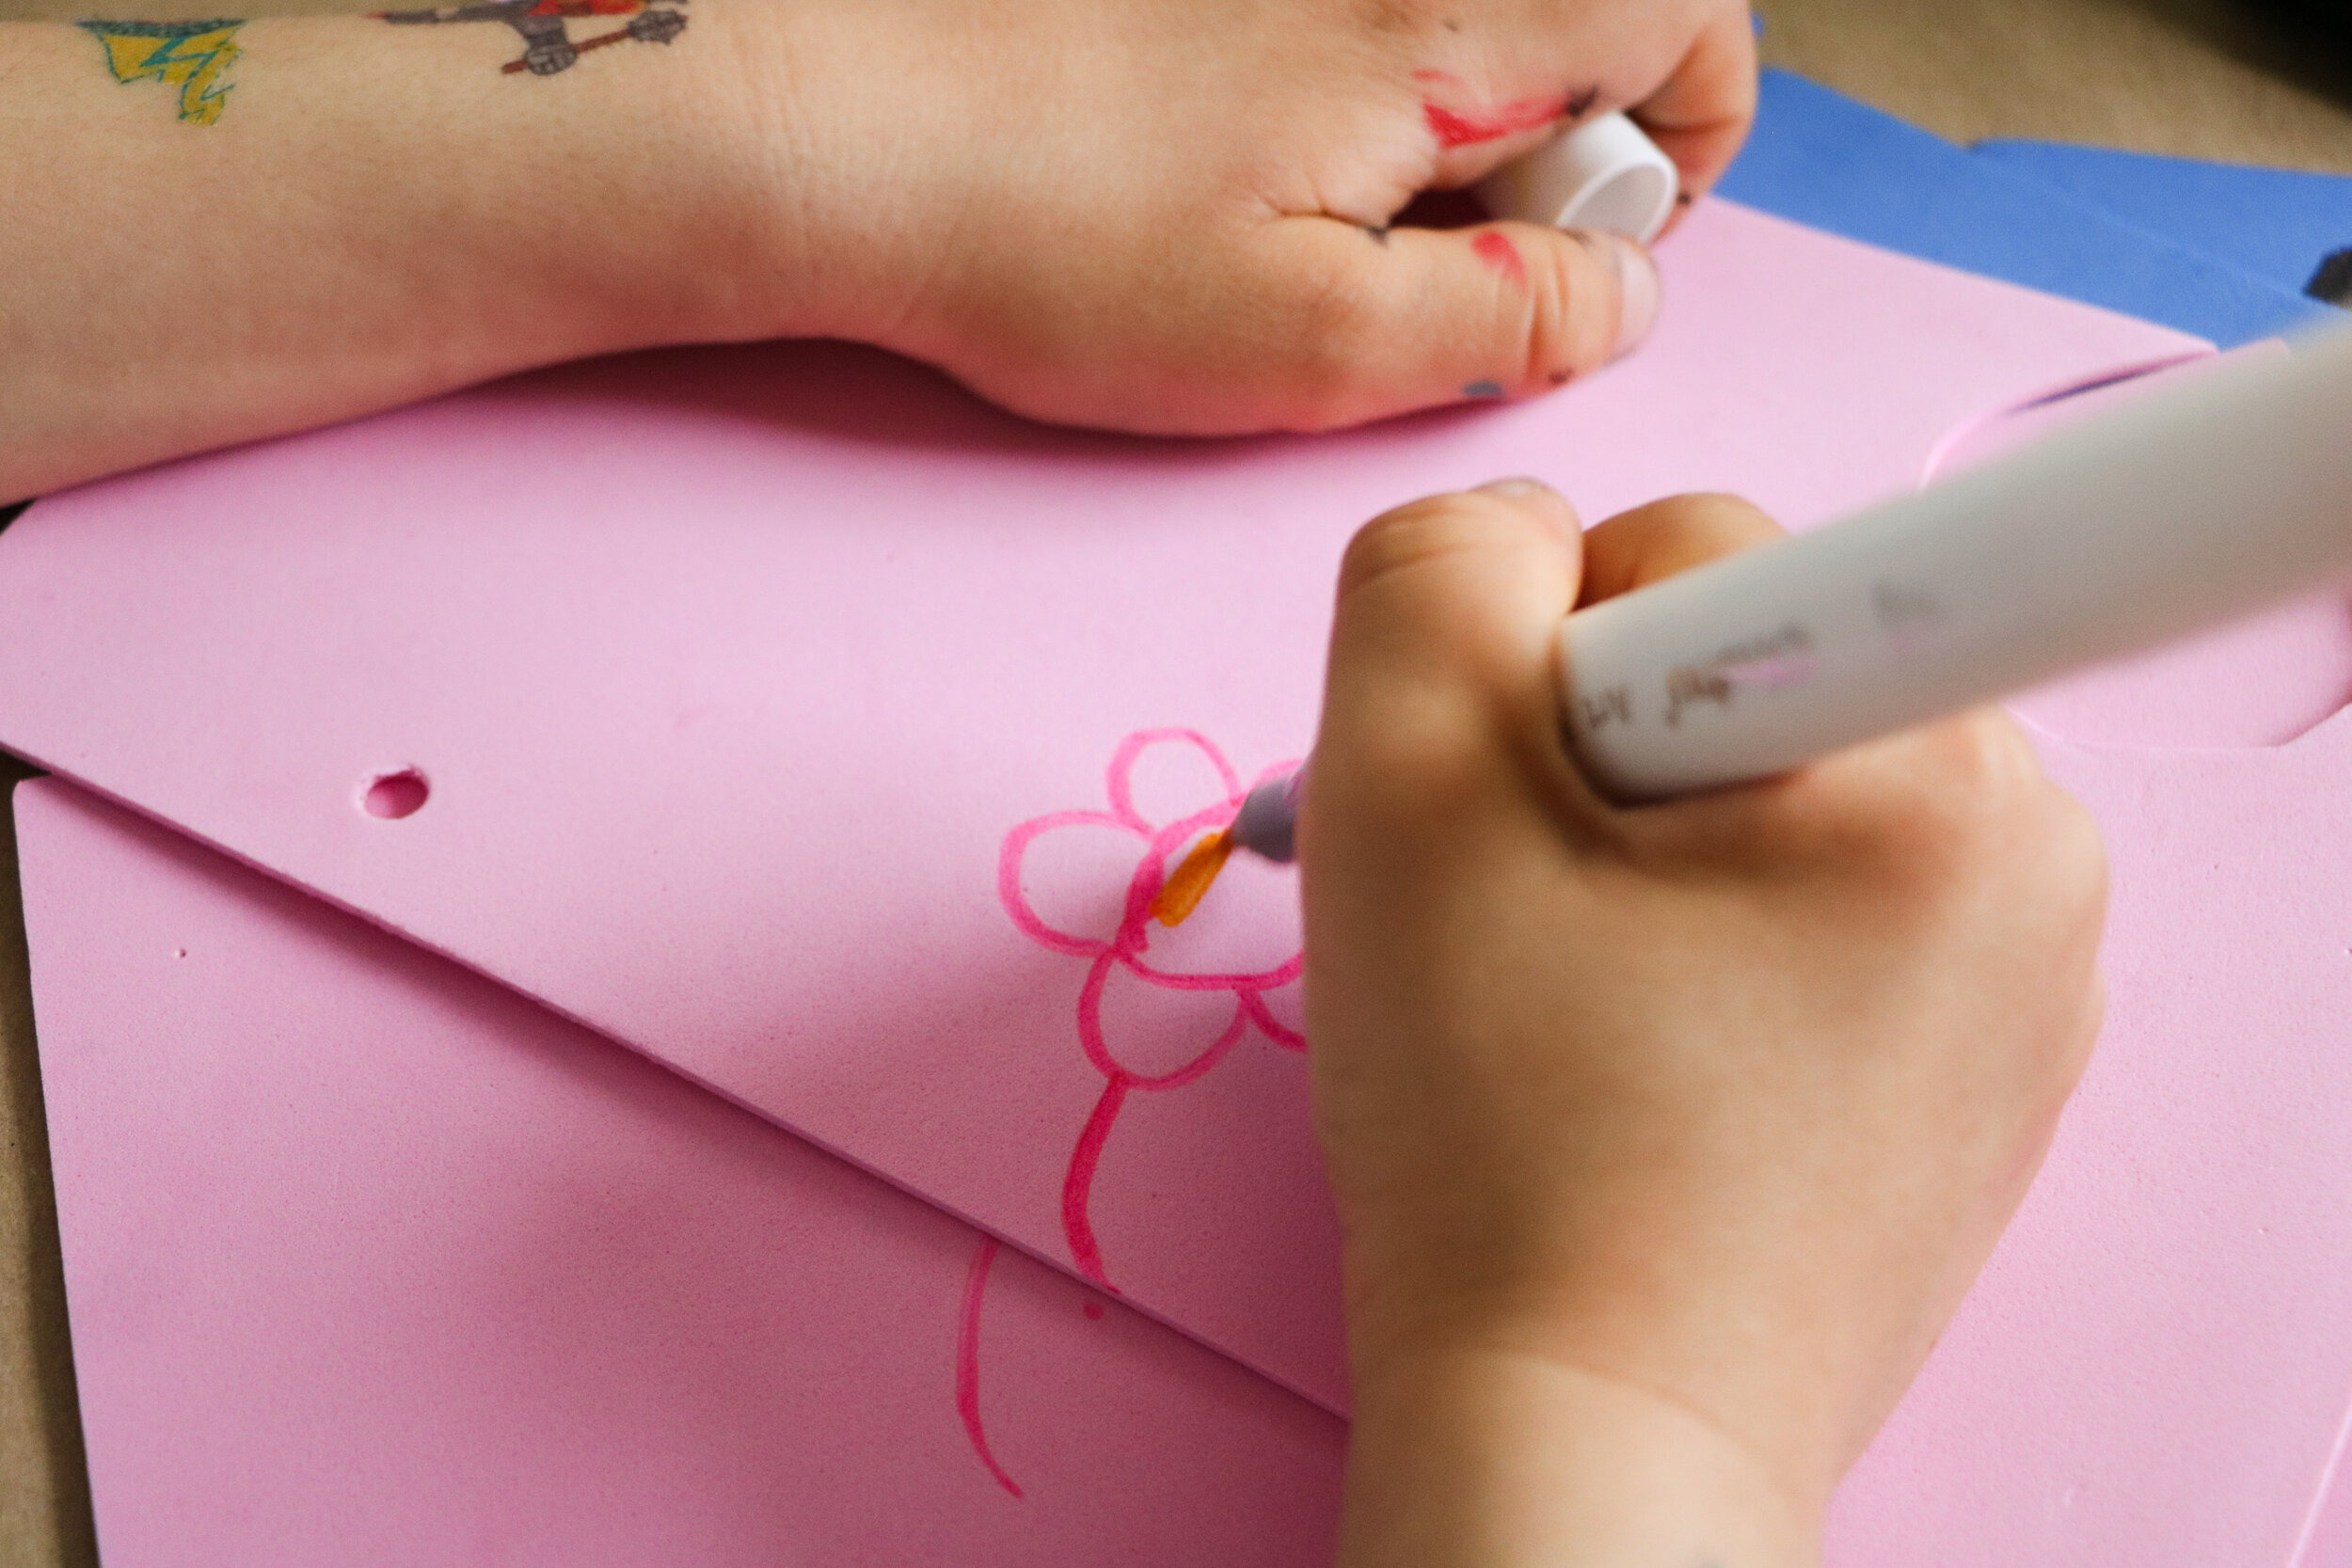
STEP 6: Draw some dragon wing details on your wings, this step is optional but my boys really liked it! Then go ahead and color them in using markers/crayons/coloring tools of your choice.
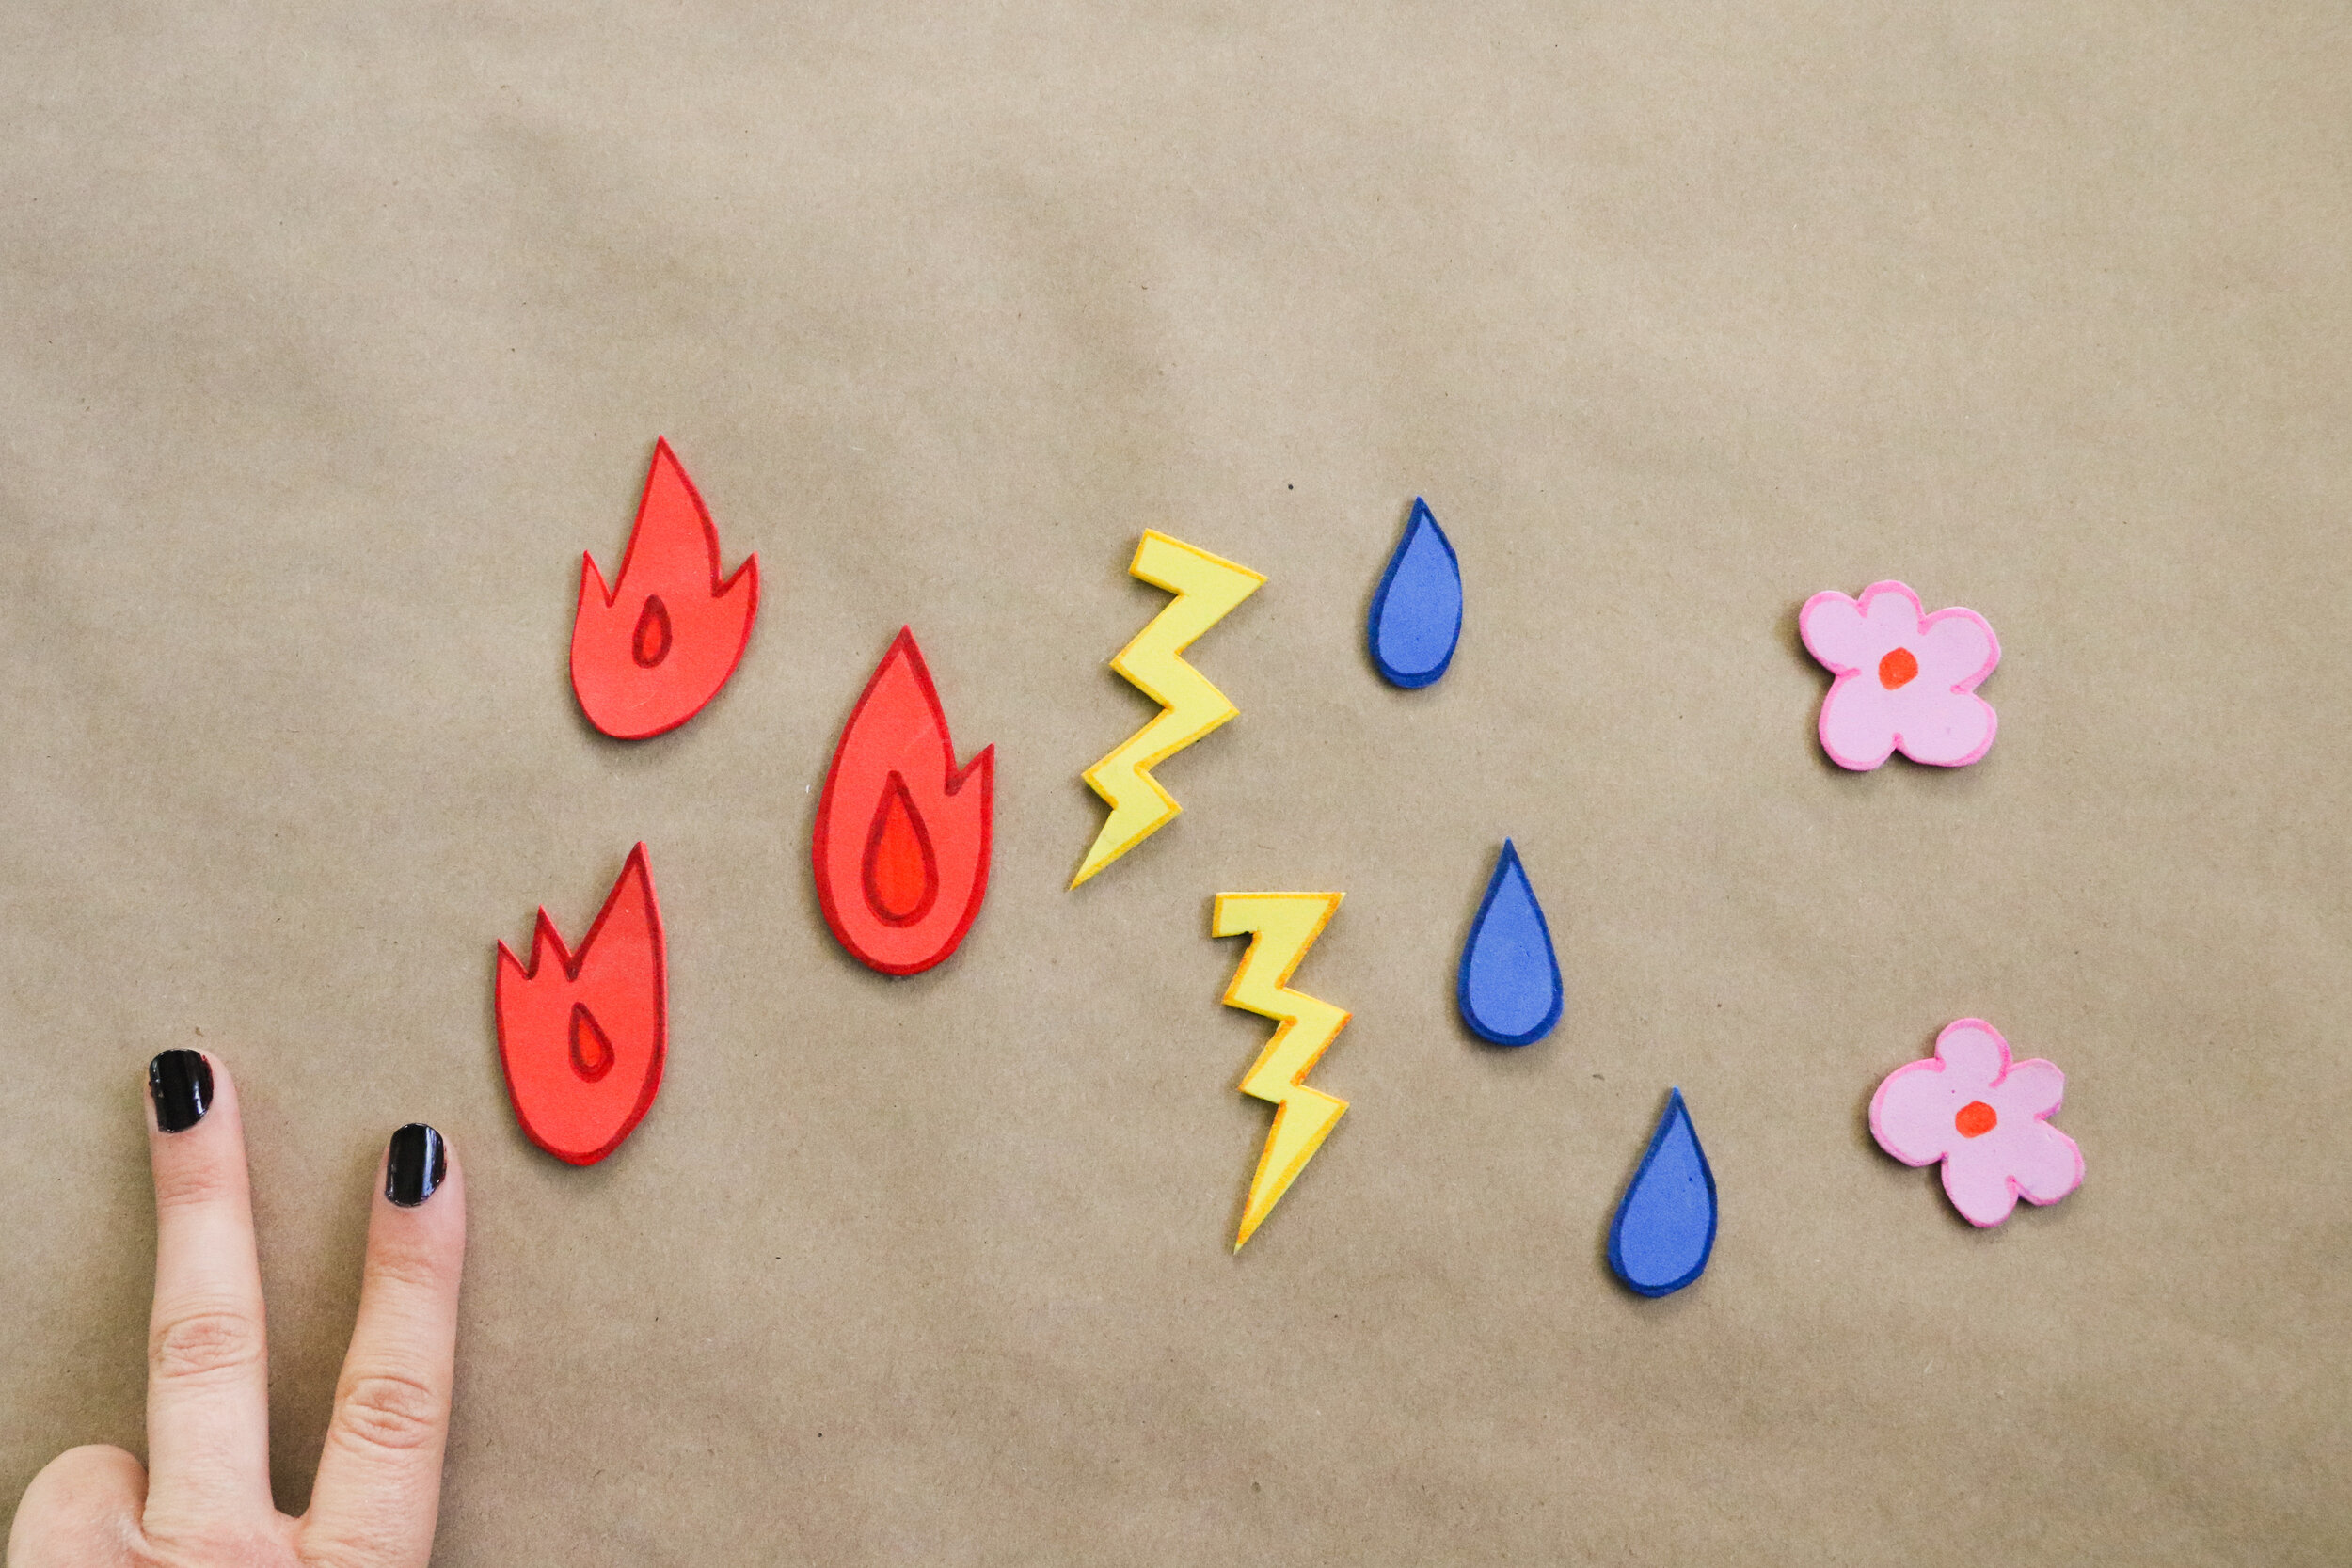
STEP 7: *Optional* Now it’s time to add some colorful dimensional texture and pizzaz to your wings! We used colorful foam pieces and created cutouts to glue on our wings that represent Dragon Powers. We created: Fire, Water, Lightning, and Flower Power. Go ahead and cut these out and glue them to your wings.


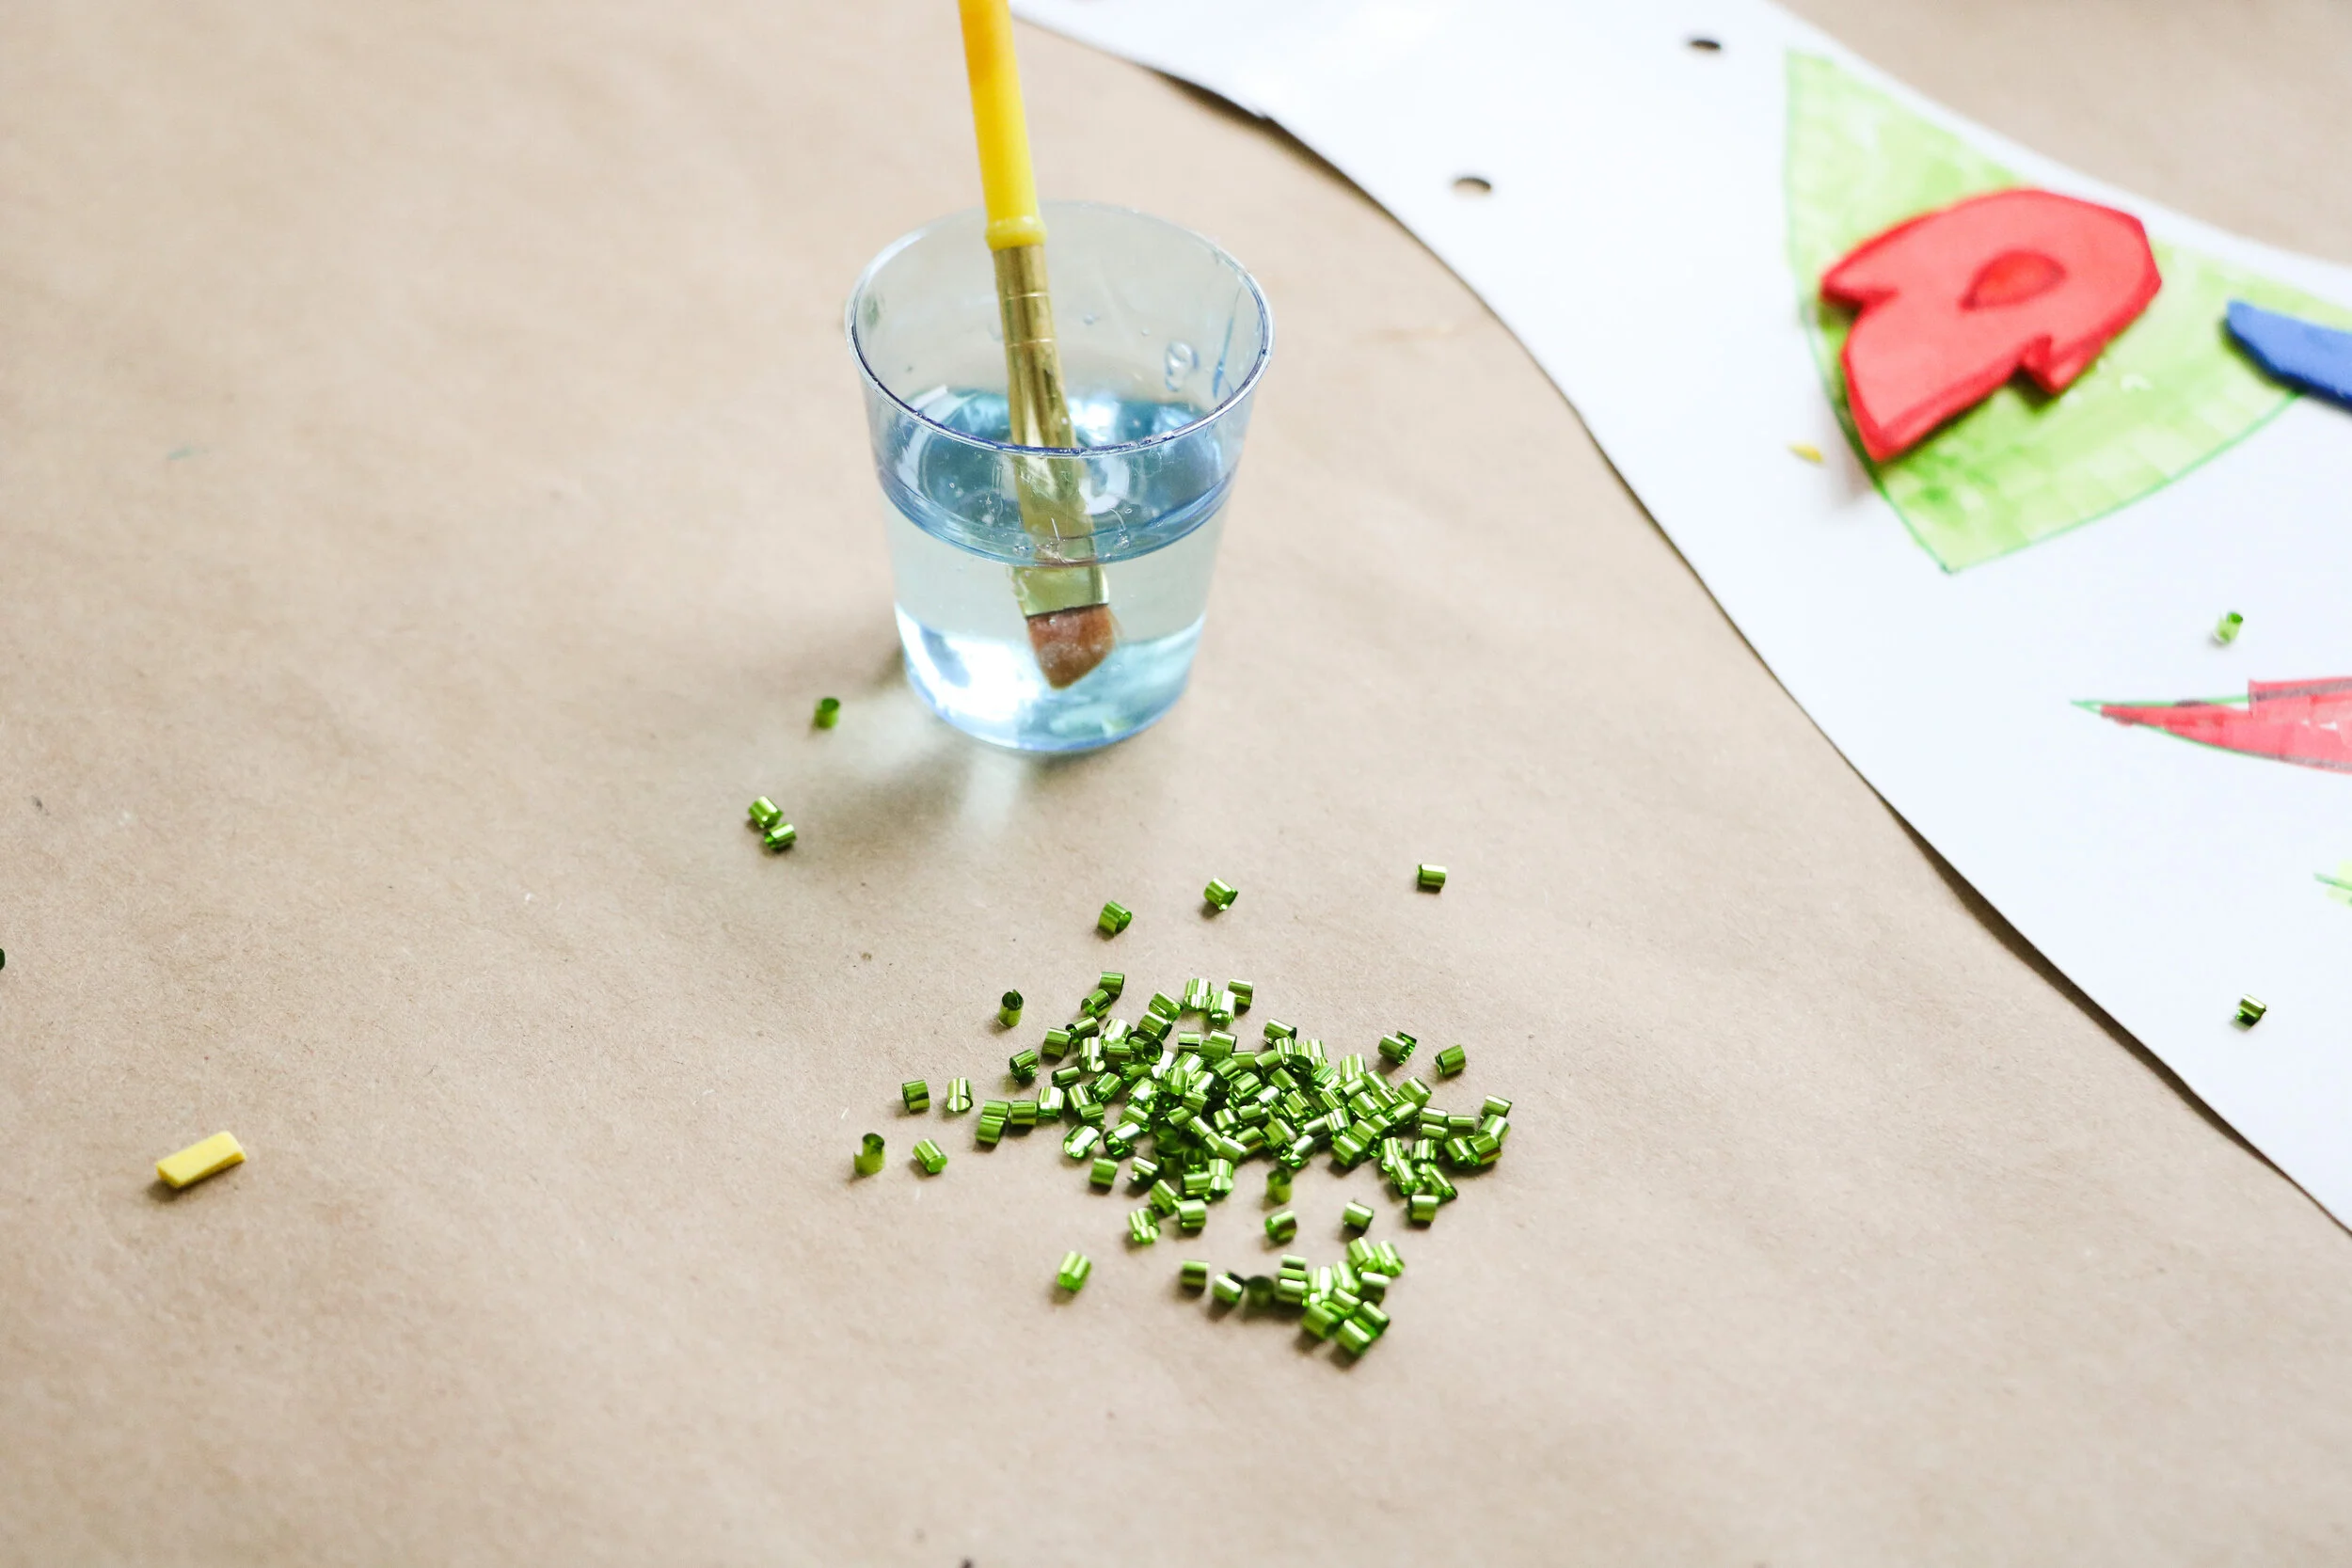
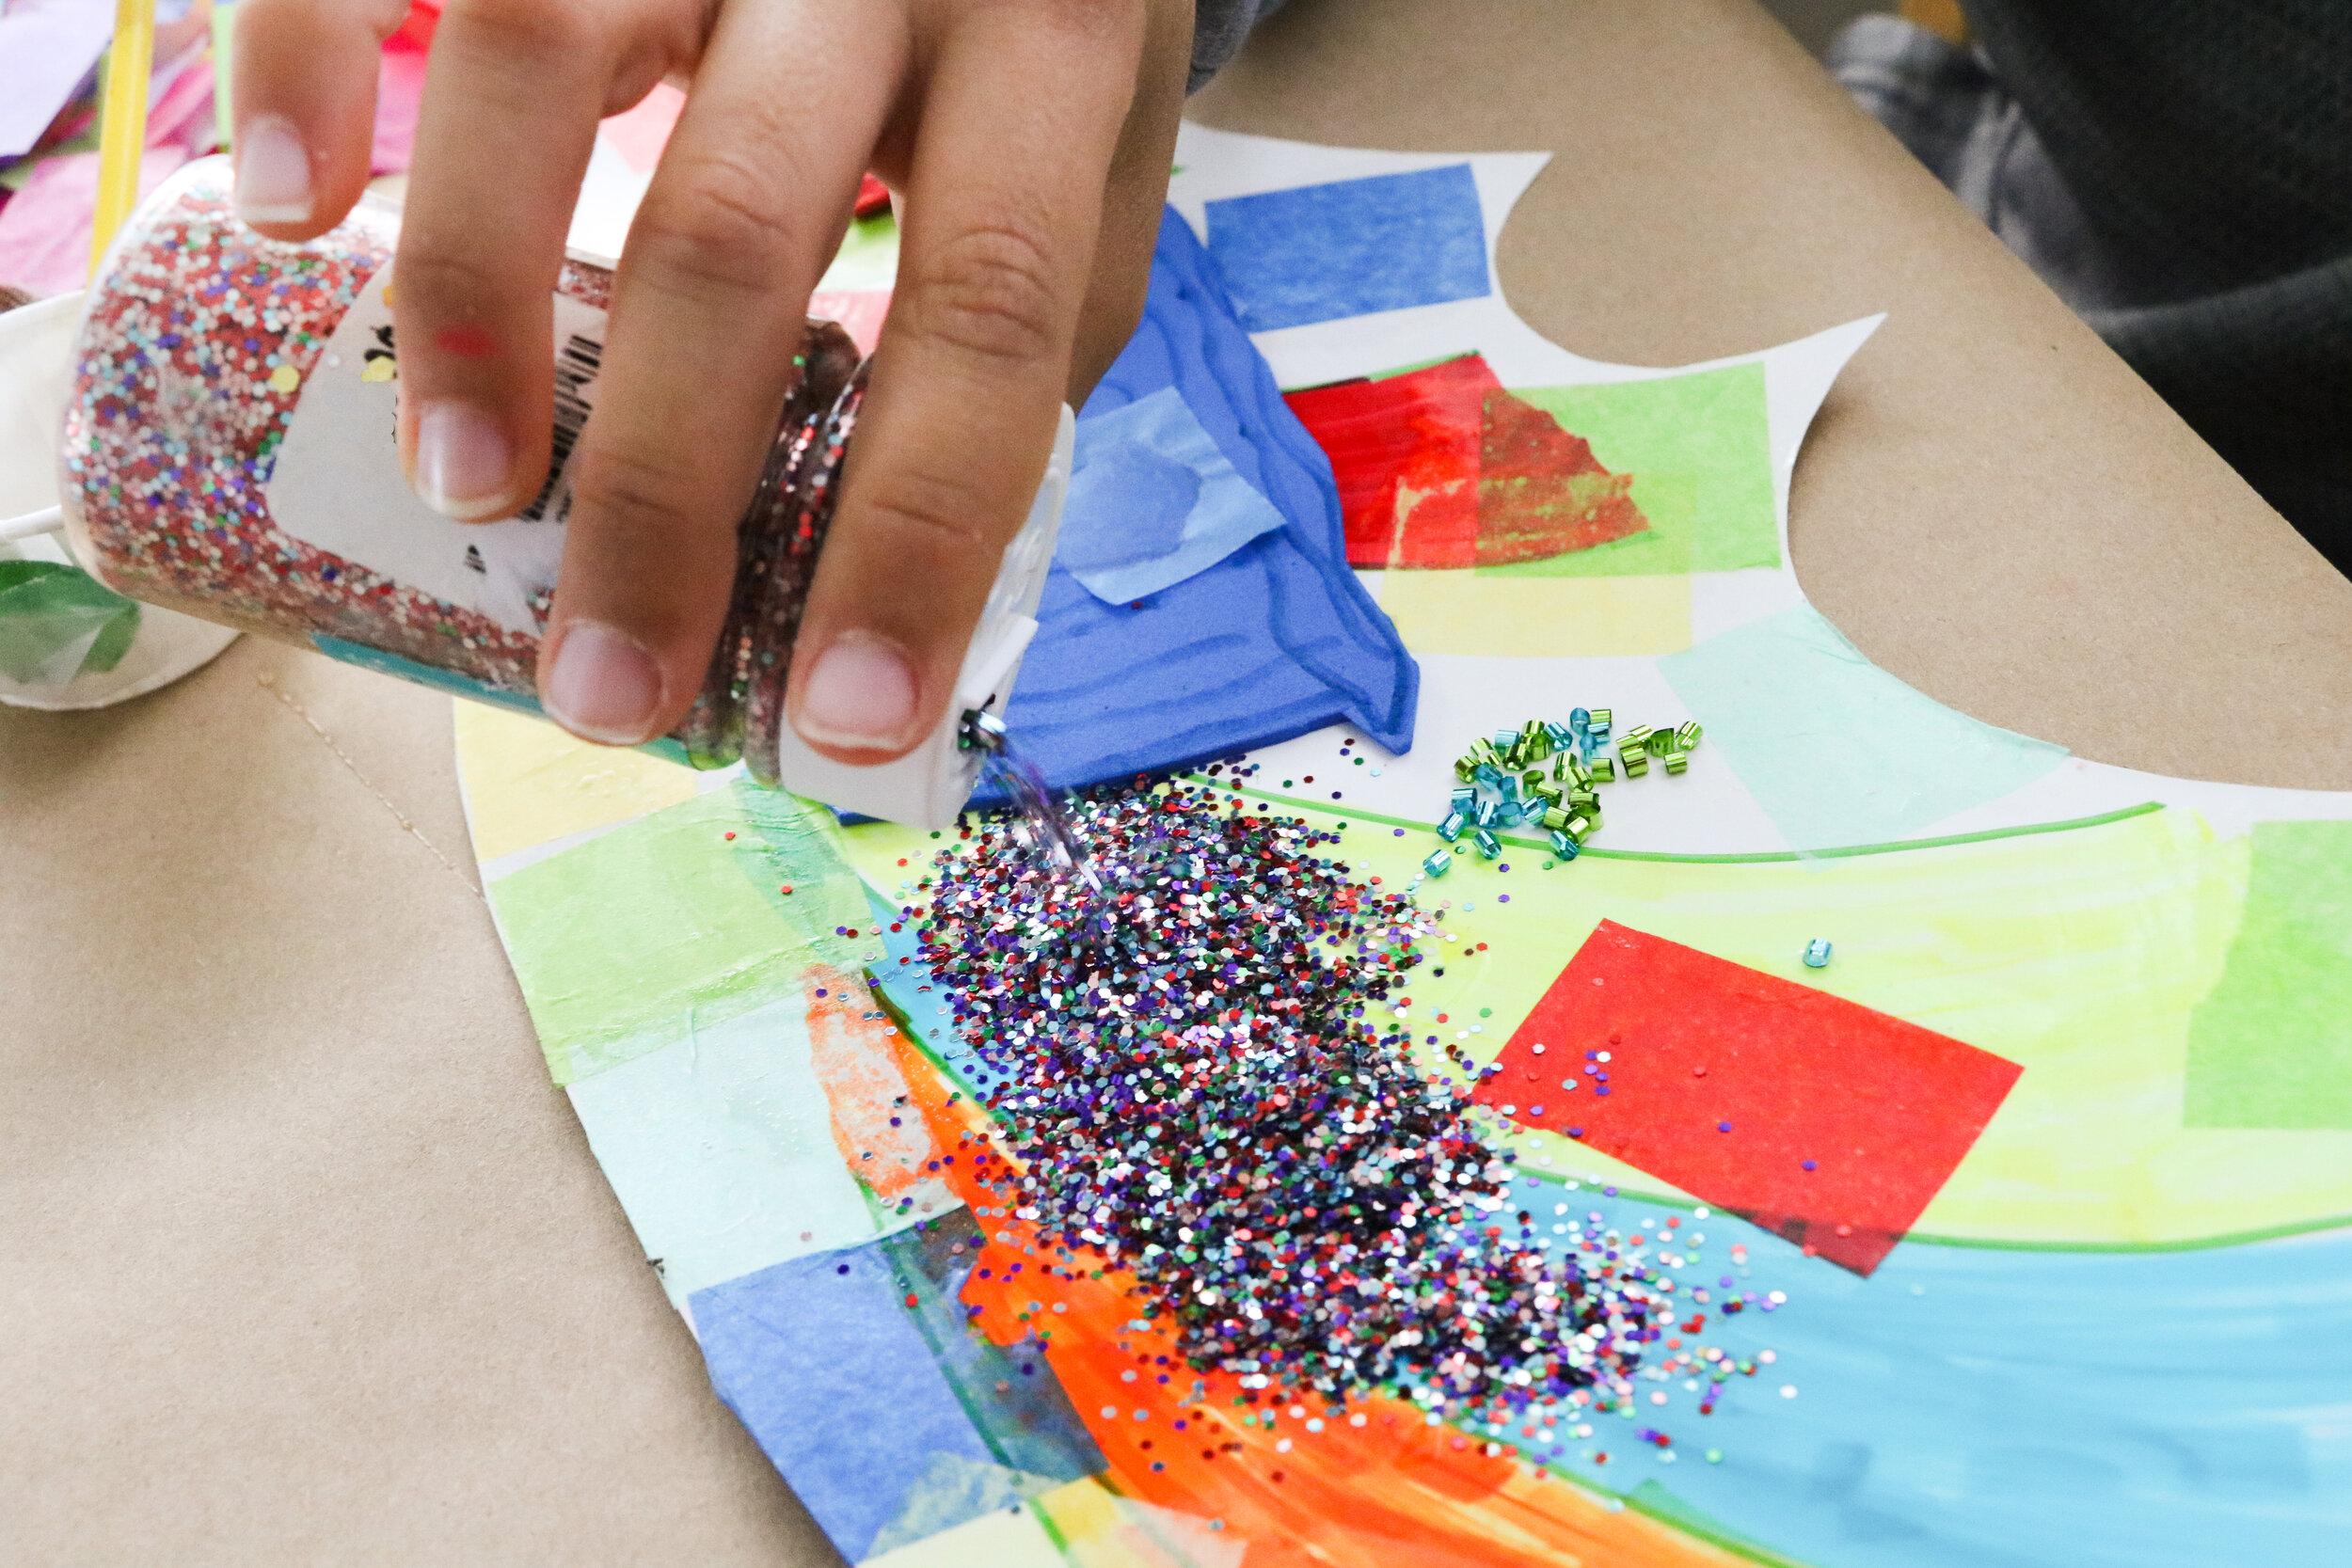
STEP 8: Glue on some confetti, glitter, and anything else you would like to add to your wings. My boys used their paintbrushes to create fun designs on their wings with glue and then added glitter over the top of the designs. They turned out great!
STEP 9: Grab your bakers twine/string you will be using for your little to wear his/her wings. Tie one end of a piece of twine through one of the top holes on the back of the dragon wings. Loop the loose end of the twine over your child’s arm and under his/her armpit + tie it into the bottom hole vertical to the top hole you initially tied. Do the same to the other side of the wings until you have 2 loops that are now the wearable straps for your child to slip his/her arm through. YAY!


You are all done! Put on your wings little ones and fly around like the glorious dragon that you are! Take pictures of your adorable wings and tag if you post so we can see! @ALLKIDSAREGIFTED #ALLKIDSAREGIFTED. We LOVE YOU and thank you for creating with us!